Today I’m going to show you how to make my sourdough pizza crust without commercial yeast. I have two versions for you: one that’s super simple and easy, and the other that requires a little more effort, but results in some truly amazing pizza.


I think it’s high time I shared my Sourdough Pizza Crust recipe with y’all!
If you follow me on Instagram, you know I’ve been testing this recipe multiple times to get it right. I wanted to be able to share a truly lovely sourdough pizza dough recipe.
Now, I’m kind of eclectic in my cooking tastes. A lot of the time I want it to be super easy and no-fuss. Other times I’m willing to put in the effort for a more complicated recipe.
So I tried out two methods for making this pizza crust: one that was super easy, and one that required more active prep time.
I had family members try both side by side, and the crust made with more effort was a clear winner. BUT everyone agreed that the easy-to-make crust was really good, just not AS good.


So I decided to include both versions of the recipe so you can decide for yourself which one is right for you!
Here’s a video tutorial in case you learn better that way!
And the written tutorial is below!
Okay, let’s start with the simple recipe.
Note: Some links are affiliate. All opinions are my own. If you click a link and make a purchase, I’ll earn a small commission. This has zero impact on the price you pay, and helps Buttered Side Up out!
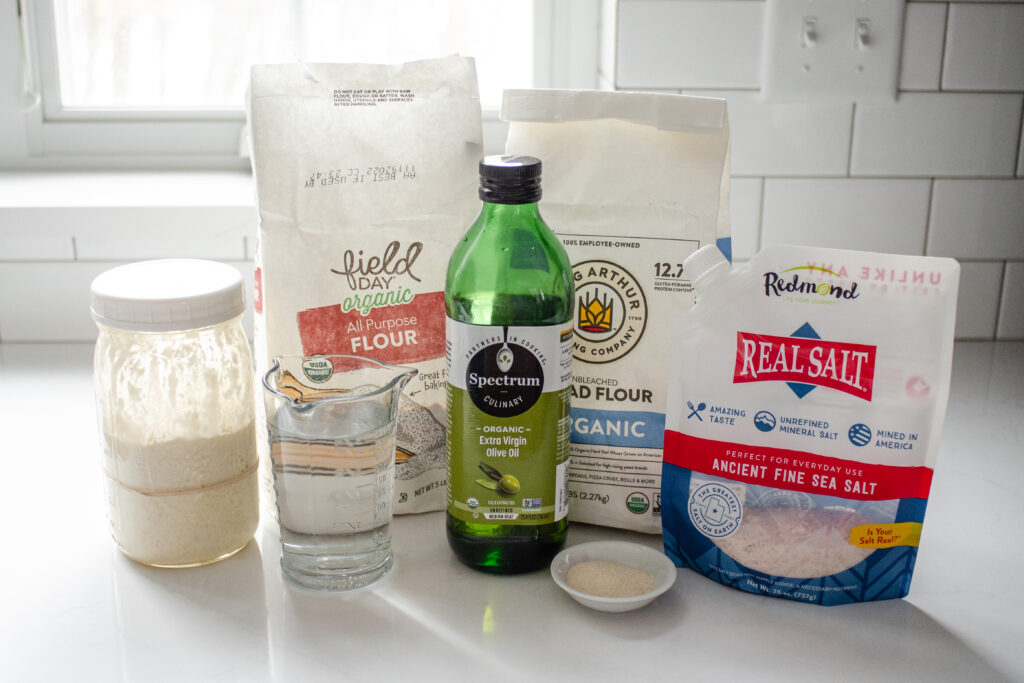
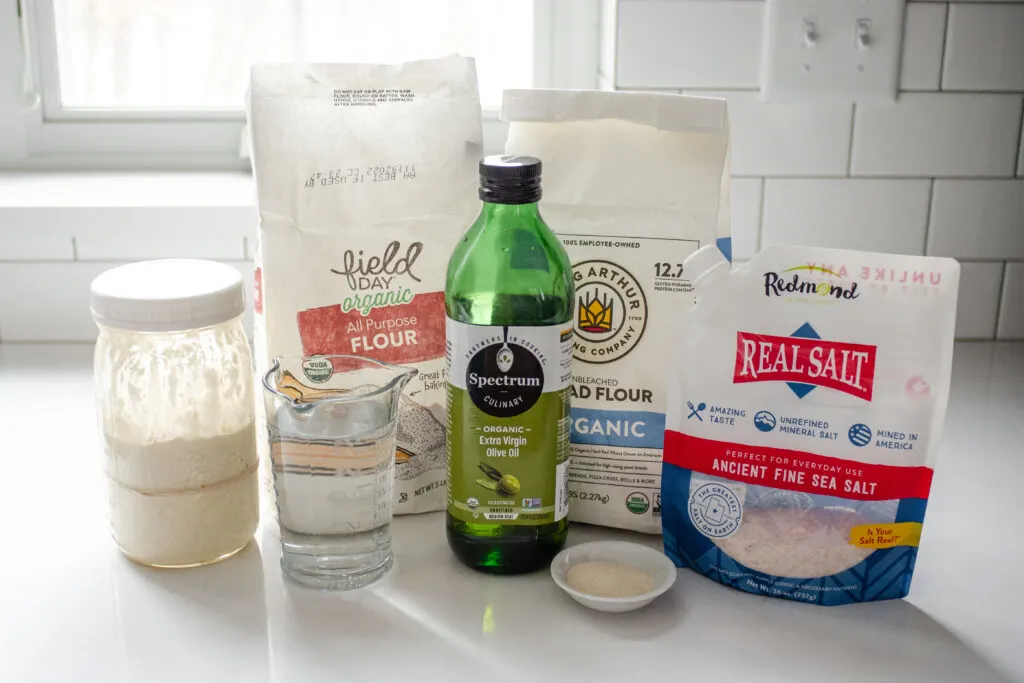
Ingredients:
First, here’s everything you’ll need:
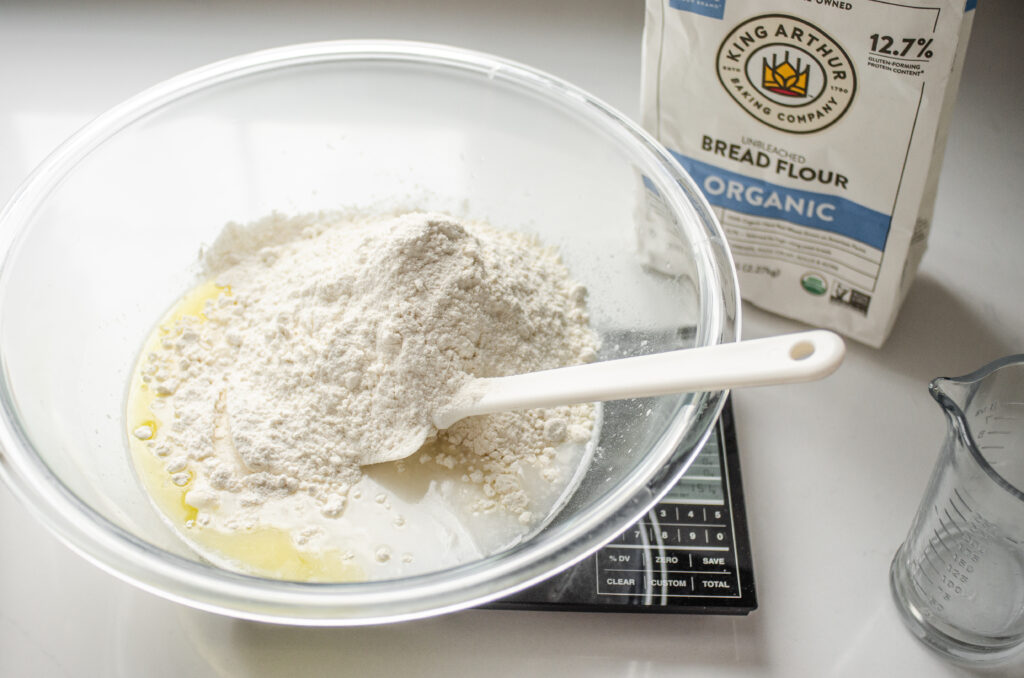
- 100 grams of active sourdough starter – An active starter is one that has been fed 4-12 hours previously, has doubled in volume, is active and bubbly, and passes the float test. This isn’t the time to use your sourdough discard! I have other recipes for that listed at the end of this post. Side note: I keep my starter at 100% hydration, which means I feed it equal weights, not volumes, of water and flour. Make sure to check out my How to Make a Sourdough Starter From Scratch post to learn how to make your own sourdough starter, as well as my Sourdough Starter Troubleshooting post if you have any questions!
- 250 grams of filtered water – You can bump this up to 270 grams if you like a wetter dough, but I don’t find the extra hydration necessary.
- 200 grams of organic all-purpose flour: I recommend using a high quality, organic all purpose flour since this is the easiest on your starter. Also, beware of low-quality flour since it may not develop the gluten properly!
- 150 grams of organic bread flour: – You can substitute more all purpose flour for the bread flour if that’s all you have on hand, but the results won’t be quite as sublime. Still amazing, but not sublime.
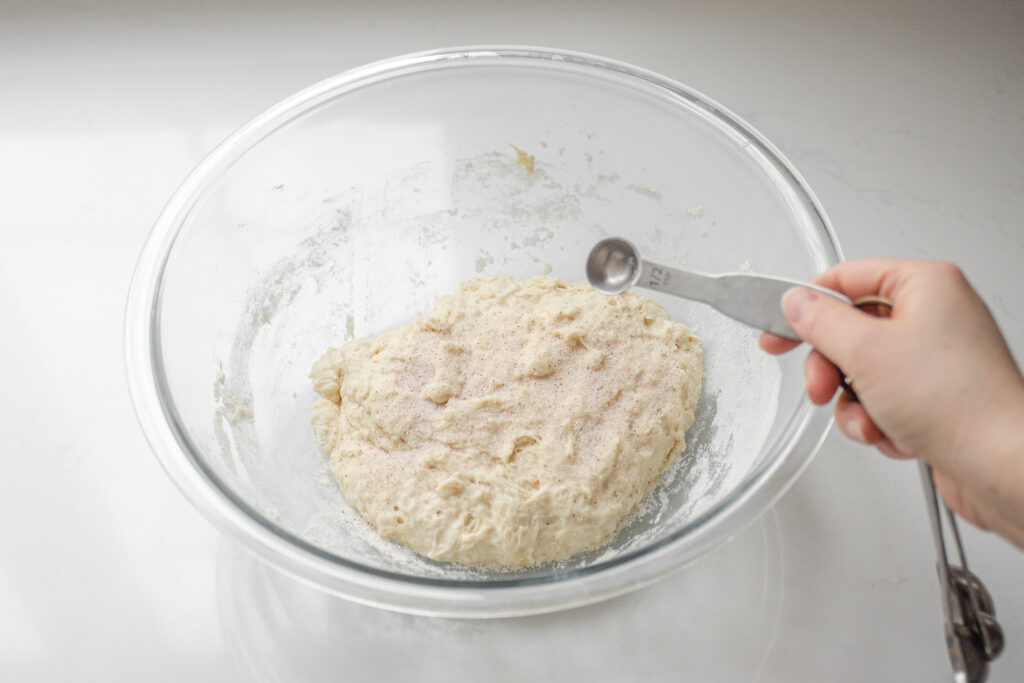
- 1 tablespoon (10 grams) of sugar: Adding a bit of sugar boosts the fermentation of the dough. It also helps the crust to brown up in the oven! Feel free to substitute honey if you prefer!
- 1 tablespoon (10 grams) of extra virgin olive oil: This adds a little extra flavor and softness to the dough, though it isn’t strictly necessary.
- 1 ½ teaspoons (9 grams) of salt: I tested this recipe with a higher amount of salt, but 1½ teaspoons seems just right to me. I use unrefined sea salt, so keep that in mind! Table salt tends to be saltier, so you may want to cut back on the salt if you’re using that.

How to Make the Simple Sourdough Pizza Crust:
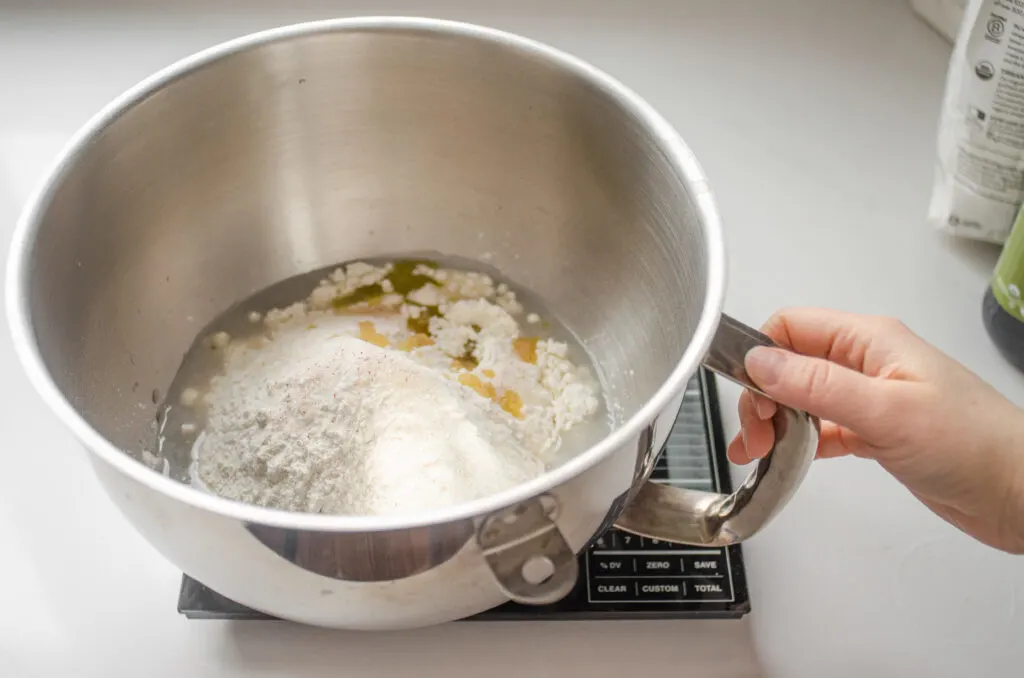
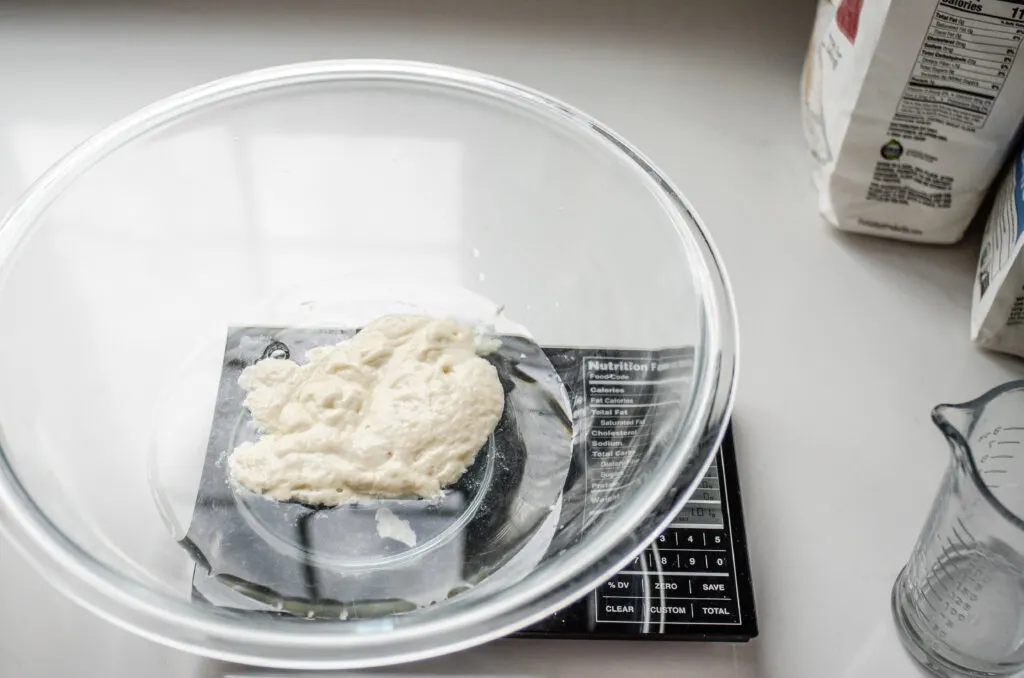
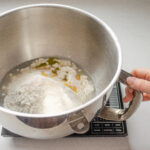
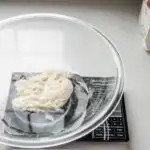
Place all of the dough ingredients in the bowl of a stand mixer.
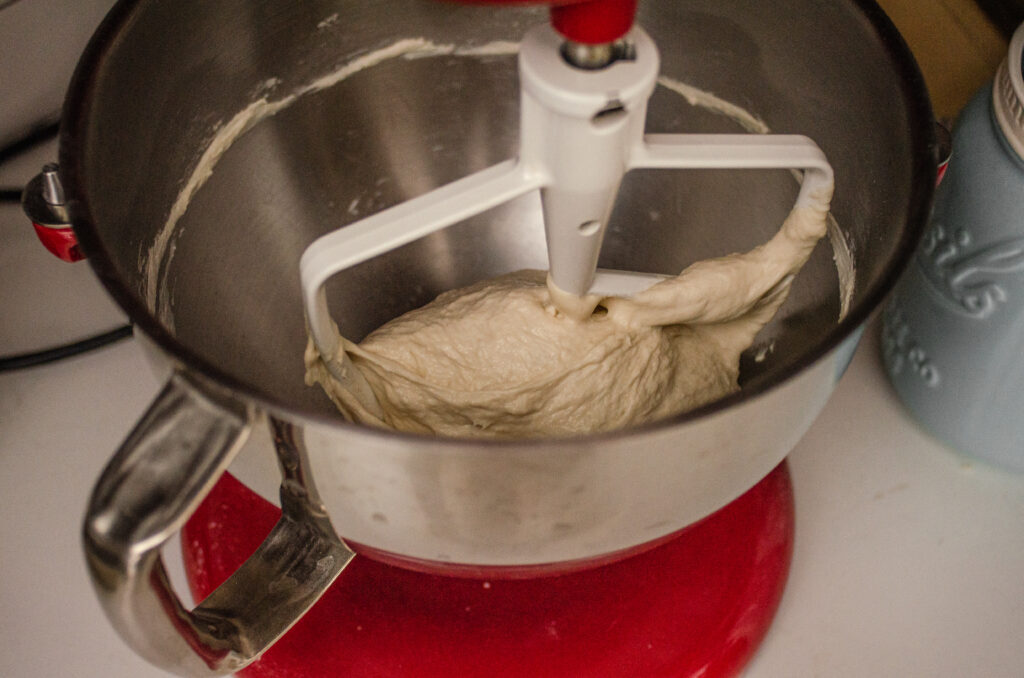
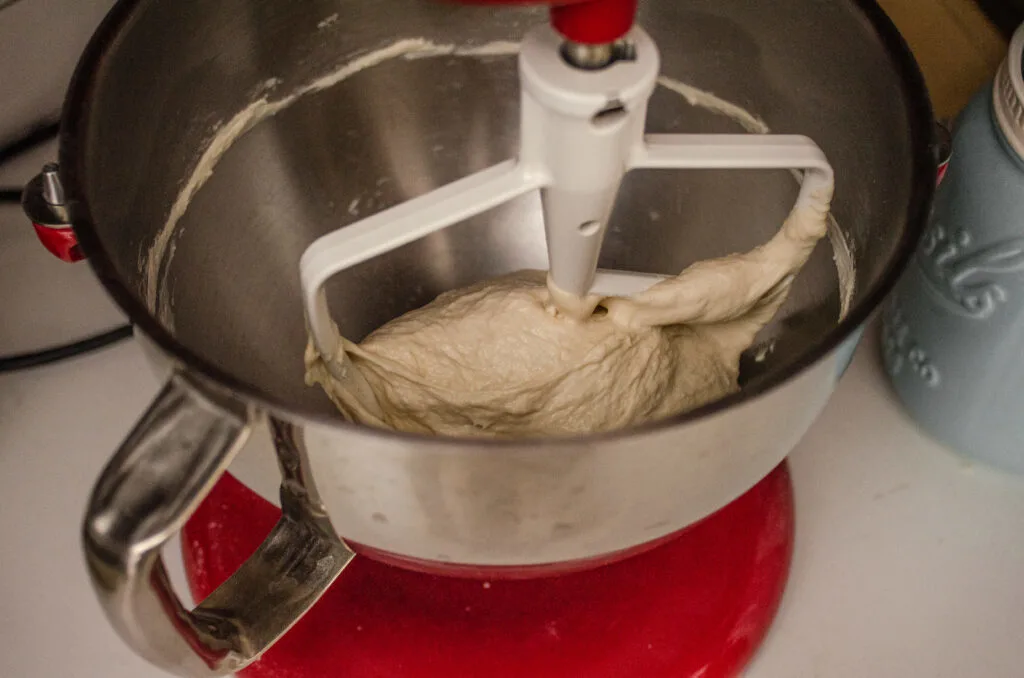
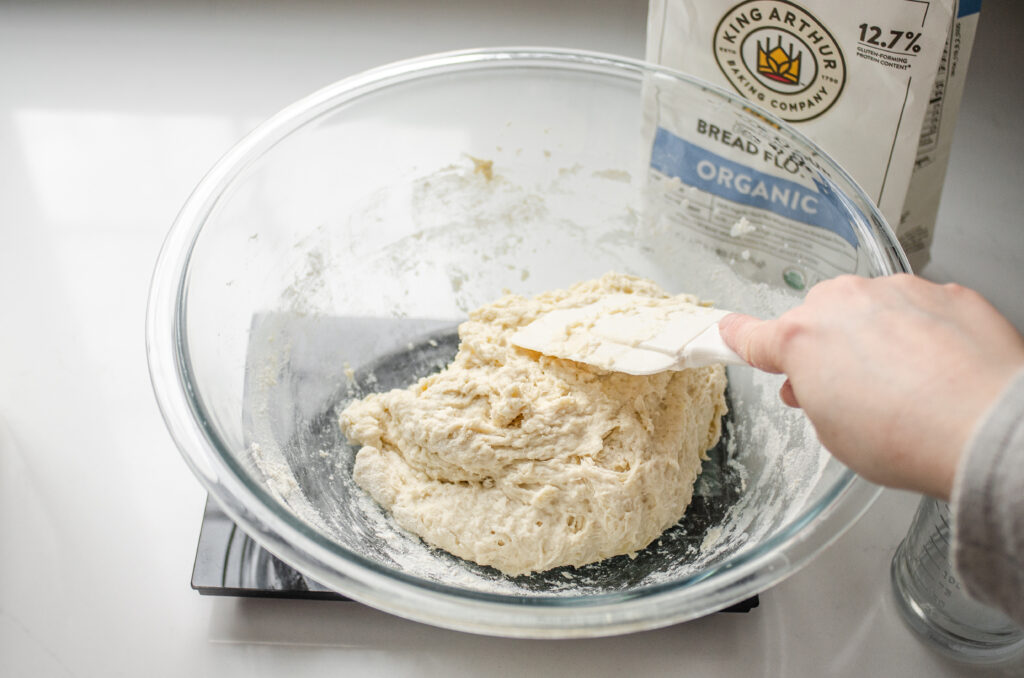
Knead on medium for 15 minutes using the dough hook attachment. Yes, I’m using my paddle attachment because my dough hook bit the dust and I don’t know if I can find the right replacement. Anyway.
The dough should be elastic and clean the sides of the bowl.
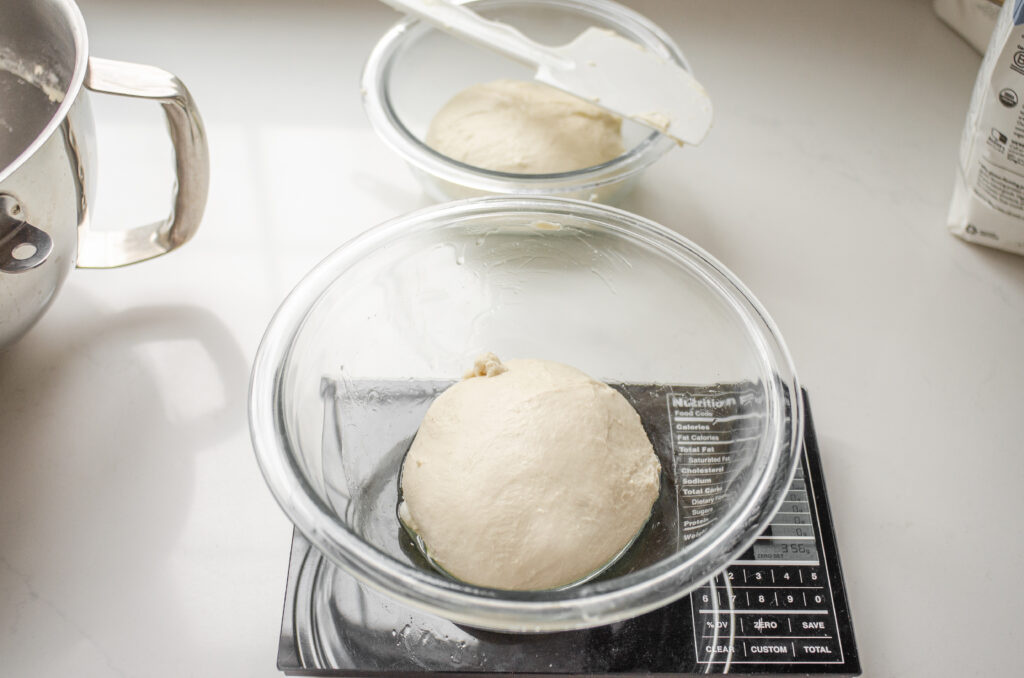
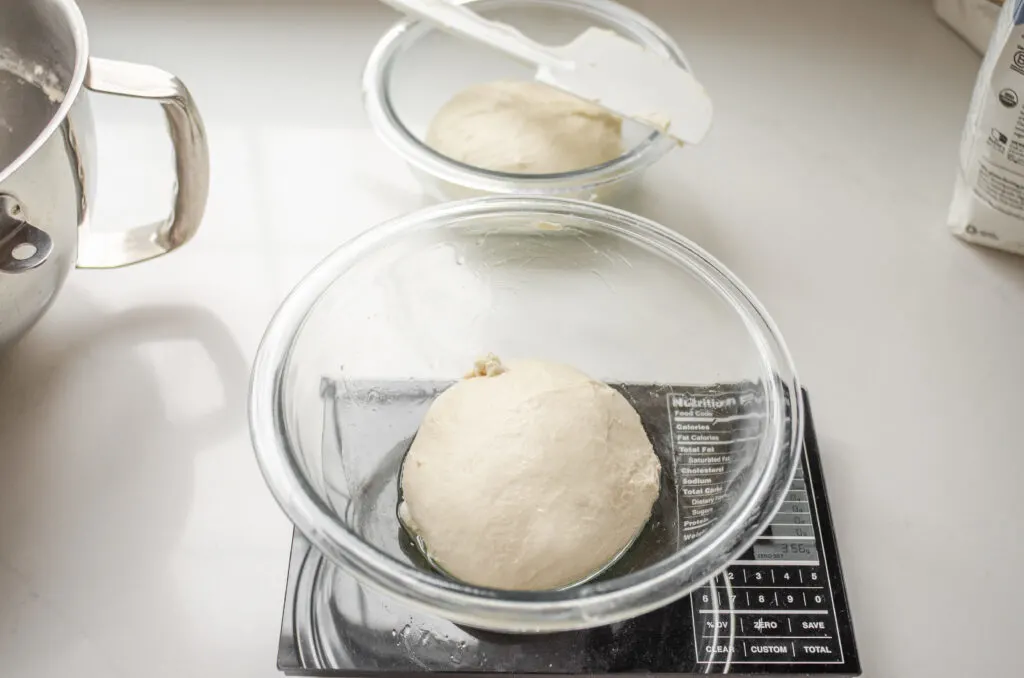
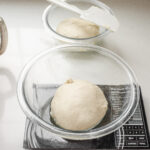
Grease a lidded container by pouring in a little olive oil and spreading it around. I like to use Pyrex lidded containers because then I don’t have waste plastic wrap.
Divide the dough into two equal pieces. You can weigh the dough if you wish, or just eyeball it. The entire dough should weigh 729 grams, so half of that would be 364.5 grams. But you’ll lose some of the dough on the bowl, beater, and your hands, so each half will end up being more like 350-355 grams.
Form into balls and place in the prepared containers.
Let the dough rise at room temperature for 4 hours. Transfer to the refrigerator for 12-24 hours to continue to ferment and develop flavor.
Now you can use the dough immediately if you prefer, and it will still be delicious, but it will have the best flavor if you let it do a cold rise in the refrigerator.
And that’s it for the simple method! Let’s move on to the fancier, tastier method.
Stretch and Fold Method:
We’ll be using all the same ingredients as the simple method. But this time, we’ll mix them differently.
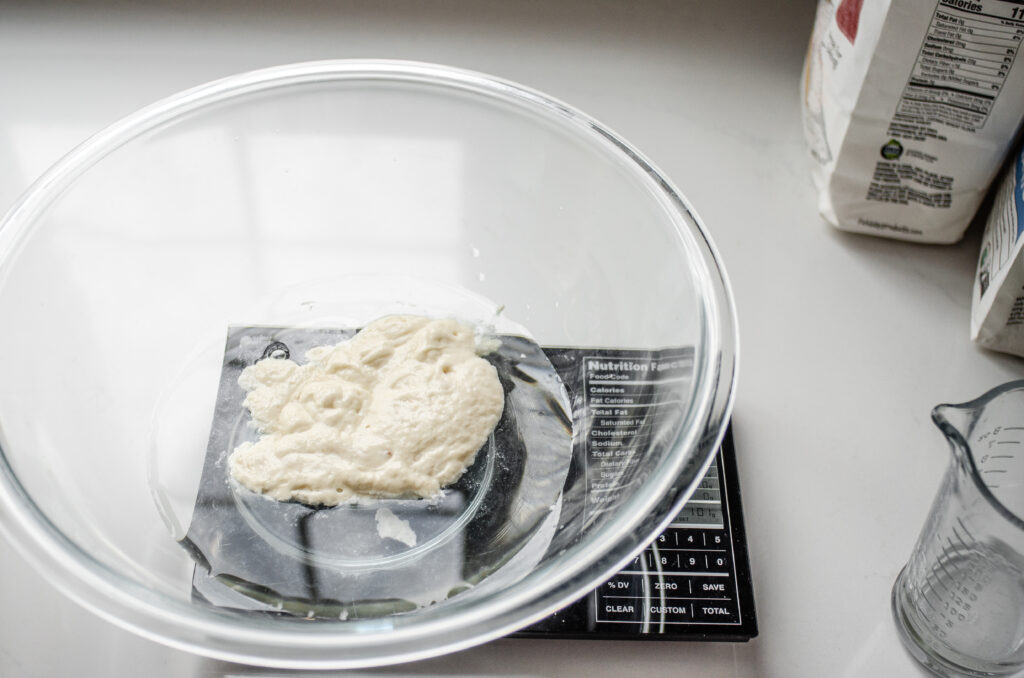
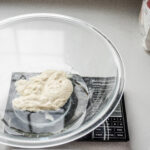
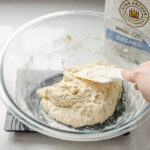
Place the warm water in a large mixing bowl. Add the sourdough starter on top, and give it a mix with a spatula.

Now add the remaining ingredients except for the salt.

Autolyse:
Use the spatula to mix everything together until there are no more dry bits of flour and you have a shaggy dough. Cover and allow to autolyse or rest for 1 hour.
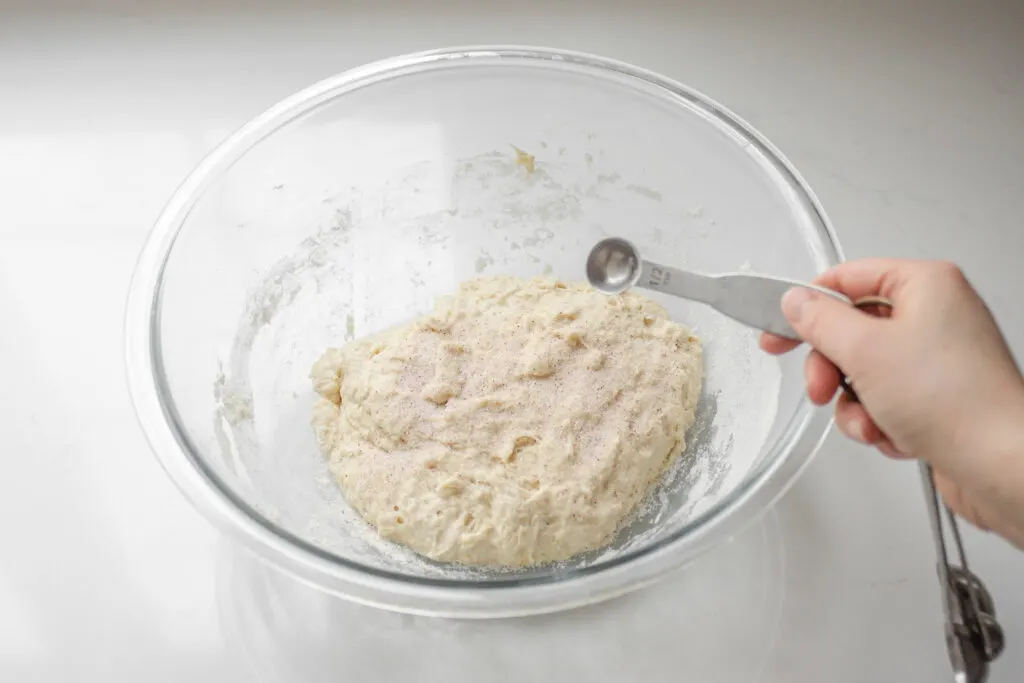
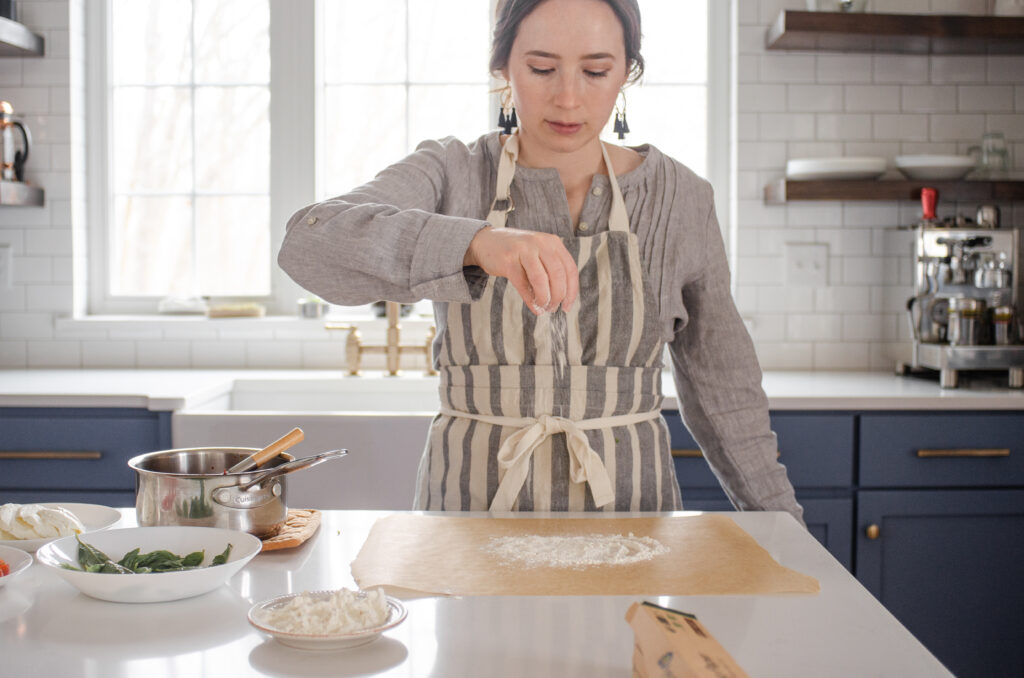
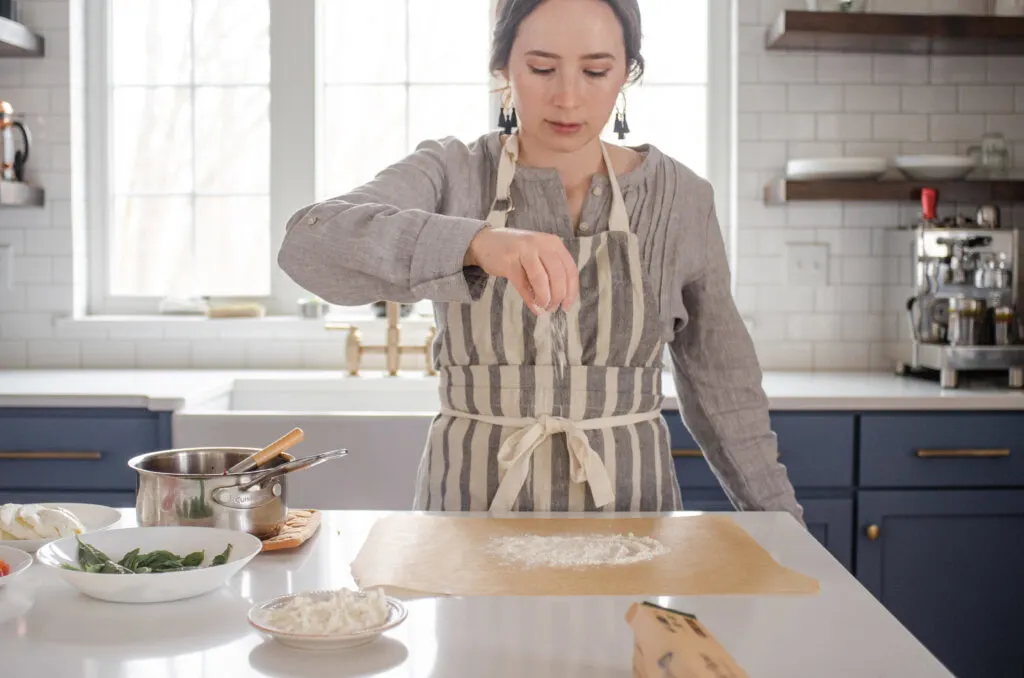
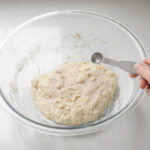
After the hour, sprinkle the salt on top of the dough.
Using wet hands, pinch the dough around the salt to start to incorporate it.
Stretch and Fold Sequence:
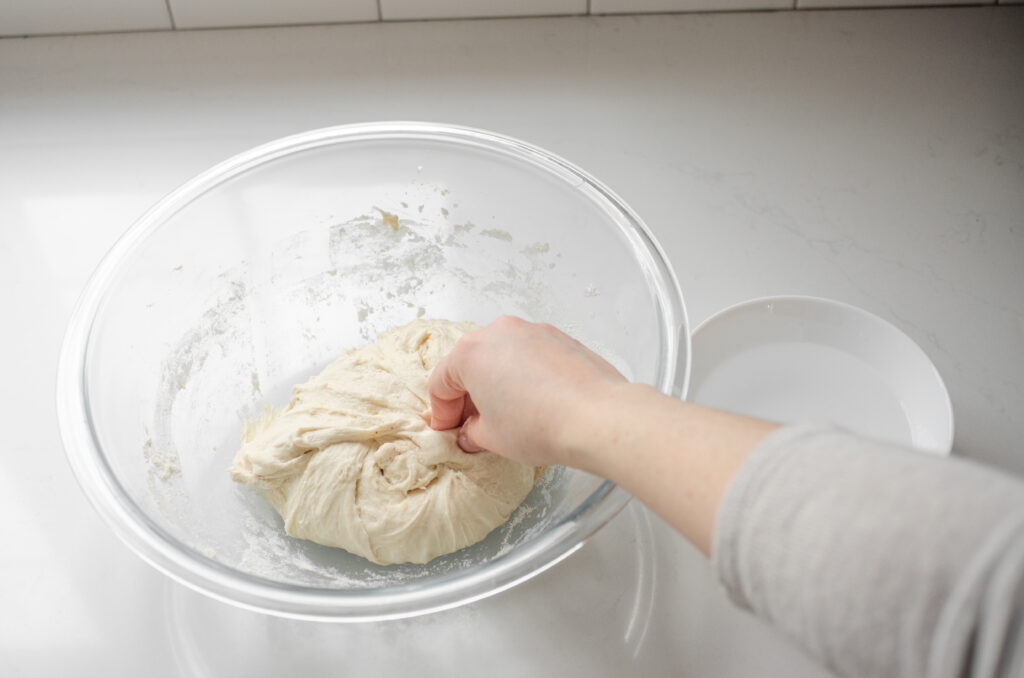
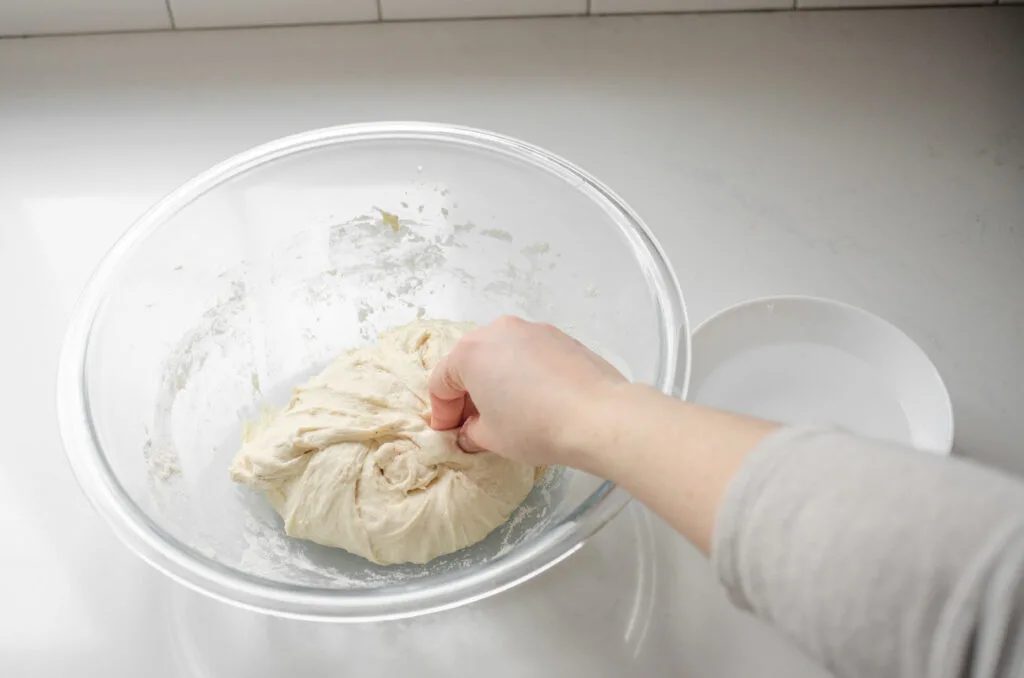
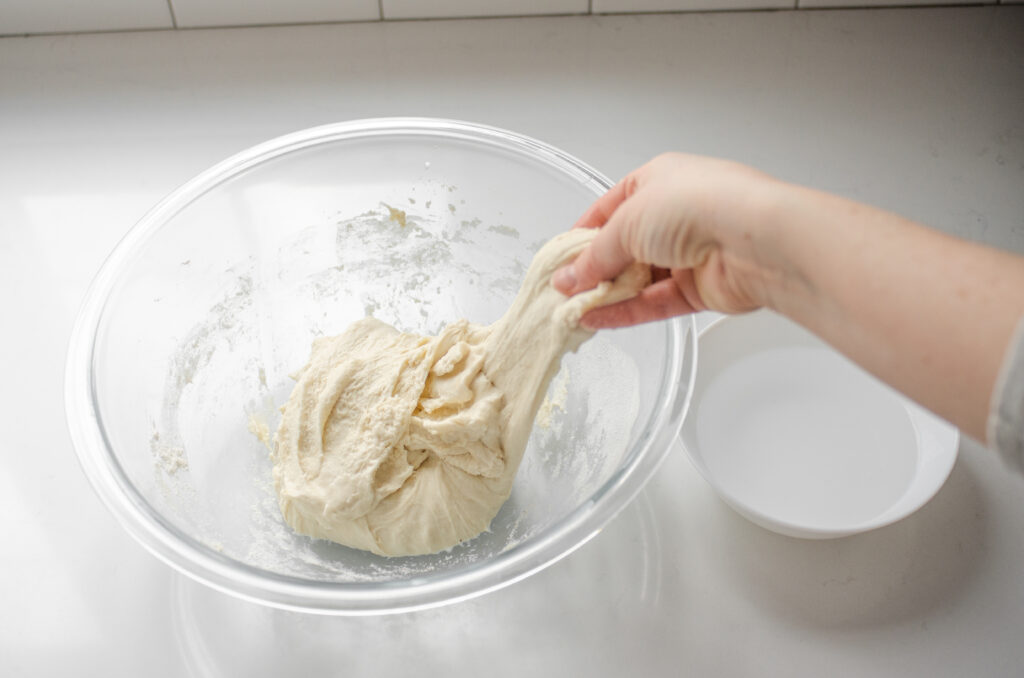
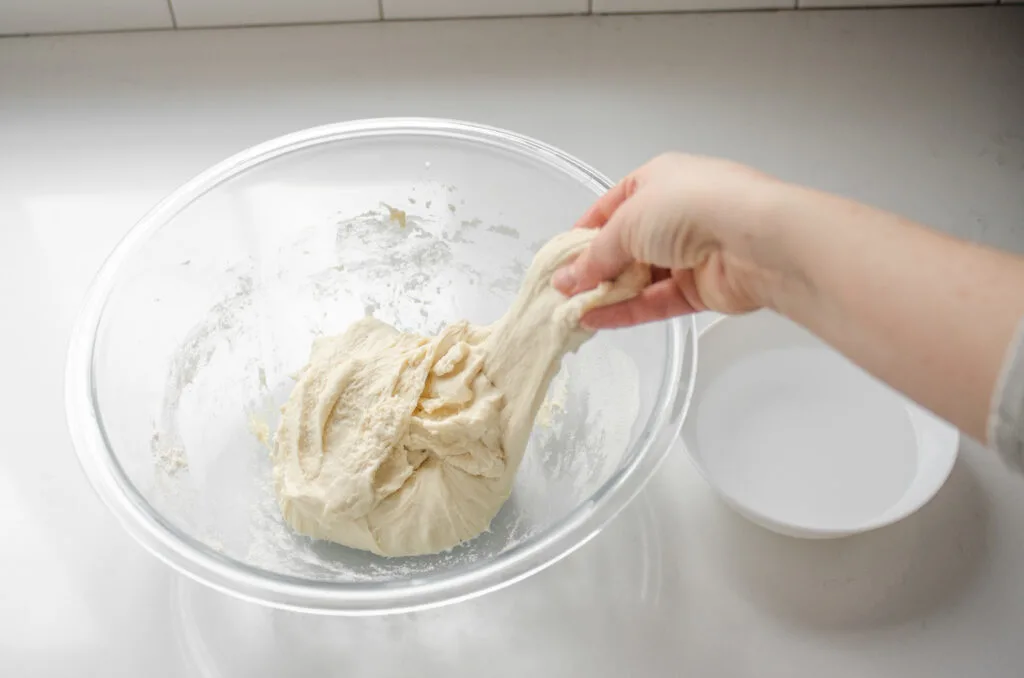
Now it’s time to perform the first stretch and fold sequence. Think of the dough as having 4 corners. It’s round I know, but just imagine for a second. Grab the edge of the dough from one of the corners, pull it up…
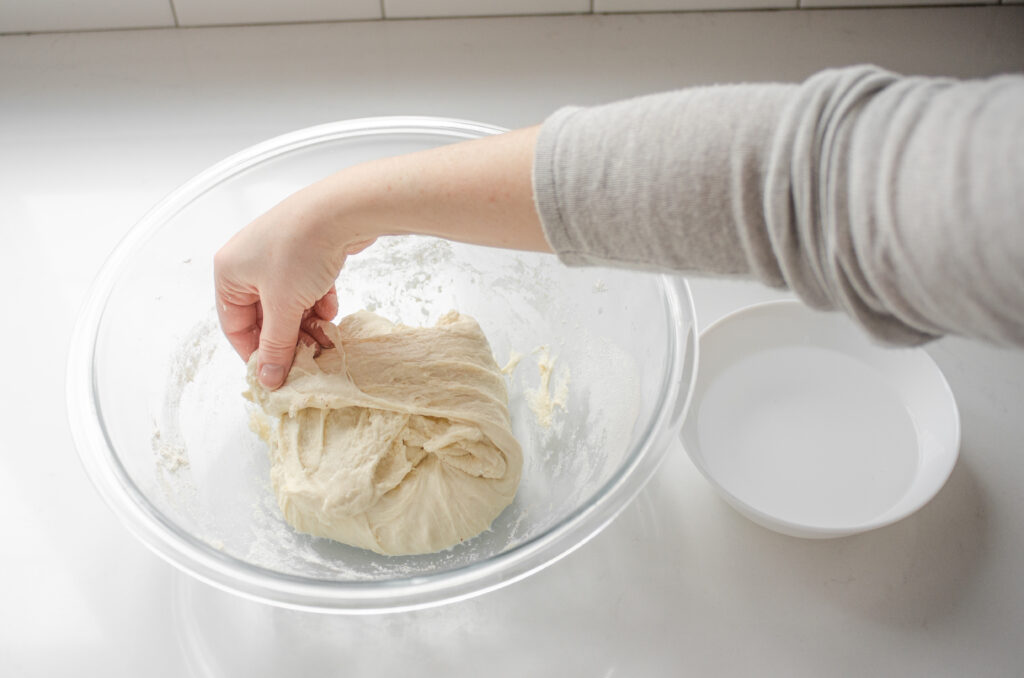

…and stretch and fold it over to the other side. Repeat with the remaining 3 corners of the dough.
Cover bowl, and allow to rest for 30 to 45 minutes.
You’re going to repeat this stretch and fold, rest sequence 4-5 more times, for a total of 5-6 stretch and fold sequences. This should take about 2 to 2.5 hours or so.
The dough will start out sticky, and eventually become more elastic. If the dough doesn’t seem elastic enough, you can add in another stretch and fold sequence.
Bulk Fermentation:
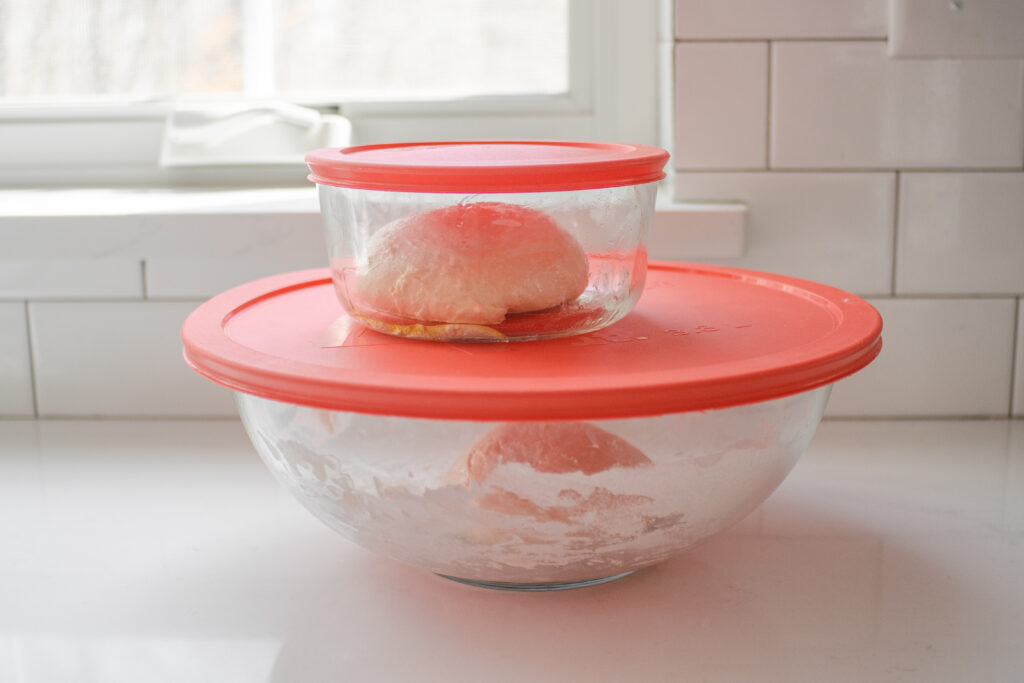
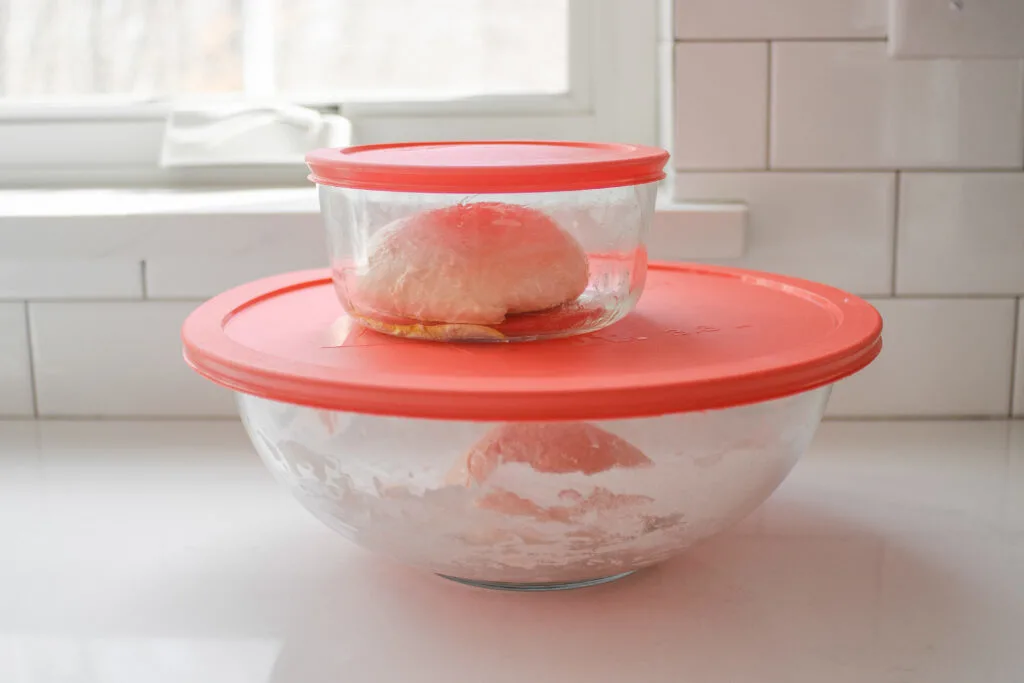
After you’ve performed the final stretch and fold, form the dough into 2 balls. Place in greased lidded containers.
I just reused the large bowl I kneaded the dough in because I hate extra dishes. However, this obviously takes up way too much room in your fridge. So take that into account when selecting your proofing container.
Allow the dough balls to rise at room temperature for 1 hour, and then either use immediately or transfer them to the refrigerator for 12-24 hours.
Again, the cold ferment will really boost the flavor and texture of the pizza crust.

How to Shape and Bake:
The following instructions apply to both the machine kneaded method and the stretch and fold method.
Okay, when you’re getting close to being ready to make your pizza, take the dough out of the refrigerator and allow it to warm up and rise for 2-3 hours.
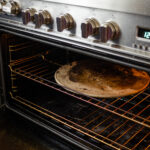
45 minutes before you’re planning on baking your pizza, place a pizza stone in the oven and preheat it to…really hot.
My oven only goes up to about 490 Fahrenheit, so that’s what I turn it up to. But if your home oven goes up to 500, 550 degrees F, do that!
Note: You could also use a baking steel or heavy duty baking sheet to cook the pizza. I only have experience with the pizza stone, though. So you might have to adjust the cooking time if you go that route!
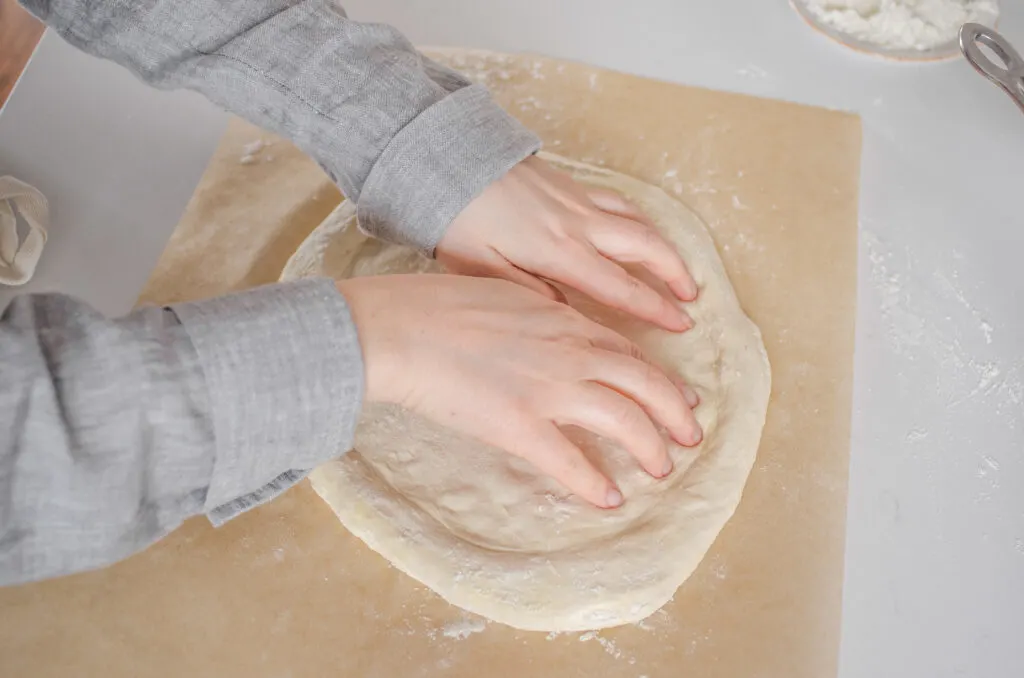
When the dough has had a chance to warm up, it’s time to shape it into pizza crusts. Dust a square of parchment paper generously with flour.
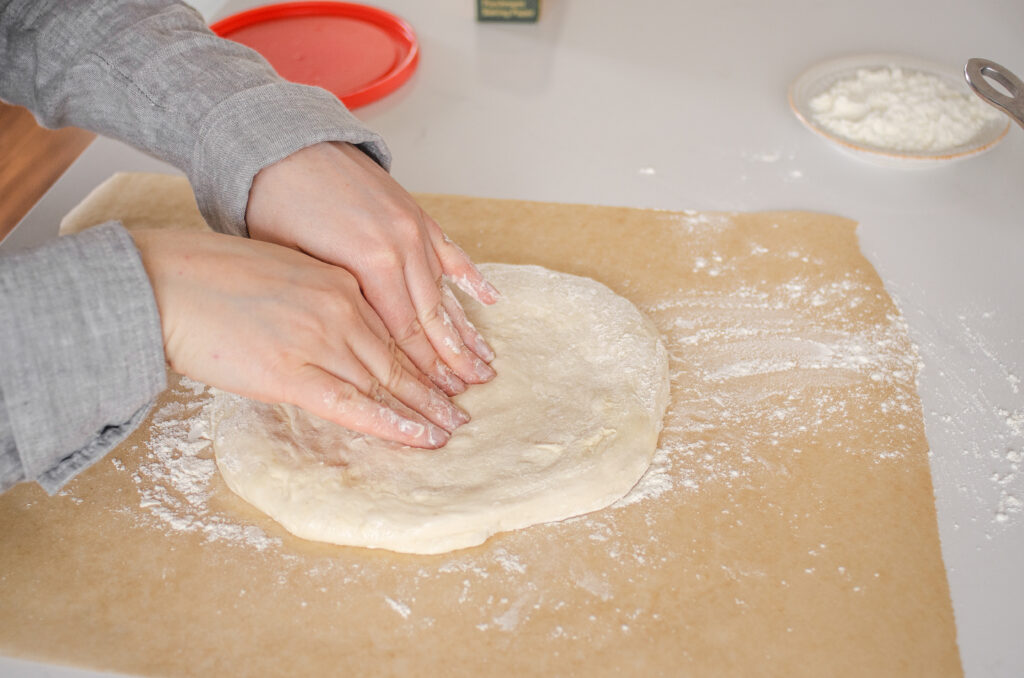
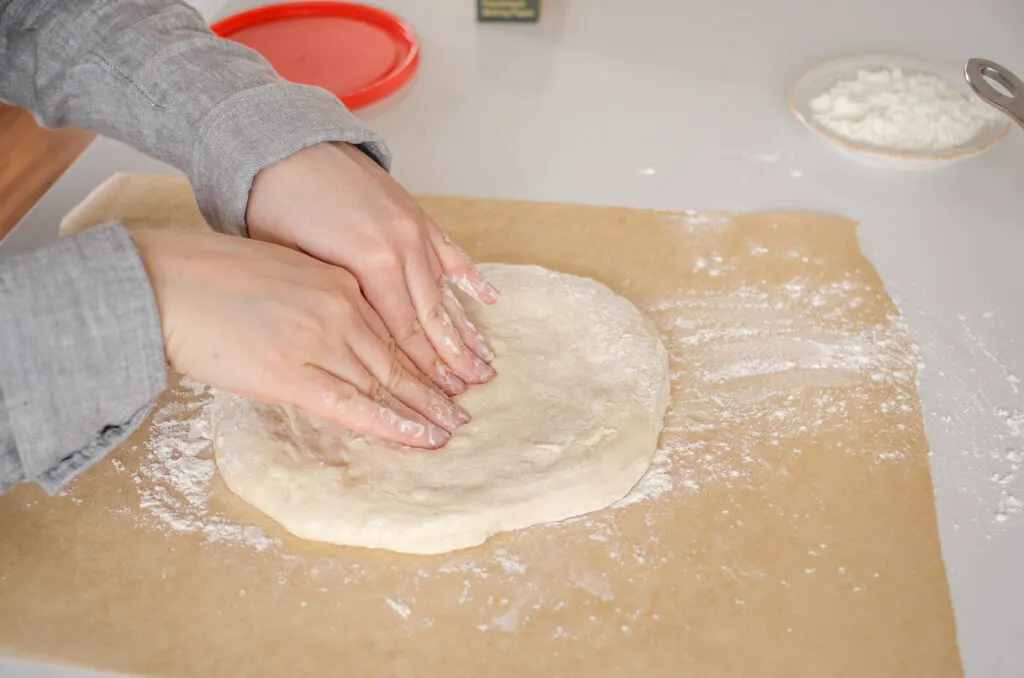
Plop a dough ball onto the floured surface, and then turn it over so both sides are coated in flour. Now begin to stretch the dough out in a circle.
I recommend using your hands instead of a rolling pin.
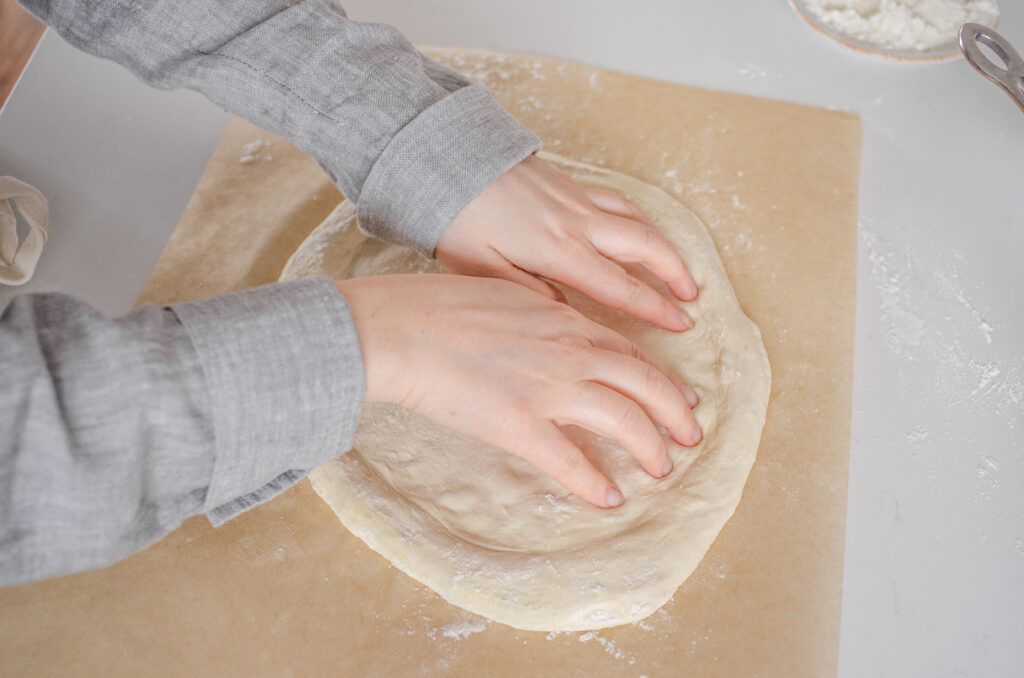
Work from the center and push the dough out, leaving the edges of the dough alone if you like that puffy edge crust.
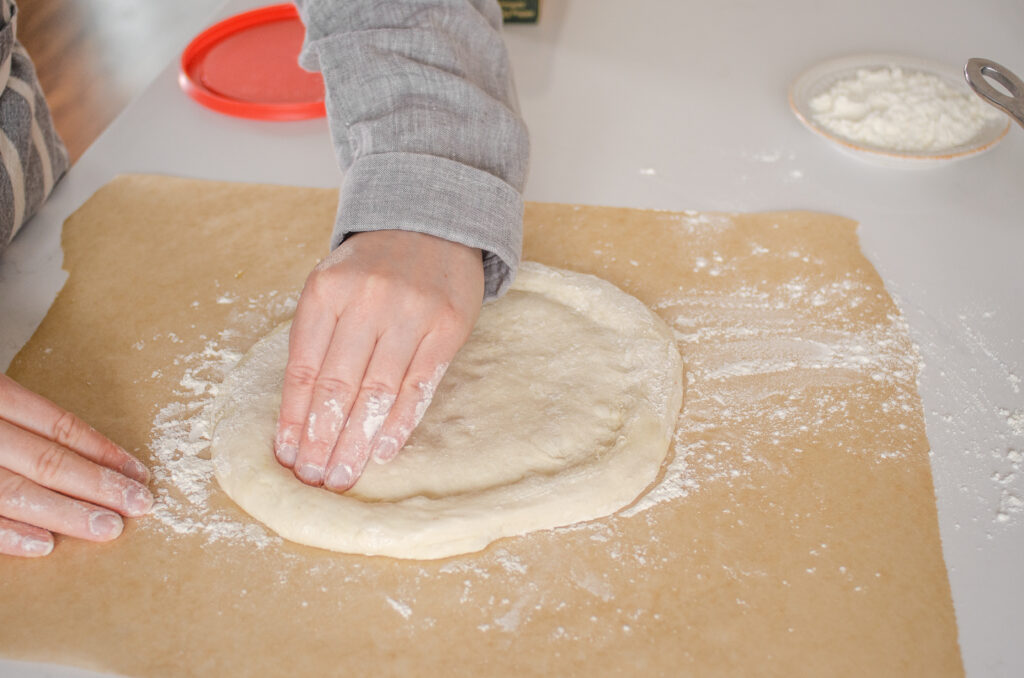
Another technique that my sister told me about involves pushing your fingers all around the edge of the crust to kind of stake out that puffy edge.
Then you can work from the middle and you won’t de-puff the edge crust.
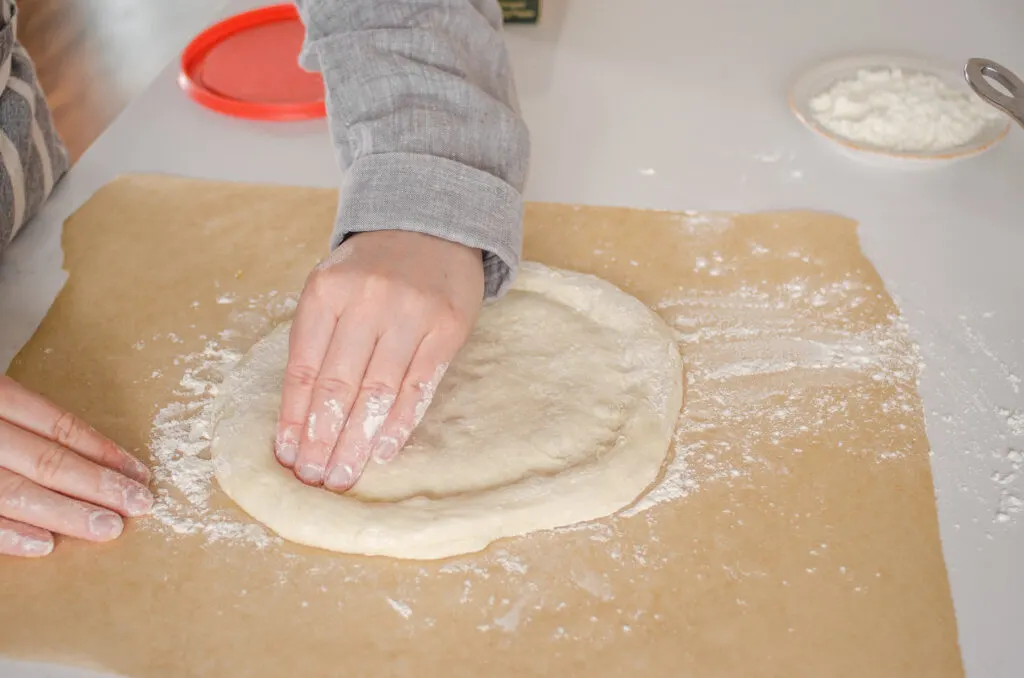
Now you’ll probably only be able to partially roll out the dough on your first attempt. When it doesn’t want to stretch out any more, let the dough rest for 5-10 minutes and then come back to it.
The gluten should have relaxed enough for you to shape the dough more. Repeat the stretching and resting until you’ve got the dough to the size you like.
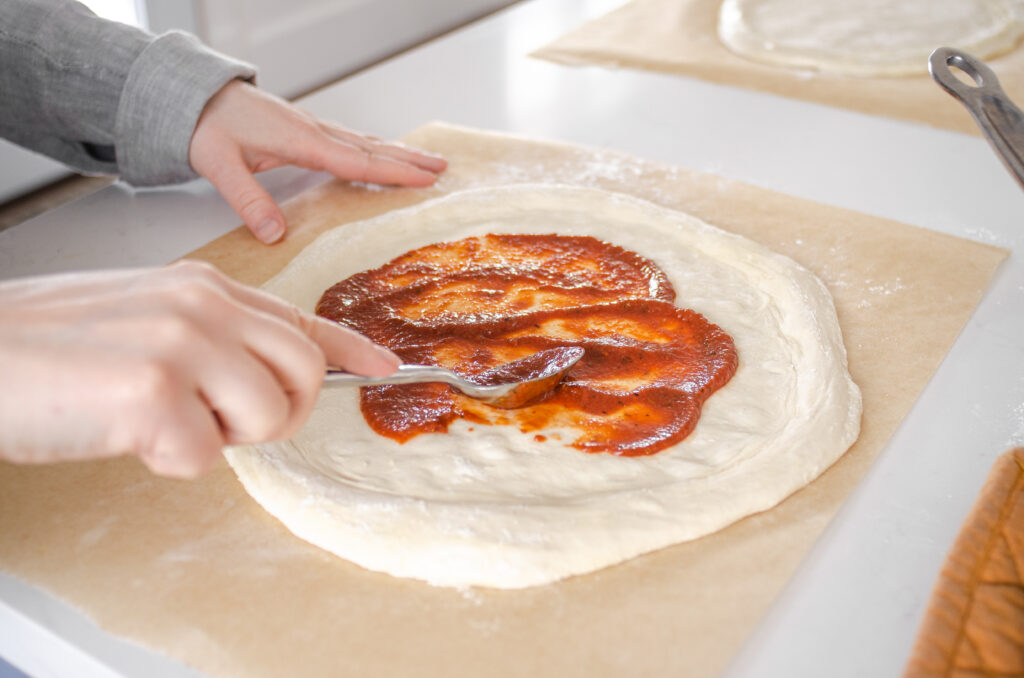

Now it’s time to top your pizza!
The main thing to remember with homemade pizza is DO NOT OVER-TOP IT. The crust will have a hard time getting done under a giant load of toppings. Go easy on the sauce – use less than you think you should!
Speaking of sauce, I have a great recipe for easy homemade pizza sauce!


There are endless flavor combinations when it comes to sourdough pizza. I’m simple and enjoy pepperoni, red tomato sauce, and black olives. Fresh mozzarella, red sauce, fresh tomatoes, and fresh basil is a classic that’s hard to mess up.
BTW, I like to add some basil while the pizza is baking, and then add more once it’s done cooking.


Trim the edges of the parchment paper. If you don’t do this, the parchment paper might burn under the intense heat of the oven.
Now in my experience, you do see an improvement in texture if you use cornmeal instead of parchment paper to transfer the crust to the pizza stone. However, it makes a terrible mess in your oven. So to me the reduction in texture is worth it.

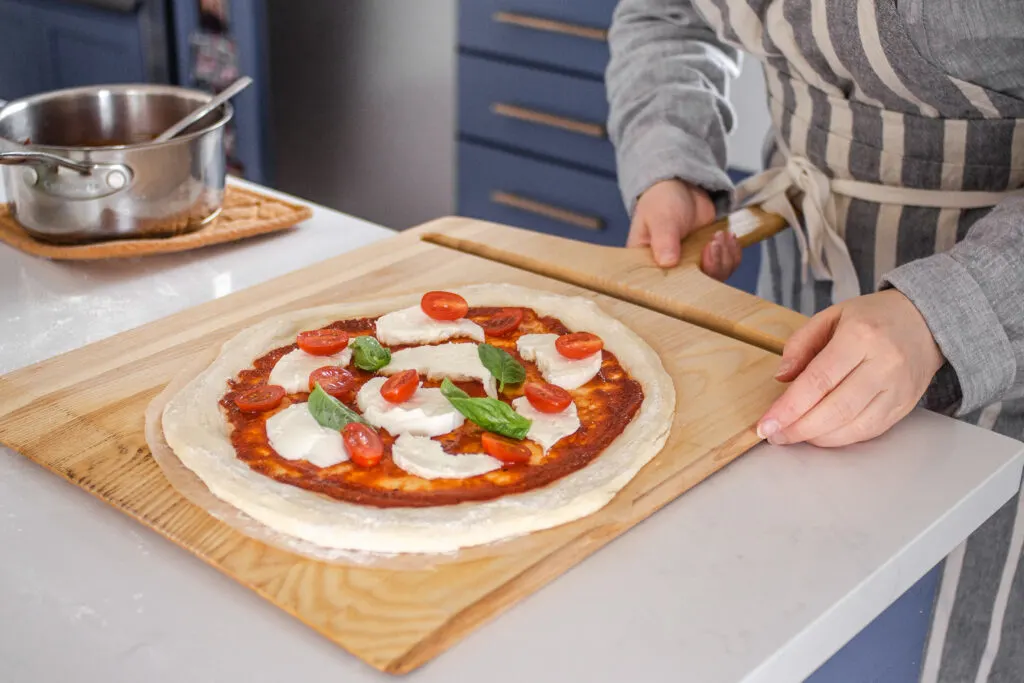
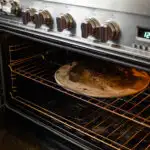
Okay, now transfer your pizza creation to a pizza peel (or flat sheet pan or wooden cutting board), and then into the blazing hot oven it goes!
Now the amount of time it will take for your pizza to cook will depend on how hot your oven is, how thick you rolled out the crust, and how many toppings you chose to layer on (ahem).
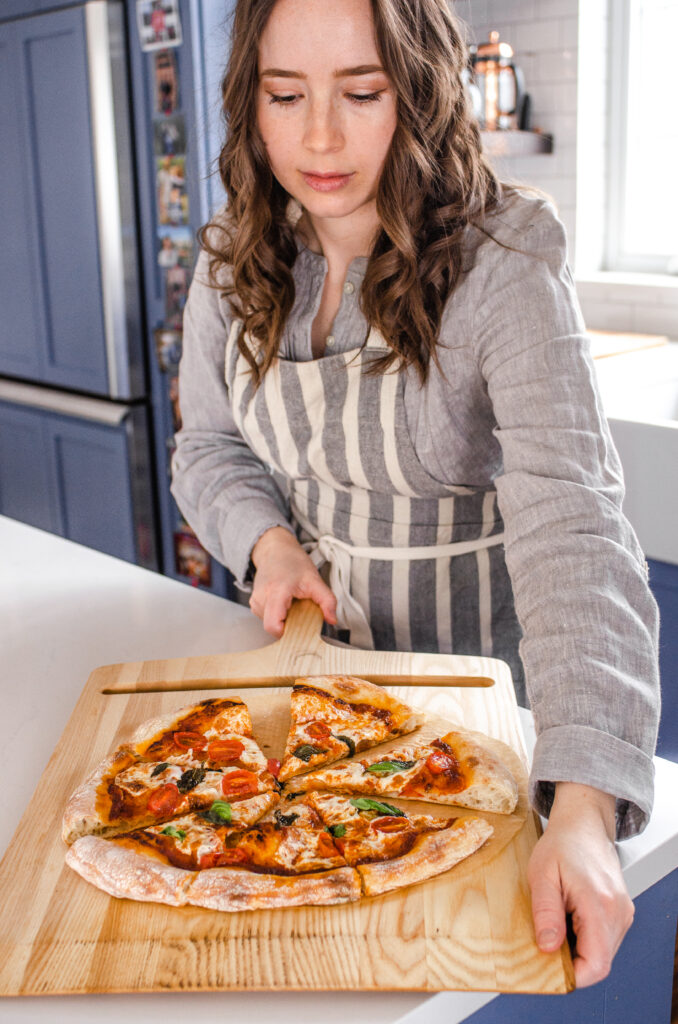

I usually cook my sourdough pizza for around 15 minutes at 490 – 500Fish.
Keep in mind that sourdough can take longer to cook than conventional pizza dough. If you go longer, the center part of the crust will have a better chance at cooking all the way through. But if you go a shorter amount of time, the edge crust will be softer.

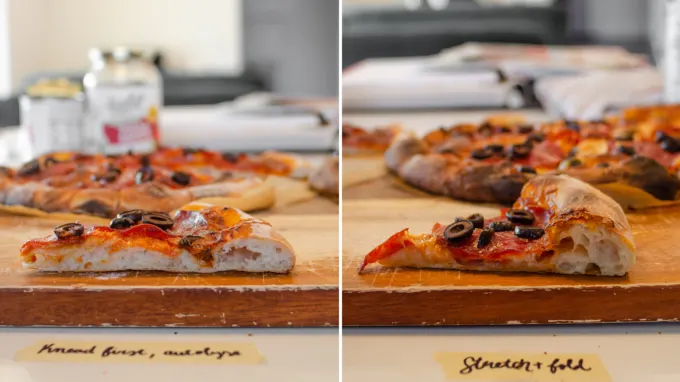
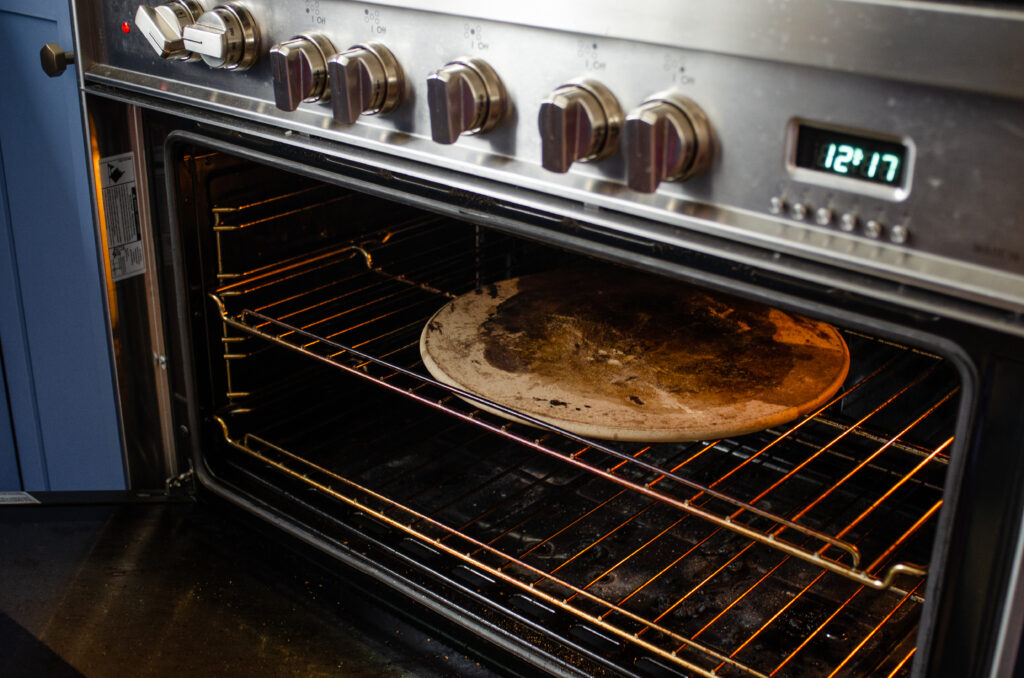
Now look at the difference between the two kneading methods. The machine kneaded crust is on the left, and the stretch and fold crust is on the right.
As you can see, the machine kneaded crust is definitely flatter with fewer large air holes. The stretch-and-fold kneaded crust is more light and airy.
So I leave it to you to decide which method will work best for your lifestyle and cooking style!
I highly encourage you to try the stretch-and-fold method at least once. The crust it produces is wonderful.


FAQ:
Here are some commonly asked questions about sourdough pizza crust:
Why is My Sourdough Pizza Crust Tough?
If you’re encountering a tough sourdough pizza crust, it could be for a couple reasons. If your starter isn’t very strong and active, it won’t raise the dough, and thus it won’t light and airy. Also, if you bake your pizza too long it can make for a tough crust. Finally, if you don’t add any sugar or oil to the dough, it may not be as soft.
Is Sourdough Pizza Crust Better for You?
This is a matter of opinion, but I believe that sourdough is easier to digest, therefore it’s easier on your body. I think I can tell the difference in how I feel eating unfermented bread vs sourdough.
What Does Sourdough Pizza Crust Taste Like?
If you follow my recipe carefully, it will basically taste like regular pizza crust, but enhanced. Once you try sourdough pizza crust, you won’t look at regular pizza crust the same way. Now if you want a more tangy, sour flavor, you can use a more mature starter.


So that’s my sourdough pizza recipe!
Now if you’re looking for another fun sourdough project, make sure to check out my other sourdough recipes!
Sourdough Starter Discard Recipes:
Sourdough Bread Recipes:
- Healthy Whole Wheat Sourdough Sandwich Bread
- Sourdough Brioche
- Soft Sourdough French Bread
- Sourdough Sandwich Bread
Other Sourdough Projects:
- Sourdough Tortillas
- BEST Sourdough English Muffins
- Sourdough Donut Recipe
- Homemade Sourdough Hamburger Buns
- Sourdough Pull Apart Dinner Rolls


Sourdough Pizza Crust Recipe
Make a delicious sourdough pizza with this simple dough recipe!
Ingredients
- 100 grams active sourdough starter see note
- 250 grams warm filtered water (no more than 100° F)
- 200 grams organic all-purpose flour
- 150 grams organic bread flour
- 1 tablespoon sugar (10 grams)
- 1 tablespoon extra virgin olive oil (10 grams)
- 1 ½ teaspoons salt. (9 grams)
Instructions
For the Machine Kneaded Method:
-
Place all of the dough ingredients in the bowl of a stand mixer. Knead on medium using the dough hook for 15 minutes. The dough should be elastic and clean the sides of the bowl.

-
Grease 2 lidded containers. Divide the dough in half. You can weigh the dough if you wish, or just eyeball it (see note). Form into balls and place in the prepared containers.

-
Allow to rise at room temperature for 4 hours. Transfer to the refrigerator for 12-24 hours to continue to ferment and develop flavor (see note).
For the Stretch and Fold Method:
-
Place the water in a large mixing bowl. Add the sourdough starter on top, and give it a mix with a spatula.
-
Now add the remaining ingredients except for the salt. Use the spatula to mix everything together until there are no more dry bits of flour and you have a shaggy dough. Cover and allow to autolyse or rest for 1 hour.

-
After the hour, sprinkle the salt on top of the dough. Using wet hands, pinch the dough around the salt to start to incorporate it.

-
Now it’s time to perform the first stretch and fold sequence. Think of the dough as having 4 corners. Grab the edge of the dough from one of the corners, pull it up, and stretch and fold it over to the other side. Repeat with the remaining 3 corners of the dough.


-
Cover the dough back up, and allow to rest for 30 to 45 minutes.
-
You’re going to repeat this stretch and fold, rest sequence 4-5 more times, for a total of 5-6 stretch and fold sequences. This should take about 2 to 2.5 hours or so. The dough will start out sticky, and eventually become more elastic. If the dough doesn’t seem elastic enough, you can add in another stretch and fold sequence.
-
After you’ve performed the final stretch and fold, form the dough into 2 balls. Place in greased lidded containers. Allow the dough balls to rise at room temperature for 1 hour, and then either use immediately or transfer them to the refrigerator for 12-24 hours.


Forming the Pizza Crusts (both methods)
-
When you’re getting close to being ready to make your pizza, take the dough out of the refrigerator and allow it to warm up and rise for 2-3 hours.
-
45 minutes before you’re planning on baking your pizza, place a pizza stone in the oven and preheat it to…really hot. My oven only goes up to about 490°F, so that’s what I turn it up to. But if your oven goes up to 500, 550 degrees F, do that!
-
When the dough has had a chance to warm up, it’s time to shape it into pizza crusts. Dust a square of parchment paper generously with flour. Plop a dough ball onto the flour, and then turn over so both sides are coated in flour. Now begin to stretch the dough out in a circle.


-
Work from the center and push the dough out, leaving the edges of the dough alone if you like that puffy edge crust.


-
When the dough doesn’t want to stretch out any more, let it relax for 5-10 minutes and then come back to it. The gluten should have relaxed enough for you to shape the dough more. Repeat the stretching and resting until you’ve got the dough to the size you like.


-
Top your pizza as desired.


-
The main thing to remember with homemade pizza is DO NOT OVER-TOP IT. The crust will have a hard time getting done under a giant load of toppings. Go easy on the sauce - use less than you think you should!


-
Trim the edges of the parchment paper. If you don’t do this, the parchment paper might burn under the intense heat of the oven.


-
Transfer your pizza creation to pizza peel, and then into the blazing hot oven it goes! The amount of time it will take for your pizza to cook will depend on how hot your oven is, how thick you rolled out the crust, and how many toppings you chose to layer on.


-
I usually cook my sourdough pizza for around 15 minutes at 490 - 500 (see note).


-
Remove from oven and allow to cool for 5 minutes before slicing and enjoying!
Recipe Notes
- The entire dough should weigh 729, so half of that would be 364.5 grams. But you’ll lose some of the dough on the bowl, beater, and your hands, so each half will end up being more like 350-355 grams.
- Now you can use the dough immediately if you prefer, and it will still be delicious, but it will have the best flavor if you let it do a cold rise in the refrigerator.
- Keep in mind that sourdough can take longer to cook than conventional pizza dough. If you go longer, the center part of the crust will have a better chance at cooking all the way through. But if you go a shorter amount of time, the edge crust will be softer.
- Calories calculated as the crust only. Calculated for 1/8 of a pizza.
Lyndsey
Saturday 17th of January 2026
Hi Erica! I love this recipe! Thank you so much for sharing it!! Can I freeze this dough?
Erica Kastner
Tuesday 20th of January 2026
I have not had good results with freezing uncooked sourdough dough. I would instead suggest that you par-bake the crust, cool, then freeze.
Sasa
Saturday 21st of June 2025
Could you make the shaped stretched out crusts and leave in fridge with toppings on them ready to go for baking another day in the near future? Just thinking of prep if you had to bake off 20 odd pizzas for a function
Erica Kastner
Sunday 22nd of June 2025
I have not personally tried that, but I would think it would work similar to take-and-bake pizza? Papa Murphy's advises that you bake their pizzas within 24 hours of purchase, but other sources say uncooked pizza can last in the fridge for a couple days. Let me know if you try it!
Jocelynn Holton-Pugh
Friday 13th of June 2025
I totally forgot to put my dough in the fridge before falling asleep last night? Will it still be okay to use?
Erica Kastner
Sunday 15th of June 2025
It should still be fine unless it's REALLY over fermented. Signs of over fermentation would be the dough having a really sticky, slack, thin consistency that isn't workable. You could maybe still save it even if it's really runny by using a lot of flour? But if it's workable, it should still be fine!
Johnae Davis
Friday 8th of March 2024
Hi. I’m actually about to do the first two steps of the stretch and fold method now while on my lunch break lol. Can you freeze this dough? I searched for my answer before replying but didn’t see it stated. Thanks SO MUCH! I’m gonna do sourdough chocolate chip cookies after work tonight! I’ve watched this video on YouTube numerous times now because I’m anal about getting all the steps correct. Have a great weekend! Love your videos!
Sharena
Wednesday 29th of October 2025
@Erica Kastner, yeah I tried freezing it and it didn’t bake well.. maybe try partial cooked freeze ??
Caitlin
Monday 13th of May 2024
@Johnae Davis, this happened to me super sticky and didn't rise much. I'm from the UK and used a mix of plain flour (what I'm supposing is a version of all purpose flour) and bread flour, but I'm wondering if my starter is too hydrated and if the balance (ratio) of flours is right. I'm going to feed my starter with a strong flour, 100% hydration and try with a bread flour with a higher protein content... fingers crossed
Johnae Davis
Friday 8th of March 2024
@Erica Kastner, Thanks SO MUCH! I just re-read & saw you can do the bulk fermentation over a few days so I’ll do that & make pizzas on Monday night instead. Circled back because I’m about to enter my 4th round of stretch and folds and my dough is still stuck. The elasticity is getting better but is this stickiness normal?
Erica Kastner
Friday 8th of March 2024
I have experimented with freezing sourdough, and honestly it hasn't been super successful. I have seen other bakers mention that you can do it, but I have not personally had amazing results. So...you could give it a try, but no guarantees! Hope you have a great weekend as well!
Liz
Friday 16th of February 2024
I found you on YouTube with this recipe and I just want to tell you how much I love your recipes. I've made this pizza dough 3 times in the past two weeks and I also have made 4-5 of your other sourdough recipes. I'm actually making this dough again today (Friday) to put in the fridge and make for Sunday and it is delicious!
Erica Kastner
Friday 16th of February 2024
This makes me so happy! I'm glad you've been enjoying all the sourdough goodness!!