These overnight sourdough waffles have quickly become a family favorite!

![]()
![]()
You guys. I have discovered the wonderful world of sourdough! I’m so excited to share more about it, but for now I want to talk about these amazing waffles.
My first bite of these overnight sourdough waffles and I was sold. Done. Why would I want to make any other waffles ever again? Well, that’s being a bit dramatic. But these are goooood. I had heard that sourdough waffles were amazing, and now I know what all the fuss is about. Crispy with a hint of yeasty, sourdough flavor, and so easy to make.

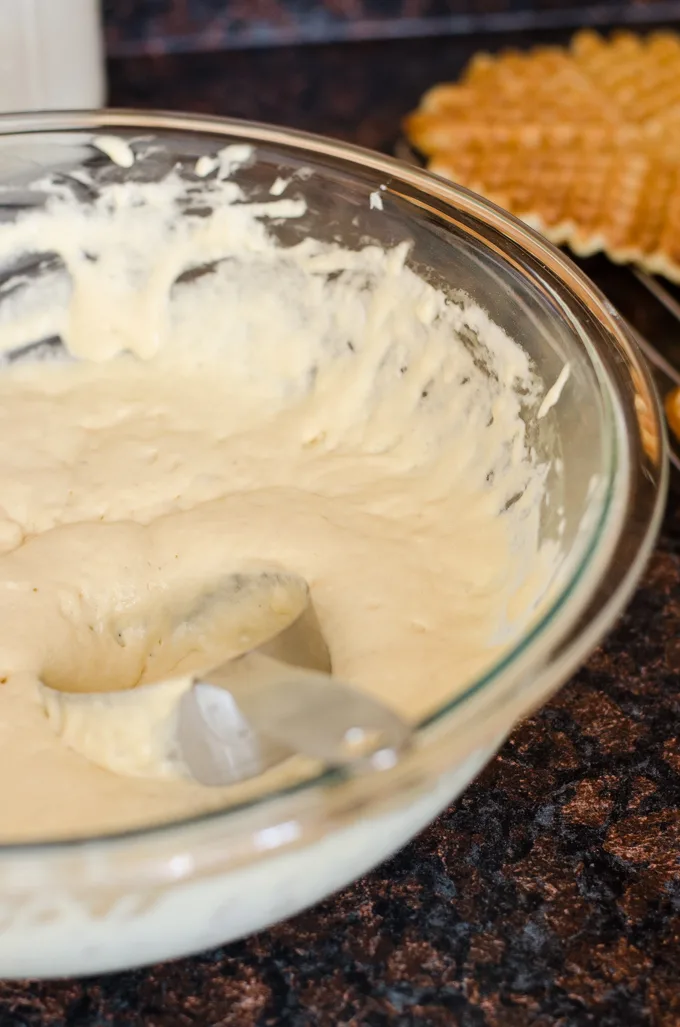
Simply mix together a few ingredients for the overnight “sponge”, then add a few more things the next morning when you’re ready to cook the waffles.
It’s been our Saturday ritual the last month or so to whip up a batch of these overnight sourdough waffles. What a wonderful start to the weekend!
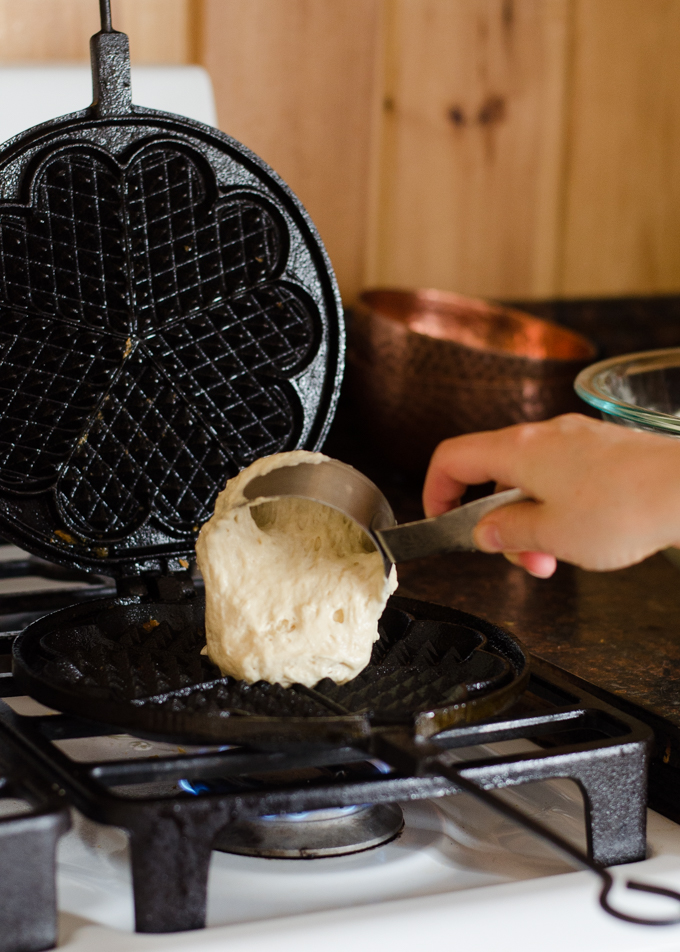

Something else that I’ve been enjoying lately is my new waffle iron! The folks over at Pleasant Hill Grain were kind enough to send it to me to test out, and I’m so glad they did.
I’ve had a cheap teflon-coated electric one for years, and I always felt a bit bad about using it. It was the only nonstick cookware that I owned, and it was starting to cook unevenly. When I finally decided to try to make the switch to a cast iron waffle maker, I was disappointed that most of them were made in China. So I held out a while longer.
Then I saw this Skeppshult cast iron waffle maker on the Pleasant Hill Grain website, which I had considered buying in the past, and glory be: it’s made in Sweden! Of course I wanted to try it out.


Overall, I really like this waffle iron. I had a few little quibbles with it, but they can easily be remedied:
- I have used this waffle iron multiple times, and I only had an issue with the waffles sticking a few of those times. After I sprayed it generously with avocado oil and ran some waffles through it, it righted itself and the waffles no longer stuck. And I’m assuming it will only get better over time if I treat it properly and make sure to keep it well seasoned. Cast iron waffle makers are notorious for sticking, so I was pleased that it wasn’t an irreparable issue.
- When you spray the iron with oil, it tends to drip out the back of the iron a bit onto your stovetop. It wipes up really easily, or you can lay down a piece of aluminum foil to catch any drips. I made a little tray of foil and it worked well! I highly recommend picking up a can of avocado oil spray – it makes greasing the iron so easy!
- This one is actually more of a pro than a con, but I thought I’d mention it: The iron is actually fairly heavy! But I wouldn’t really have it any other way. I can tell that it’s well built because it has some weight to it. It swivels easily on my stove grates, so it isn’t really an issue for me.
I can honestly say that after testing this iron I would buy it for myself. But I feel like I need to nitpick for you guys. ❤ It’s not exactly the same as a nonstick iron and it requires a little more hands-on time, but I’m so glad that I don’t have to use toxic materials when we want to enjoy waffles anymore! If you have any questions about this iron, don’t hesitate to ask in the comments!
Cooking Overnight Sourdough Waffles

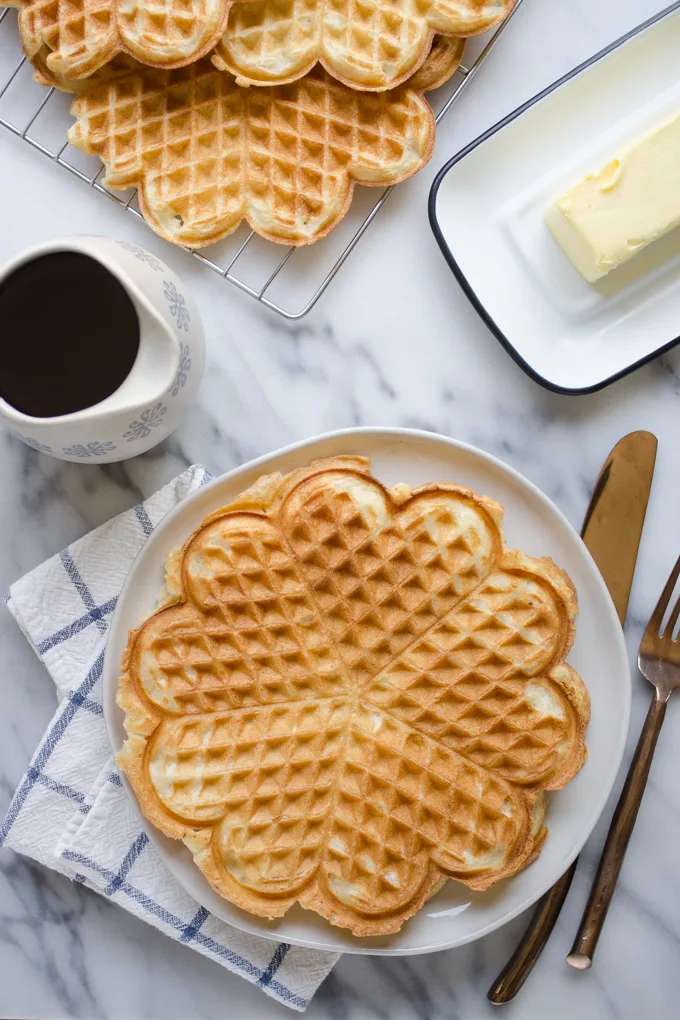
The trick to getting evenly cooked waffles is mastering The Art of the Flip. I like to preheat the iron for 2 minutes on 1 side between cooking each waffle, flip the iron, add the waffle batter, and cook for 1 minute on the un-preheated side. Then I flip it and cook for 1 more minute on the other side. It’s really easy once you get the hang of it. Just remember: Preheat 2 minutes, flip, add batter, and cook for 1 minute on each side.
Another trick is finding the right balance of heat. I find that a good medium works well. You don’t want it blazing hot, and you don’t want a timid flame. Right in the middle is good.


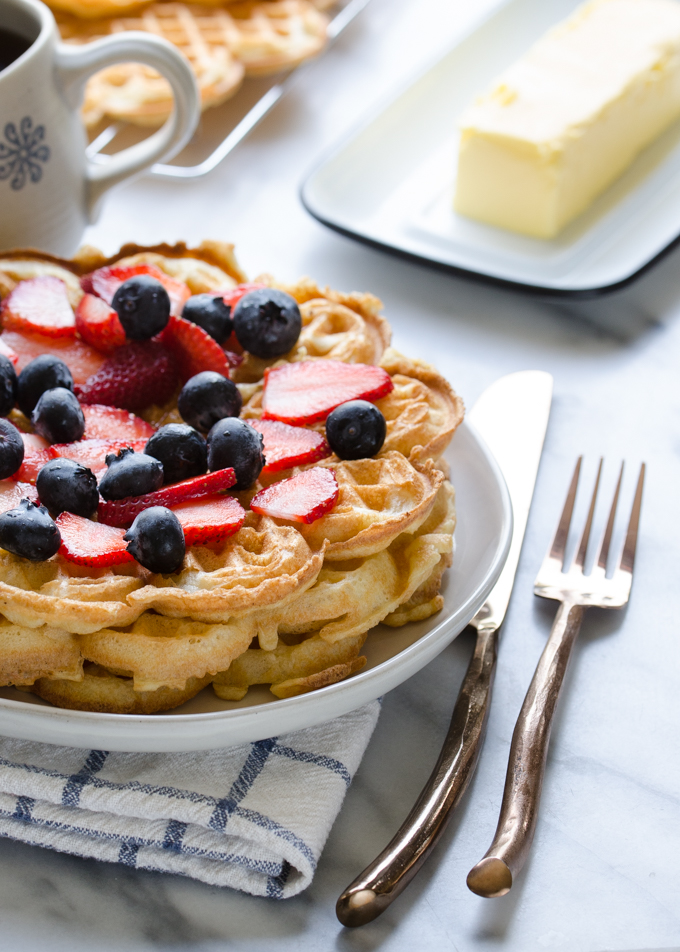
There’s just nothing quite so sublime as a crispy, golden-brown waffle slathered with butter and drizzled with maple syrup. Am I right?!
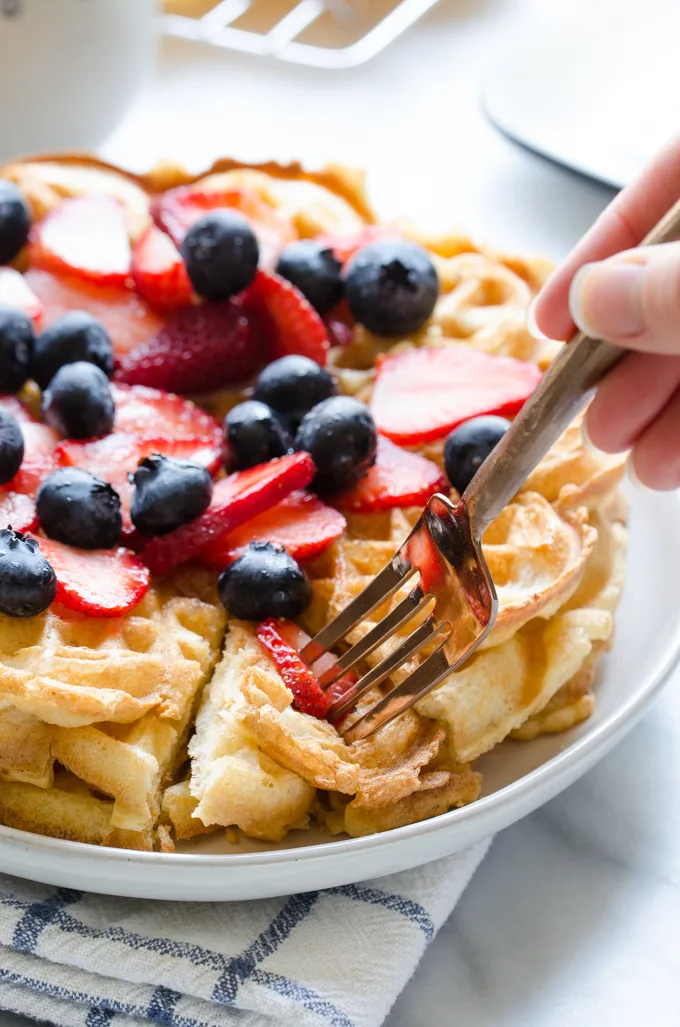
More Ways to Serve Overnight Sourdough Waffles:

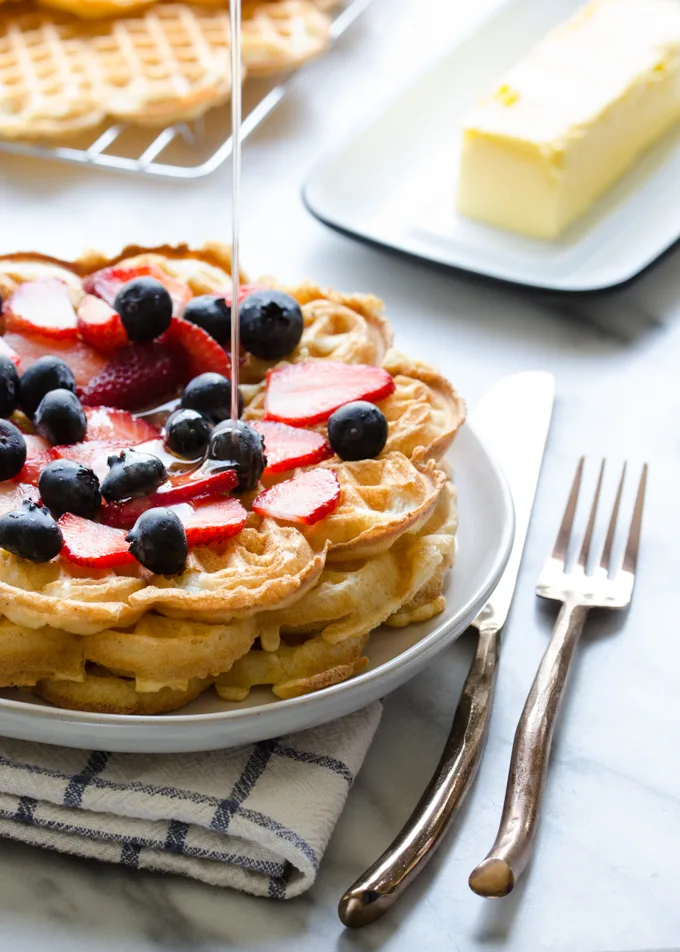
WRONG. When you add fresh fruit, it gets even better! ? I’ll sometimes get ambitious and add a dollop of whipped cream as well. Heaven!

Mix up a batch of these Overnight Sourdough Waffles on Friday night and enjoy a scrumptious Saturday morning breakfast. These reheat nicely, so you could make a double batch and eat them throughout the week. The kids LOVE it when we have leftover waffles, and I love that breakfast is mostly made in advance.
Many thanks to Pleasant Hill Grain for sponsoring this post! I can’t wait to whip up another batch of waffles in my iron. ?
Here’s a video with step-by-step instructions:
More Sourdough Recipes:
- Sourdough Pancakes
- Sourdough Pull Apart Rolls
- How to Make Artisan Sourdough Bread
- Sourdough Sandwich Bread
- Overnight Sourdough Waffles
- Sourdough Cranberry Orange Rolls
- Sourdough Dutch Baby/German Pancake


Overnight Sourdough Waffles
These sourdough waffles can rise overnight so you can quickly cook up a batch the next morning!
Ingredients
For the overnight sponge:
- 1 cup (240 grams) sourdough starter, active*
- 1 cup buttermilk (I used 3/4 cup yogurt + 1/4 cup milk)
- 1 cup organic all-purpose flour (you can use half whole wheat if you like)
- 1 tablespoon sucanat or organic cane sugar
For the next morning:
- 1/4 cup butter, melted and cooled
- 1 large egg
- 1 teaspoon pure vanilla extract
- 1/4-1/2 teaspoon unrefined salt
- 1 teaspoon baking soda
Instructions
The night before:
-
Whisk together the sourdough starter, buttermilk, flour, and sucanat until smooth. Cover and let sit on the counter overnight or 8-12 hours.
The next morning:
-
In a small bowl, whisk together the butter, egg, and vanilla. Whisk into the overnight sponge.
-
Sprinkle the salt and baking soda on top of the batter. Whisk until incorporated.
To cook the waffles:
-
While you're mixing together the batter, preheat your cast iron waffle maker over medium heat on the stove for 5 minutes on each side.
-
When you're ready to cook, flip the iron so that the hot side is on top. Spray generously on both sides with avocado oil. Add about 1/2 cup of batter, close the iron, and cook for 1 minute. Flip and cook for 1 more minute, or until the waffle is a lovely golden color.
-
Remove waffle with a fork and eat immediately, or keep warm on a cooling rack-lined baking sheet in a 200 degree oven.
-
Flip waffle iron and preheat for 2 minutes. After 2 minutes, flip again so that the hot side is on top. Add more batter, close, and cook 1 minute. Flip and cook for 1 more minute.
-
Repeat the process of preheating for 2 minutes, flipping, + cooking for 1 minute per side until all of the batter is used up. Spray iron with avocado oil every few waffles, or after every waffle if they're wanting to stick.
Recipe Notes
*Active starter simply means that you have fed it about 8 hours beforehand. I suggest feeding your starter Friday morning, mixing up the sponge Friday night, and cooking the waffles Saturday morning.
*You can reheat any leftover waffles in a toaster.
*If you use the higher amount of salt, these waffles are quite salty. I personally prefer this to the lower amount of salt, but you might prefer the lower amount.
* Recipe adapted from NY Times.
Karey
Tuesday 14th of May 2024
Basically my recipe I've done for years, tho not using yogurt or buttermilk for the liquid. Good idea. I 4x the recipe and use a big square waffle maker, so have four waffles from each, and freeze all the extras for toaster waffles!
Lisa
Tuesday 19th of December 2023
These were delicious! So light & crispy!!
Erica Kastner
Tuesday 19th of December 2023
So happy you enjoyed them!
Alex
Monday 19th of June 2023
Hello! This is our favorite waffle recipe, it’s on repeat in our home! However we have a baby with a recently diagnosed egg allergy. I’d like to replace the egg with applesauce, but I’m wondering when I should add the applesauce? I would think maybe before and that perhaps it would ferment the apples some, which could be delicious? But would love to hear your advice! Thank you! 💚
Erica Kastner
Tuesday 20th of June 2023
So happy you've been enjoying the recipe! So sorry to hear about the diagnosis. I would personally add the applesauce at the same time as the egg. The sugar in the applesauce might speed up the fermentation or otherwise interfere with it.
Marge
Tuesday 27th of December 2022
What is your hydration percentage of the starter?
Erica Kastner
Tuesday 27th of December 2022
I keep mine at 100% hydration.
Carol
Sunday 11th of September 2022
I just finished eating this waffle. Omg- it was….. delicious! There were so many things to like! Easy to whip up, you just have to have an active starter, bubbly, ripe, ready to go. When I tell you how crispy these were on the outside, golden, light and fluffy on the inside! Really good! Too bad my sourdough bread was a fail! Oh well, back to the drawing board for me!
Erica Kastner
Wednesday 14th of September 2022
So glad you enjoyed them! I hope you have better luck with your sourdough bread! That one can take a little more experience and experimenting to get down pat!