This healthy whole wheat sourdough sandwich bread is long fermented and risen with wild yeast and NO commercial yeast!

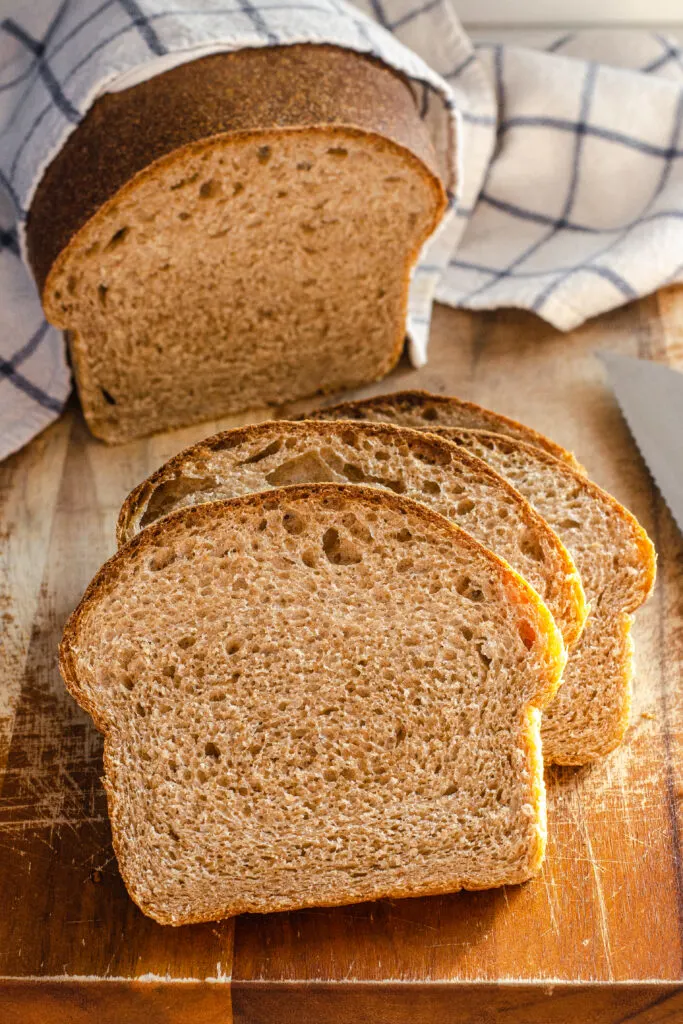
If you’d like a nice, soft sourdough bread without the need to pull out your Dutch oven, this recipe is for you!
I love a good crusty sourdough bread, but sometimes you NEED a soft loaf for sandwiches or toast.
It’s just nice to not have the butter drip right out the bottom of your toast, right?!
This healthy whole wheat sourdough sandwich bread is also simple to make with only a few ingredients!
Okay, let me show you how!

NOTE: Some links are affiliate. All opinions are my own. If you click a link and make a purchase, I will earn a small commission. This has zero impact on the price you pay, and helps Buttered Side Up out!
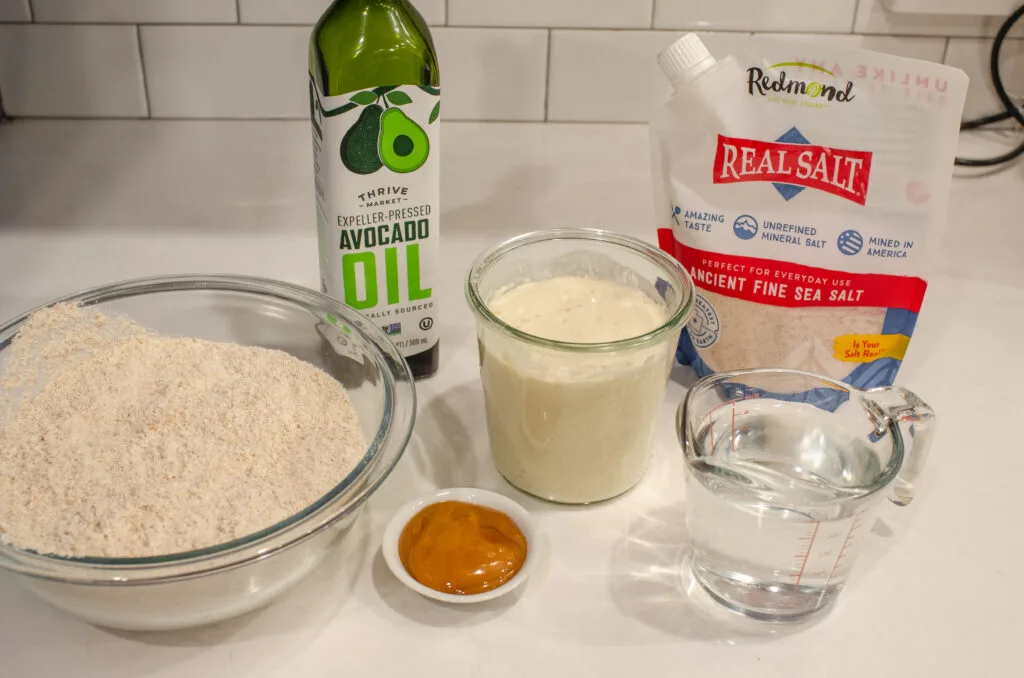
Ingredients:
- Sourdough Starter: I keep my sourdough starter at 100% hydration, which means I feed it with equal weights, not volumes, of flour and water. More info on the sourdough starter below!
- Water: Make sure to use filtered water if your tap water contains chlorine.
- Whole Wheat Flour: It’s important to select a hard wheat variety for this recipe. Hard wheat contains more gluten than soft wheat, and you need that extra gluten to make a nice stretchy dough. A stretchy dough helps the loaf to rise higher. You can use a hard red or hard white wheat. And if you want an even lighter loaf, you can substitute white bread flour or all purpose flour for part of the whole wheat flour.
- Salt: I personally use unrefined sea salt. Redmond Real Salt is wonderful.
- Honey: I like to use honey to sweeten this bread, which is much less refined than other sweeteners. But you can substitute maple syrup or cane sugar in a pinch.
- Avocado Oil: Avocado oil is a nice neutral oil, so it won’t impart a heavy flavor to the bread. Also, it has a high smoke point, so it’s less likely to deteriorate at high baking temperatures. You could substitute expeller pressed coconut oil or extra virgin olive oil if you prefer.
Equipment:
- Kitchen Scale: The measurements for this recipe are in weights. This is really the best way to ensure that you get consistent results. If you plan on doing a lot of sourdough baking, you must invest in a kitchen scale!
- Stand mixer (or strong arms): I recommend using a stand mixer to knead the dough since it takes 15-20 minutes to get the gluten to develop properly. You can knead the dough by hand, but it will take a good amount of strength.
- Large Bowl: You’ll also need a large glass or plastic mixing bowl with a lid to ferment the dough.
- Loaf pans: I like to use glass, but use metal loaf pans if that’s all you have!
- Tea Towel or Plastic Wrap: You’ll also need something to cover the loaf while it’s rising. I use a tea towel, but you can use plastic wrap if you prefer.
- Wire Cooling Rack: For allowing the loaf to cool properly!
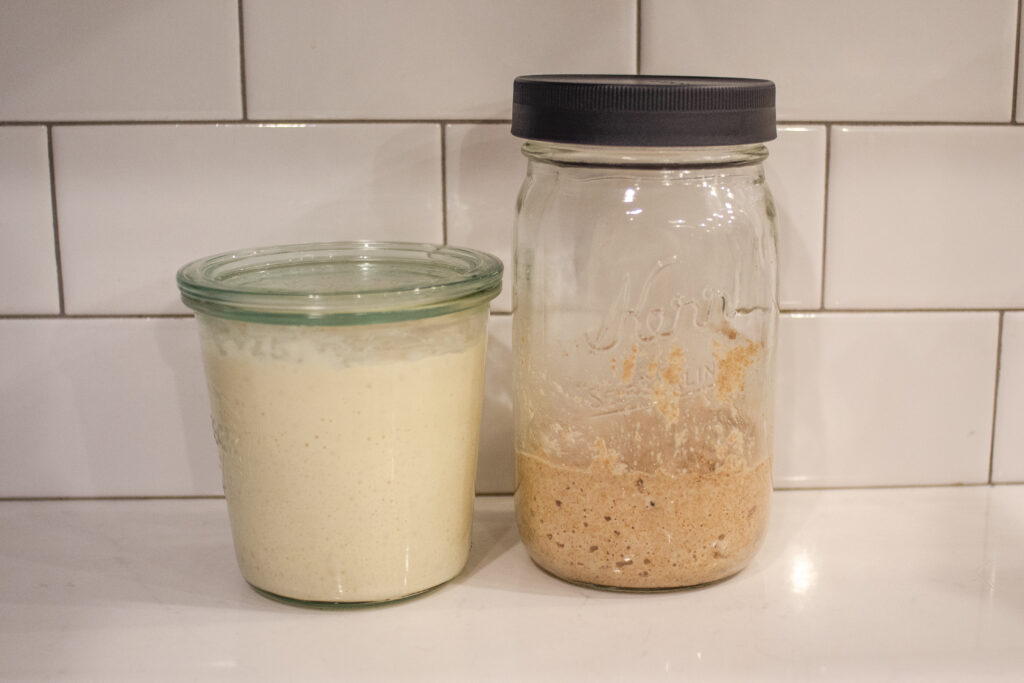

Let’s chat sourdough starter for a minute.
I like to use a white flour starter for this recipe. I experimented with using a whole wheat starter, and the loaf was still good, but it was definitely more dense. But if you want a 100% whole wheat sourdough bread, it will work.
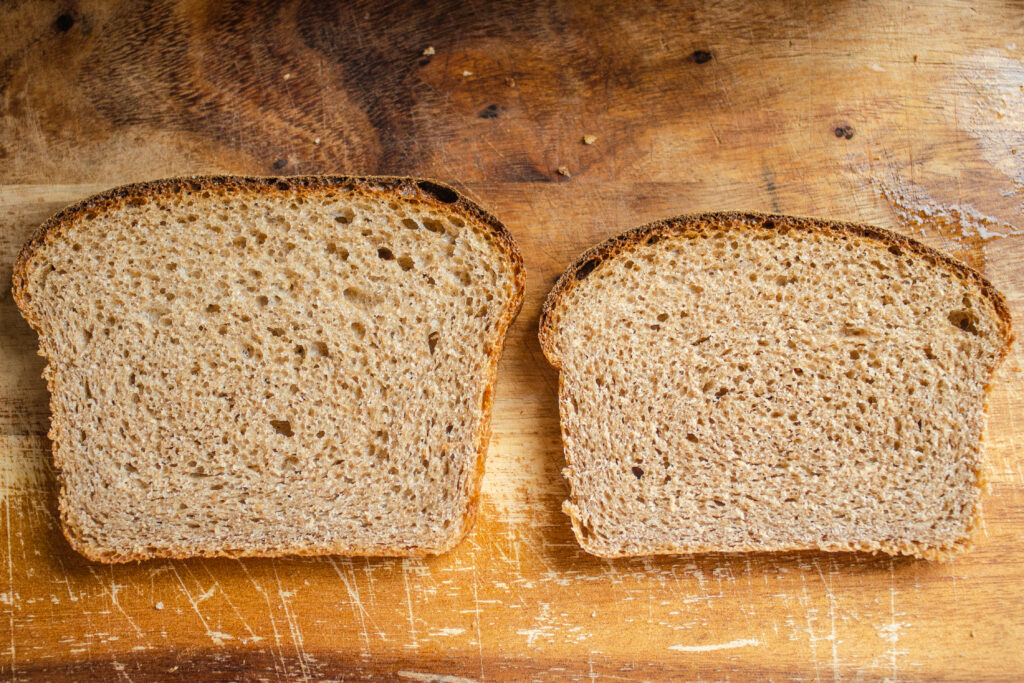
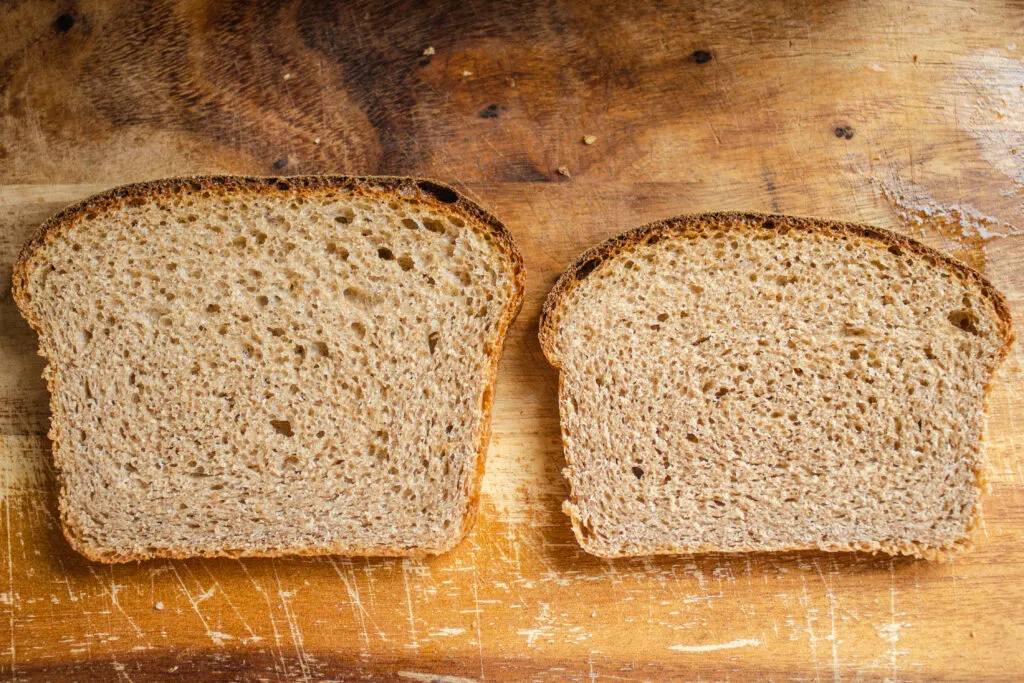
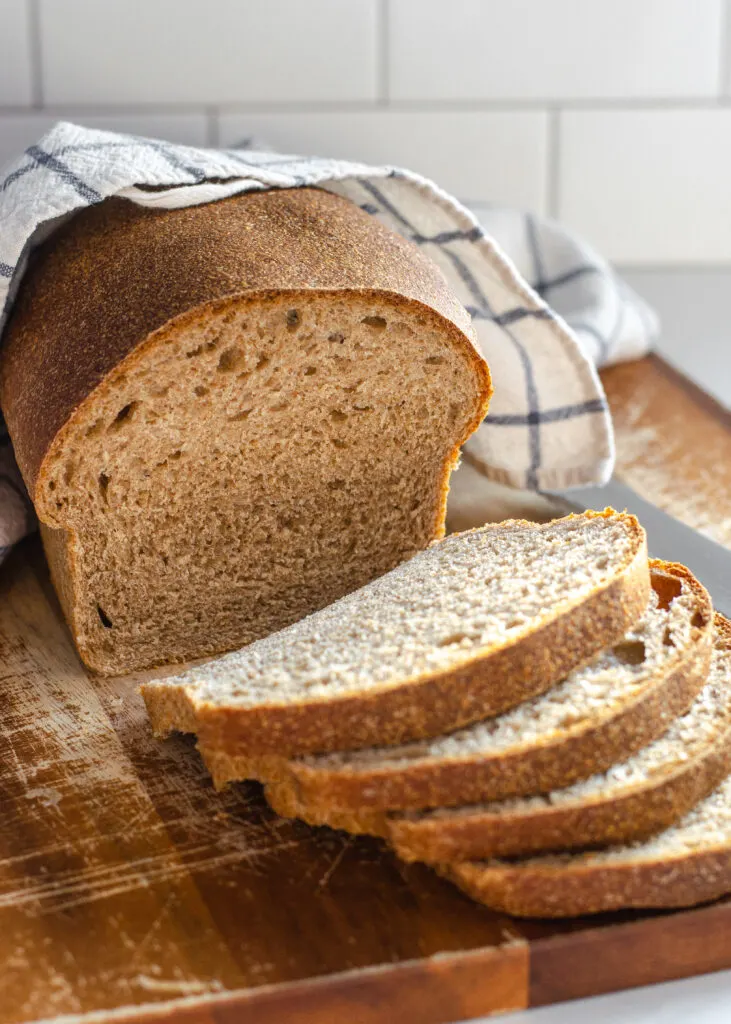
White flour starter loaf on the left, whole wheat flour starter loaf on the right.
Here is a side-by-side comparison of a loaf risen with a white flour starter, vs one risen with a whole wheat starter. The white flour starter-risen loaf has a more open crumb.
You want your starter to be active and bubbly for this recipe, so no discard, please! An active starter is one that’s been fed 4-12 hours previously, has doubled in volume, is active and bubbly, and passes the float test.


To perform the float test, drop a small piece of the sourdough starter into a glass. If it floats, it’s ready to use!
Your starter will rise faster if you put it in a warm place in your kitchen such as next to the stove or on top of the refrigerator.
If you’re still confused about sourdough starter, make sure to check out my How to Make a Sourdough Starter From Scratch post, as well as my Sourdough Starter Troubleshooting post!

How To Make Healthy Sourdough Bread:
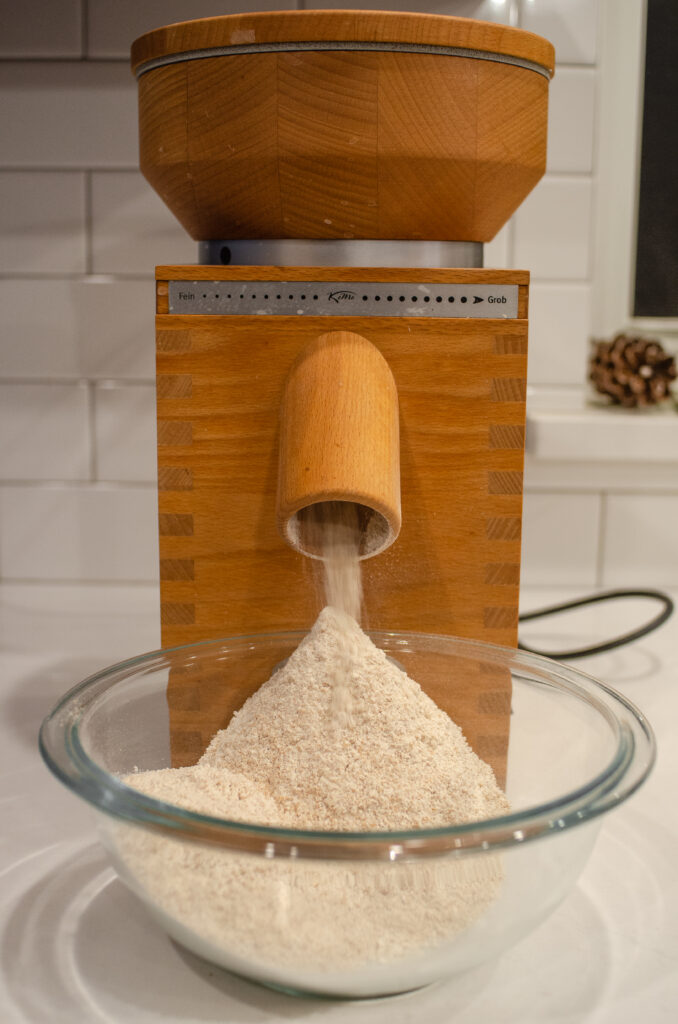
I like to grind my own whole wheat flour right before making this sourdough bread because whole grain flour tends to deteriorate quickly after it’s been milled.
If you purchase pre-ground whole wheat flour from the store, make sure to put it in the fridge or freezer right away when you get home.

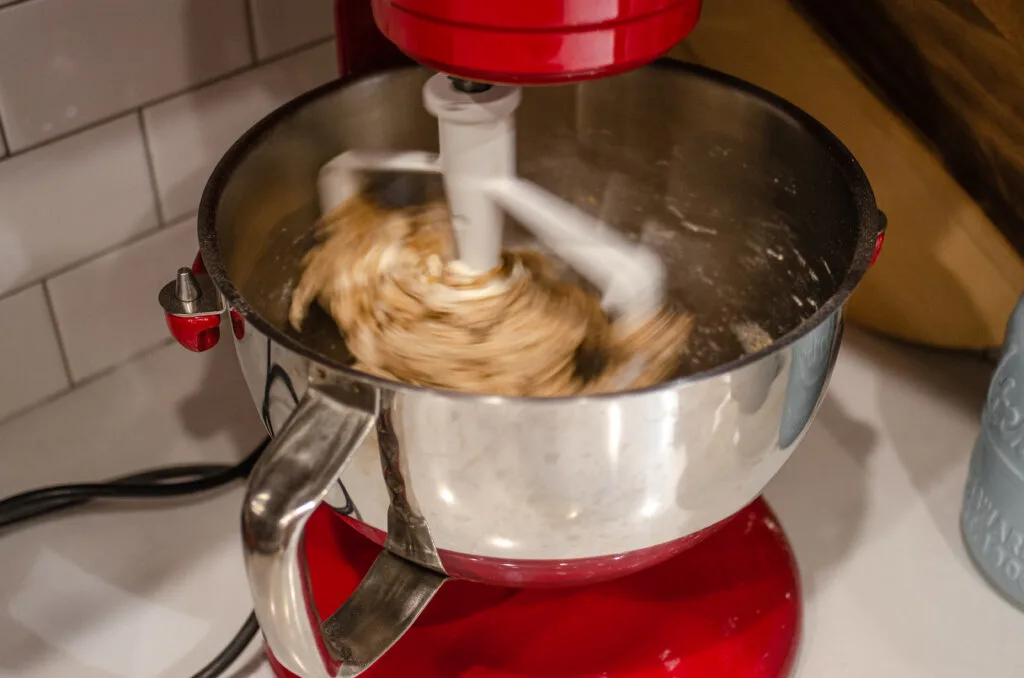
Mixing the Dough:
Place the sourdough starter, water, whole wheat flour, salt, honey, and avocado oil into the bowl of a stand mixer.
Knead for 15-20 minutes, or until the dough is nice and stretchy (yes, I used the paddle attachment – my dough hook bit the dust!).
You could also knead this by hand in a large mixing bowl, but it’s pretty tiring on the arms!
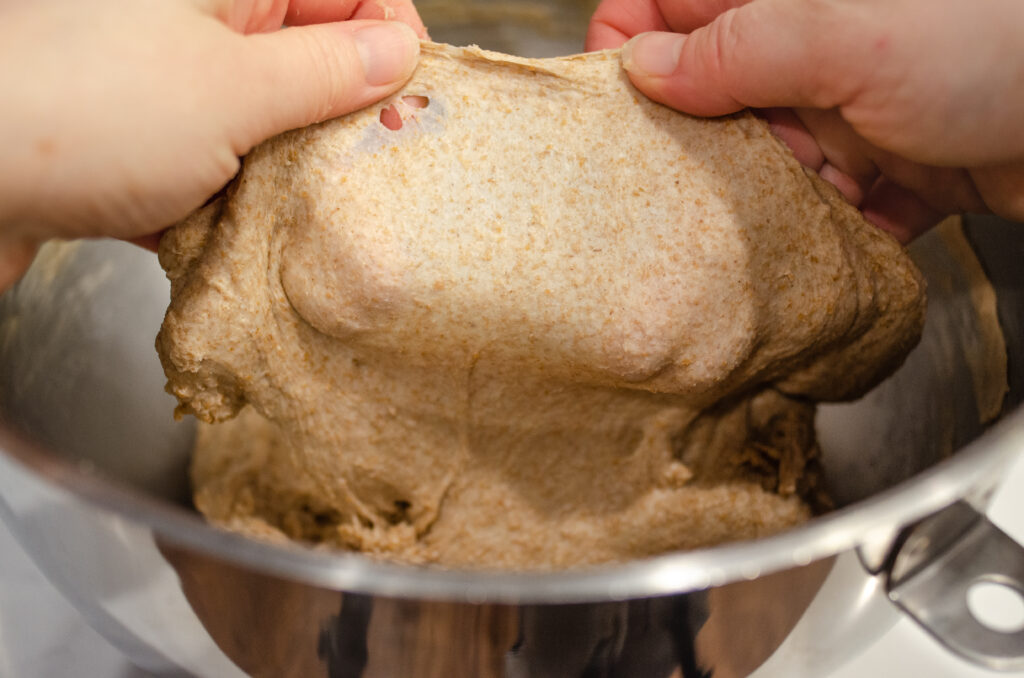

Windowpane would be ideal, but with whole wheat flour it’s sufficient if it’s nice and stretchy and doesn’t break apart as soon as you stretch the dough.
This isn’t a super wet dough, but it also should not be dry at all. You can add more water or flour to adjust the texture if needed.
First Rise (Bulk Fermentation):
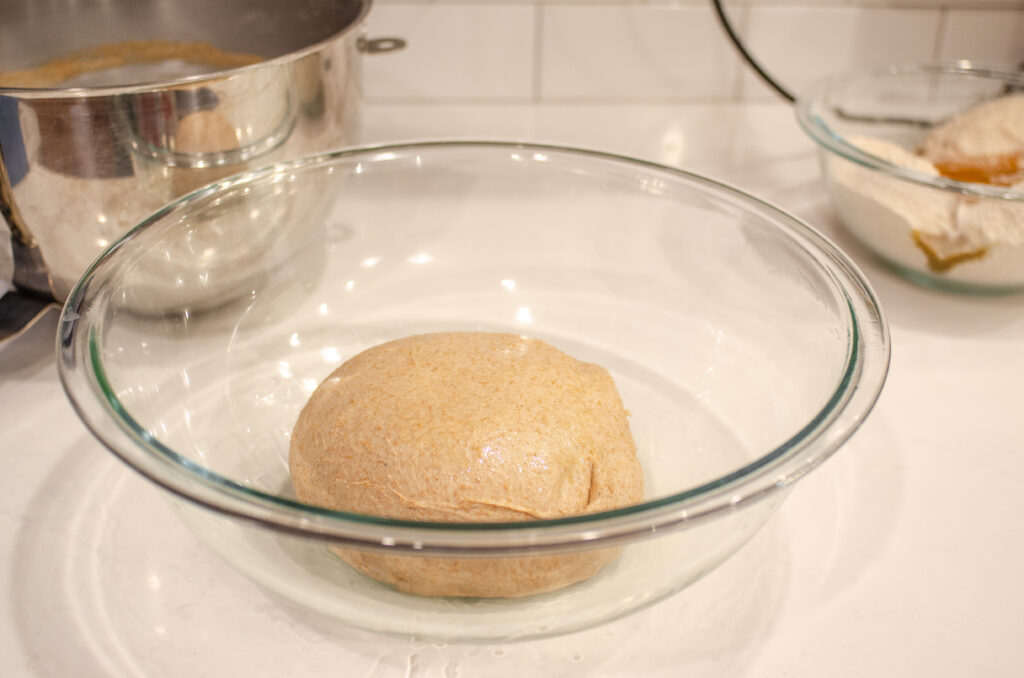
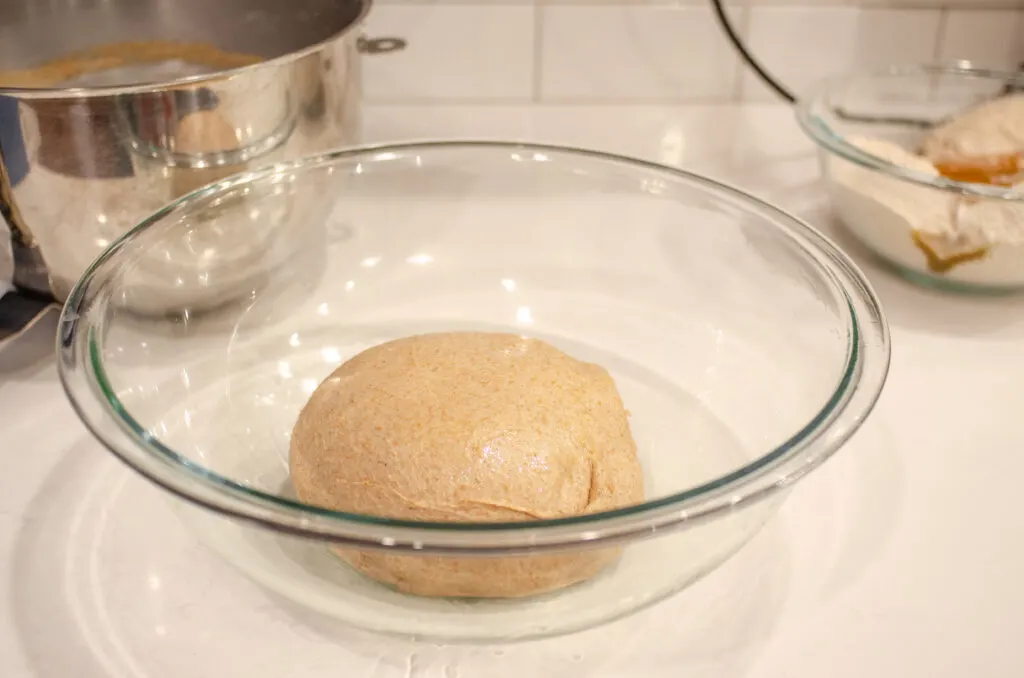
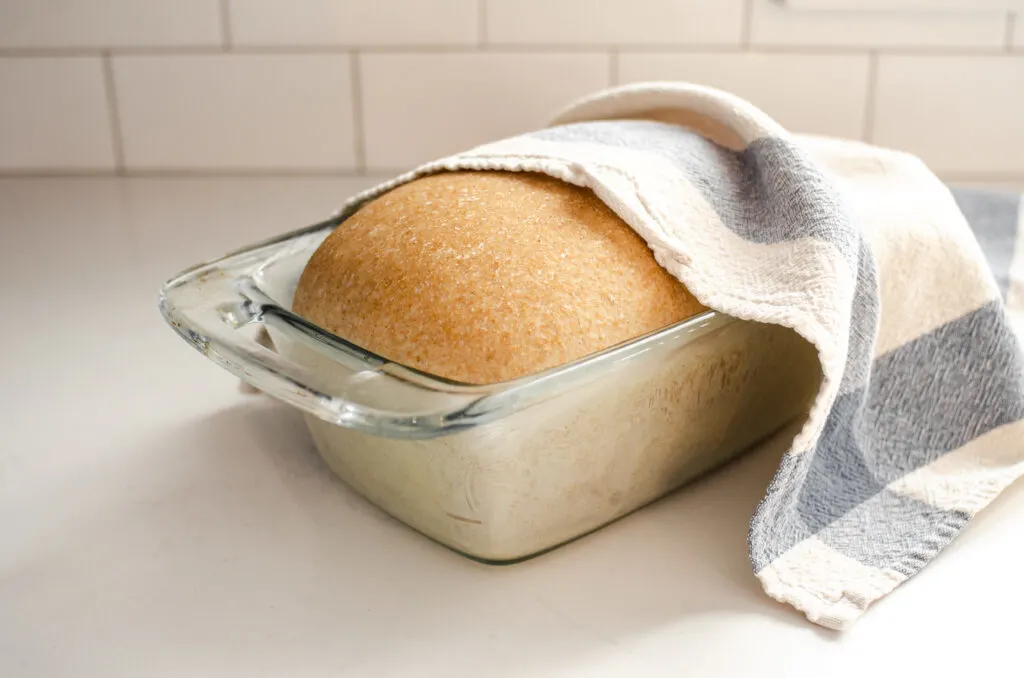
Place the bread dough in a greased large bowl, turning once to grease the top of the dough.
Cover and allow to rise at room temperature until doubled, about 6-8 hours. The rise time will vary depending on how warm your kitchen is and how active your starter was.
If you place the dough in a warm spot, it will shorten the rise time.
Now you can also let the dough rise for 2-4 hours at room temperature, then for 12 hours in the refrigerator. This will help you to control the rise if you have a really warm house. The colder, longer rise can also result in a more mellow (less sour) flavor in the final dough.
However, in the winter I find that a complete room temperature rise yields the best results for me.

Forming the Loaf:
Once the dough has doubled (or risen in the fridge for 12 hours), it’s time to form it into a loaf.
Grease a 9×5-inch loaf pan with butter. Again, I like to use a glass bread pan, but you can use metal if that’s all you have.
This is my favorite way of forming a simple sourdough sandwich loaf:
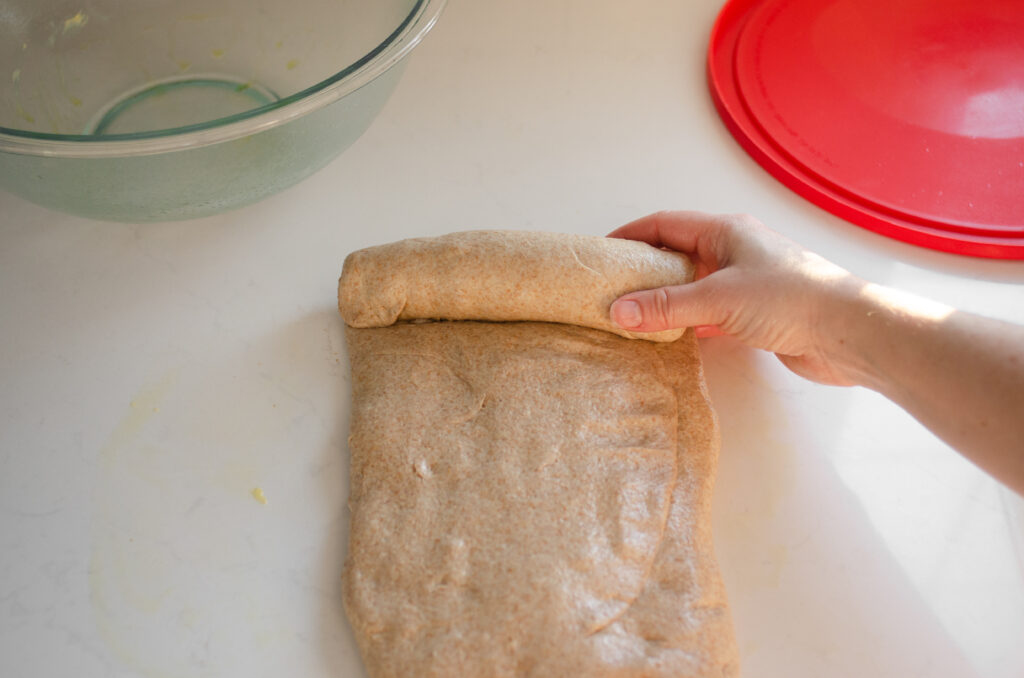
First, I press the risen dough out into a rectangle with my hands.
Then, I roll it up like a jelly-roll.
Next, I turn it 90 degrees, and squish it out into a rectangle once more.
Start to roll it up on one of the short ends.
With each roll, make sure to press down on the dough to seal it.


Continue rolling and sealing until all of the dough is rolled up.
Pinch the seams really well to seal, and also pinch the ends.
I don’t find the need to use a floured surface to form the loaf, but feel free to grease or lightly flour your counter if needed!
Second Rise:
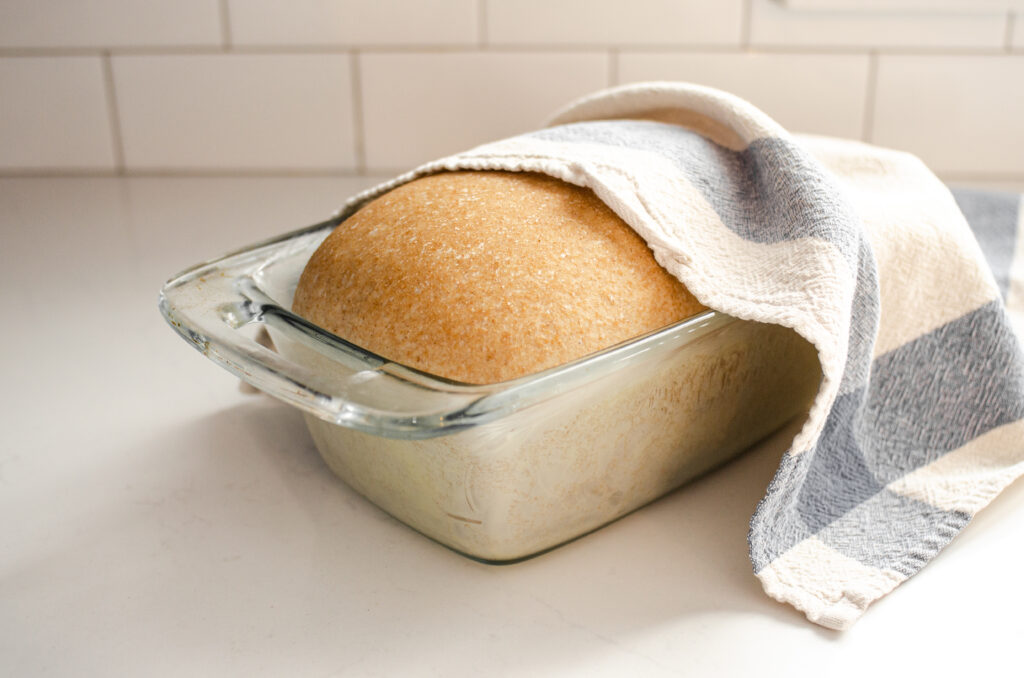
Place the loaf, seam side down, in the greased loaf pan.
Cover and allow to rise at room temperature until is rises over the top of the loaf pan.
This can take anywhere from 2-8 hours, depending on how warm you kitchen is.

Baking Temp and Time:
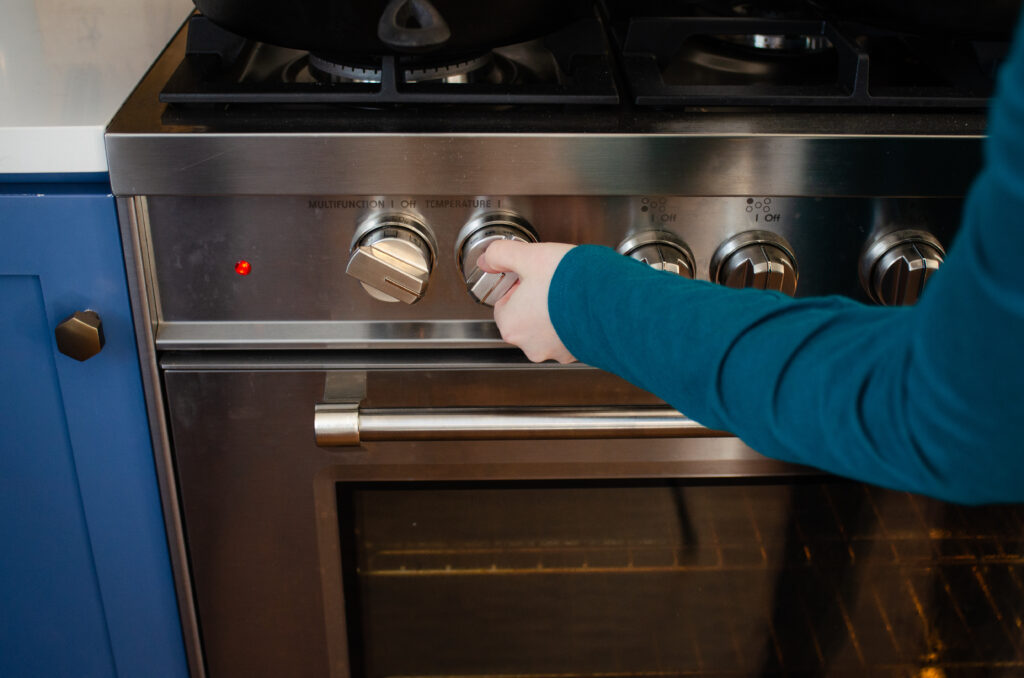
About 30 minutes before the bread is done rising, preheat your oven to 400 degrees F.
Once the dough has risen over the top of the pan, place it in the preheated oven and bake for 10 minutes.
Without opening the oven door, lower the temperature to 350 degrees F. Bake for an additional 30-40 minutes, or until the loaf is dark golden brown and sounds hollow when it’s tapped on the bottom.


It should also register 200 degrees F on an instant-read thermometer in the middle.
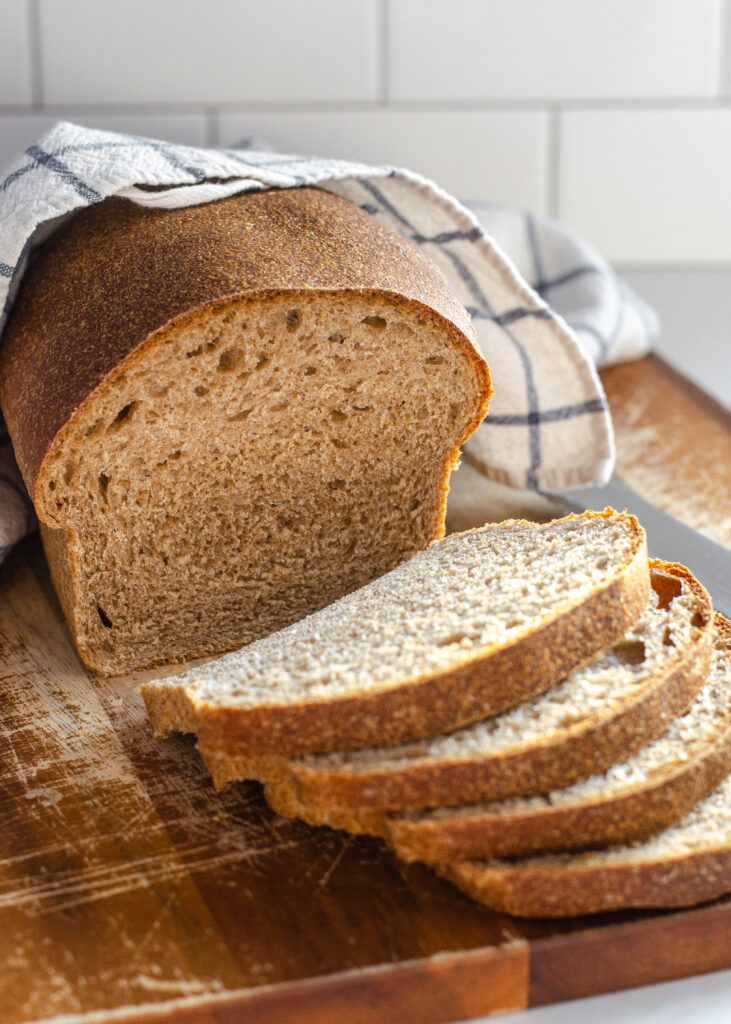
Remove the loaf from the oven and allow to cool on a wire rack for at least an hour before slicing into it.
Sample Baking Schedule:
Here are a couple of sample baking schedules for this whole wheat sourdough sandwich bread to help you plan out your sourdough bread baking:
Complete Room Temperature Rise:
The Day Before:
- 1:30 PM: Feed your sourdough starter.
- 9:30 PM: Mix together the dough, and leave to ferment overnight.
Following Morning:
- 6:00 AM: Form the dough into a loaf, cover and allow to rise over the top of the pan.
- 12:00 – 2:00 PM: Bake the loaf.
Partial Refrigerator Rise:
The Day Before:
- 10:00 AM: Feed your sourdough starter.
- 6:00 PM: Mix together the dough. Allow to rise at room temperature for 2-4 hours, then in the refrigerator for 12 hours.
Next Day:
- 9:00 AM: Form the dough into a loaf, cover and allow to rise over the top of the pan.
- 5:00 PM: Bake the loaf.


Storing:
I keep my bread in a plastic bag with a zip top to prevent it from drying out. You can also wrap it in beeswrap.
If you want to store the bread more long-term, you can place it the freezer, well wrapped, for up to 3 months.
Is whole wheat sourdough bread healthy?
Health is a matter of opinion, but I personally consider whole wheat sourdough bread to be healthy.
The long fermentation process actually makes the bread easier to digest. The beneficial yeast and bacteria break down some of the gluten and starch, and also lower the glycemic index! (source, source)
It also lowers the phytic acid content, which is an anti-nutrient. Now some studies seem to show that phytic acid does have some health benefits, but it can also bind to calcium, iron, and zinc, making those nutrients harder to absorb (source).
In any case, sourdough is a traditional way of making bread, and I trust the wisdom of our ancestors over the modern convenience of commercial yeast.
Video Tutorial:
Here’s a video tutorial in case you learn better that way!
More Sourdough Recipes:
- White Flour Sourdough Sandwich Bread
- Sourdough Brioche
- Sourdough Dinner Rolls
- Soft Sourdough French Bread Without Yeast
- Sourdough English Muffins
- Sourdough Hot Cross Buns
- Sourdough Donut Recipe
- Sourdough Hamburger Buns
- Sourdough Tortillas
- Sourdough Cinnamon Rolls
- The BEST Sourdough Pancakes
- Sourdough Discard Banana Bread
- Overnight Sourdough Waffles


Healthy Whole Wheat Sourdough Sandwich Bread
This simple and healthy sourdough bread recipe is made with whole wheat flour. It's perfect for sandwiches!
Ingredients
- 220 grams active sourdough starter (see note)
- 400 grams hard white or red whole wheat flour
- 2 tbsp honey (45 grams)
- 1 ½ tsp unrefined sea salt (8 grams)
- 1 cup room temperature water (230 grams)
- 2 tbsp avocado oil (26 grams)
Instructions
-
Place all of the ingredients in the bowl of a stand mixer fitted with the dough hook attachment. Knead on medium-low for 15-20 minutes, or until the dough is quite stretchy.


-
Transfer the dough to a large greased glass or plastic bowl. Cover and allow to ferment at room temperature for 6-8 hours, or until doubled. Alternatively, you can let the dough ferment at room temperature for 2-4 hours, and then place it in the fridge for 12 hours to finish fermenting (see note).


-
Grease a 9x5-inch glass bread pan with butter. Turn the risen dough out onto your work surface (you can lightly flour or grease your surface if needed). Pat the dough out into an even rectangle and roll it up like a jelly-roll. Turn 90° and press out into a rectangle again. Start rolling up the dough from one of the short ends. With each roll, press the seam down to seal. Continue until the loaf is rolled up, making sure to seal the seam really sell. Pinch the ends to seal as well.


-
Place the loaf into the prepared pan. Cover with a tea towel and allow to rise for 4-8 hours, or until it has risen over the top of the pan.

-
About 30 minutes before the bread is done rising, preheat your oven to 400° F (204° C). Bake the risen loaf for 10 minutes. Without opening the oven, turn the heat down to 350° F (177° C). Bake the loaf for an additional 30-40 minutes, or until the loaf is deep golden brown, sounds hollow when tapped on the bottom, and registers 200° F (93° C) in the center on an instant read thermometer.


-
Turn the loaf out onto a wire cooling rack. Cool for at least 1 hour before slicing.
Recipe Notes
- An active starter is one that has been fed 4-12 hours previously, has doubled in volume, is active and bubbly, and passes the float test.
- I use a white flour starter, which yields the best texture. You can use a whole wheat starter, but the final bread will be more dense.
- I get better results with the room temperature rise, but controlling the rise time with refrigeration can be really handy if you don't want to wake up early to form your bread.
Michelle
Saturday 20th of June 2026
Love this recipe so I want to double it! Would I also double the sourdough starter? 440 g seems like a lot so I wanted to ask.
Erica Kastner
Sunday 21st of June 2026
So glad you enjoyed, Michelle! I double the starter when I make a double recipe, but I have heard that it isn't strictly necessary. However, I have not tested it with less starter. So if you'd like similar results to what I get when I double the recipe, double the starter as well!
Cindy
Sunday 3rd of May 2026
I don't know why but my loaf splits after shaping. Please help with any tips you may have. (Note: I don't have a stand mixer so I hang mix everything)
Erica Kastner
Thursday 7th of May 2026
Hi, Cindy! By splitting, do you mean the dough doesn't hold its shape? That sounds like a gluten development issue. What type of flour are you using?
Ruth
Monday 13th of April 2026
I really want to try your whole wheat sandwich bread recipe. Can I substitute Einkorn AP wheat flour for the whole wheat on the recipe?
Thank you very much for sharing all your recipes
Erica Kastner
Tuesday 14th of April 2026
Hi Ruth! No, it wouldn't be a good idea to substitute Einkorn for the whole wheat in this recipe. Einkorn behaves differently than even whole wheat flour, so you might not like the results. You could probably safely substitute about 1/4 of the flour with einkorn, but I'd be careful do more than that. I may need to develop an einkorn sourdough bread recipe, though I think it would prove quite challenging!
Shaku Patel
Saturday 28th of March 2026
I am new to sourdough bread and do you think your recipe would work with King Arthur golden whole wheat flour Thank you
Erica Kastner
Sunday 29th of March 2026
According the the KAF website, their golden whole wheat flour is milled from a hard white wheat variety, and it looks like it has a high protein content. So it should work well here!
Alison
Saturday 21st of February 2026
This was our first sourdough bread and it turned out delicious. The instructions were very easy to follow. How should we store it?
Erica Kastner
Sunday 1st of March 2026
I personally store my sourdough bread in zip top plastic bags. If we're going to eat it within a few days, I store at room temp. Otherwise I pop it into the fridge or freezer.