Learn how to make my super easy Instant Pot Chicken Bone Broth recipe with step-by-step instructions, and tips and tricks for success!
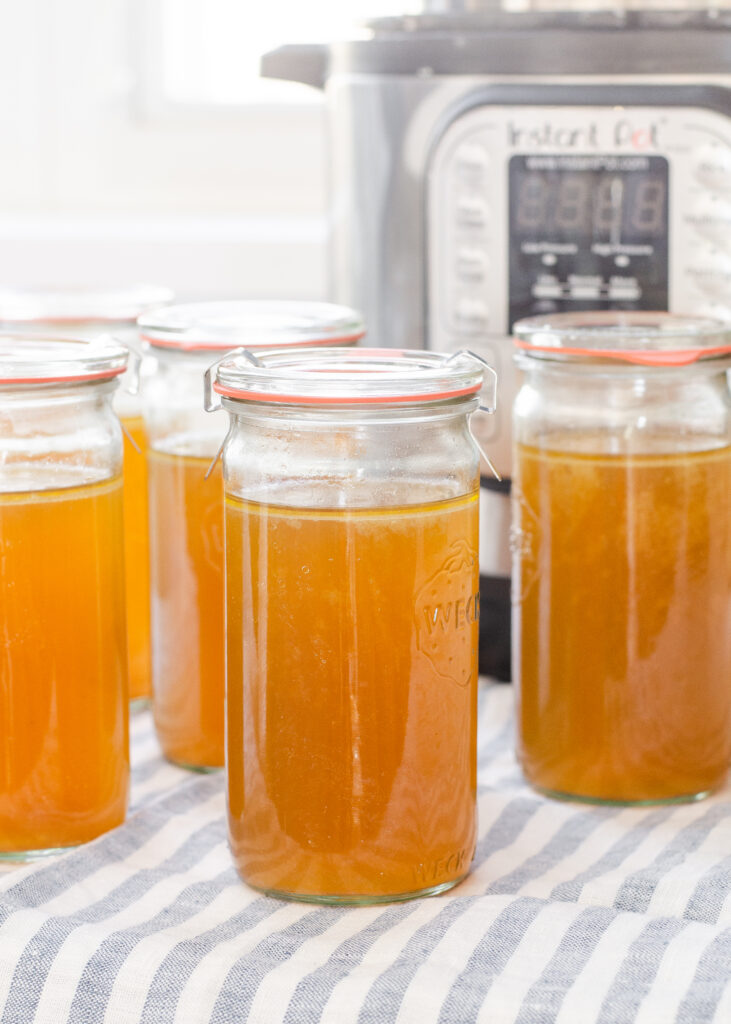
Have you ever wanted to make a rich, flavorful, and nutritious chicken broth in a fraction of the time it would take to do it over the stove? You’ve come to the right place!
Cooking a traditional pot of homemade bone broth can be time consuming, but with the help of an Instant Pot it’s easier than you might think!
In this blog post you’ll learn the basics of preparing instant pot bone broth. We’re talking about golden broth with a rich, savory flavor that will make your taste buds sing!
Plus I’ll share some tips for how to properly store your broth, and ways to use it!
So get ready to take your chicken broth to the next level and make some amazing broth that tastes like it took all day to make!
Here’s a video tutorial in case you learn better that way. The written tutorial is below!
Note: Some links are affiliate. All opinions are 100% my own, of course! If you click a link and make a purchase, I will earn a small commission. This has zero impact on the price you pay, and it helps Buttered Side Up out! Thank you!
Ingredients:
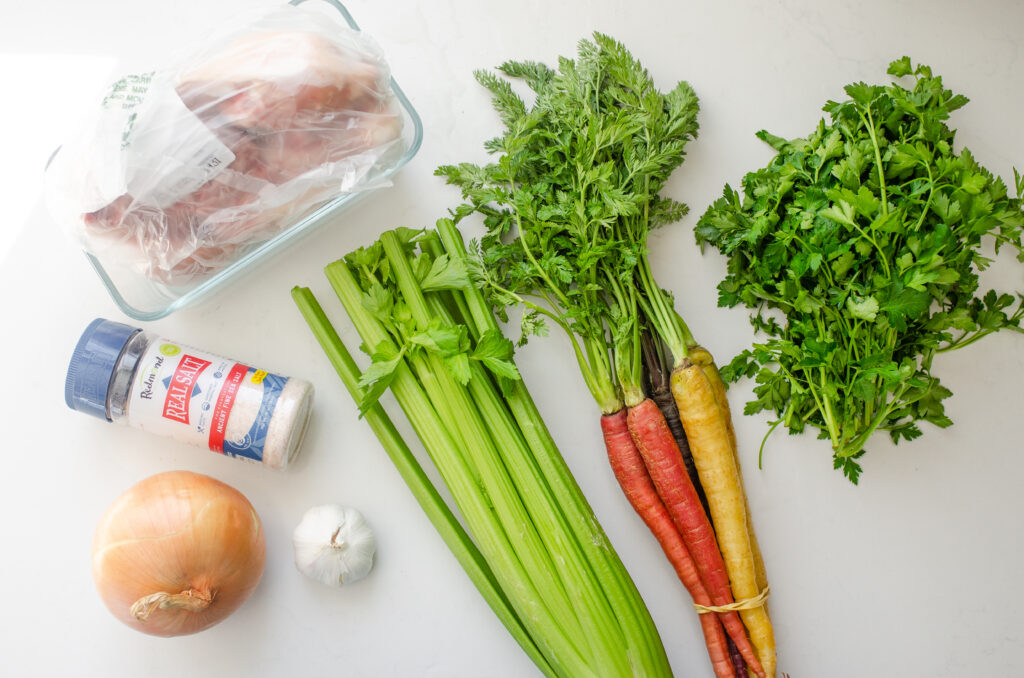
Now all you really need to pull off this chicken broth recipe is chicken bones and water. But there are some other ingredients that can boost flavor and nutrition. Here’s some suggestions for things you can include:
- Chicken Bones: This is really the only ingredient that’s absolutely necessary. I’ll discuss which bones to use below, but a great way to get chicken bones is to use a chicken carcass from a roast dinner.
- Onion: I like to use a yellow onion, but definitely use whatever you have on hand! As long as your onion is clean, you can go ahead and throw the onion peels in as well.
- Carrots: If your carrots aren’t too soiled, you can just give them a good scrub. No need to peel! You can use the carrot tops too!
- Celery: This is a great place to use the less desirable parts of the celery such as the ends and celery leaves.
- Garlic: I don’t usually add garlic to my chicken broth, but it’s definitely an option for garlic fans!
- Fresh Herbs: For extra flavor and minerals, you can add fresh herbs. Some ideas would be parsley (my favorite), thyme, and rosemary.
- Salt: This is optional, but of course salt will enhance the other flavors. I like to use an unrefined sea salt, but whatever you have on hand will work.
Quick Tip: You can use vegetable scraps from cooking instead of using “fresh” vegetables. You can keep a bag in the freezer, and when you have enough veggie scraps, make broth with them! Some ideas for scraps to save include clean carrot peels and carrot nubs, celery leaves, mushroom stems, etc.
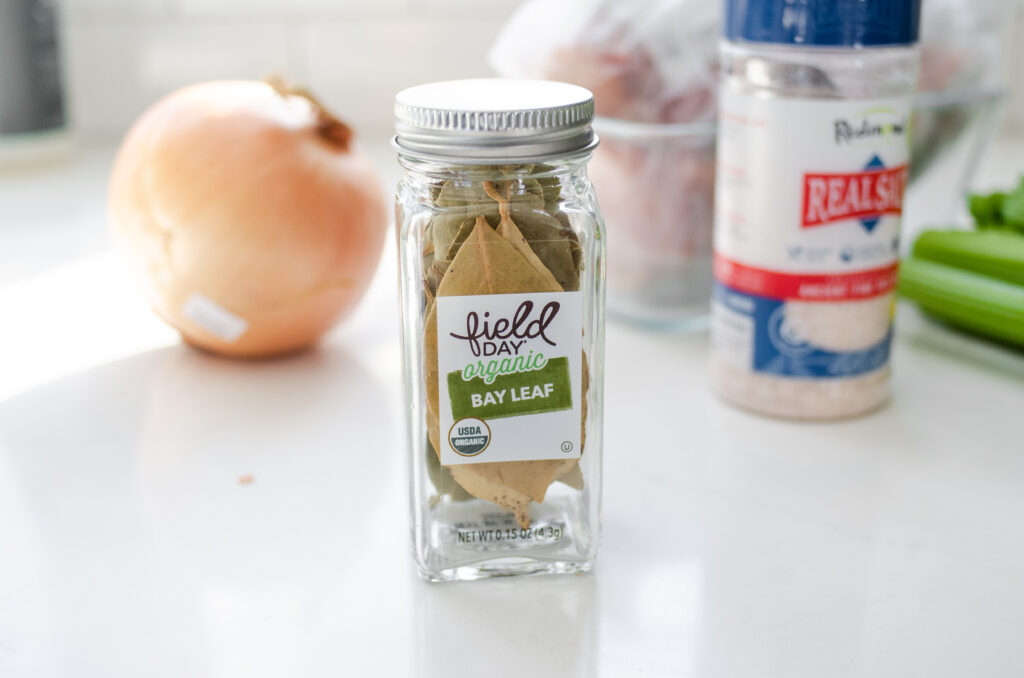
I haven’t personally tried this, but you could also add a bay leaf for another layer of flavor.
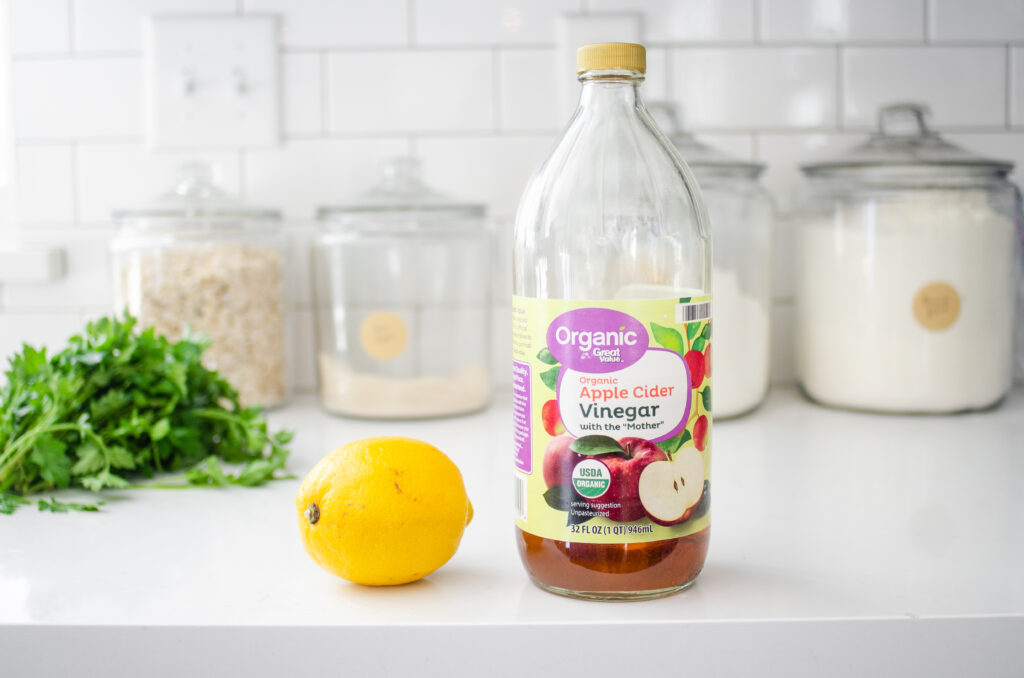
What About Apple Cider Vinegar?
Most chicken bone broth recipes call for apple cider vinegar or another acidic ingredient. The theory is that this draws out minerals from the bones, making for a more nutritious bone broth.
But is that true?
I did some digging, and I couldn’t find a specific study that conclusively showed this. Here is a study where they lowered the pH of the water from 8.38 5.32 and found it did increase calcium and magnesium levels, but I don’t think you’d want to make a broth that acidic.
I’m sure we all remember the experiment where you soak a bone in vinegar, and it turns rubbery. This is because it draws out the calcium, which helps to make bones rigid.
So it would seem logical that adding vinegar to bone broth would draw out more calcium. But it turns out that bone broth isn’t particularly high in minerals. And one very small, non-peer-reviewed study found that adding vinegar only marginally increased the amount of calcium in bone broth.
But some say that it helps to draw out collagen even if it doesn’t draw out minerals. Again, I couldn’t find a study on this. If anyone knows of one, please let me know in the comments!
All of this to say, I personally do not add apple cider vinegar or anything acidic to my chicken bone broth. I prefer the taste without the vinegar. And I figure I’ll get more nutrients out of a broth I’ll actually drink!
But if you want to follow the advice of many bloggers, feel free to add a tablespoon or two of apple cider vinegar or lemon juice to your broth!
The typical advice is that you should add the vinegar to the pot before cooking the broth, and let it sit for 30 minutes before turning on the heat.
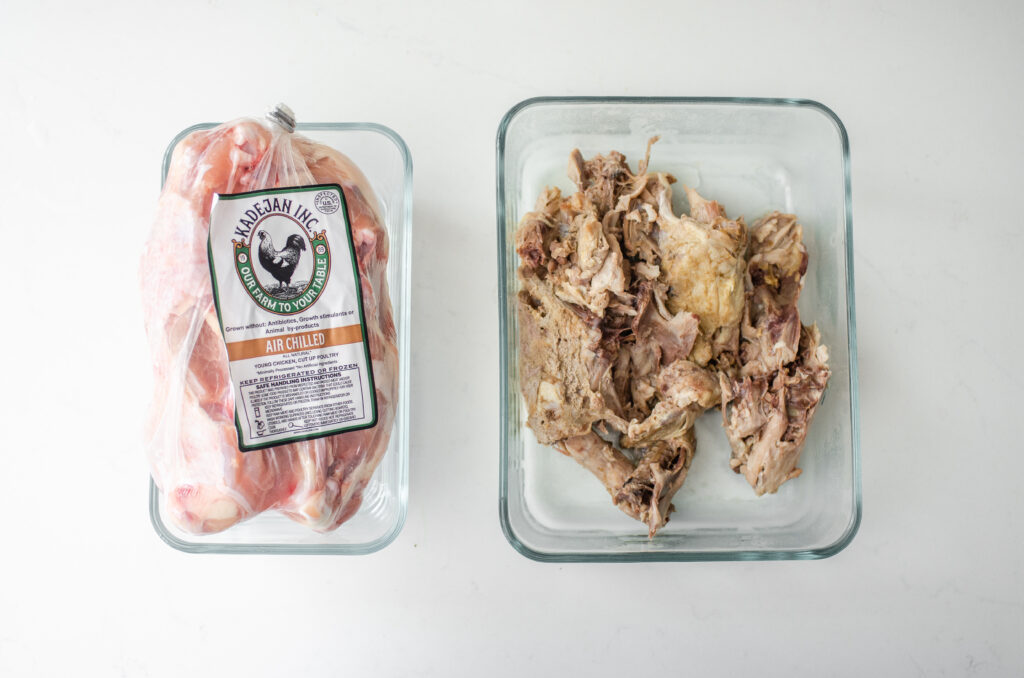
What Kind of Chicken Bones Should You Use?
You can use whatever kind of chicken bones you want or have on hand!
You can often find chicken bones for making broth at the butcher’s, farmers markets, Asian markets, or health food stores. They’re usually a great price.
Or you could use the carcass from a rotisserie chicken. If you cook up a whole chicken for your family, make sure to save the leftover bones of the chicken and turn them into broth!
For a super gelatin-rich broth, you can use my chicken feet bone broth recipe.
You can roast the bones or sauté them in the Instant Pot first if they’re raw, or just cook them from raw.
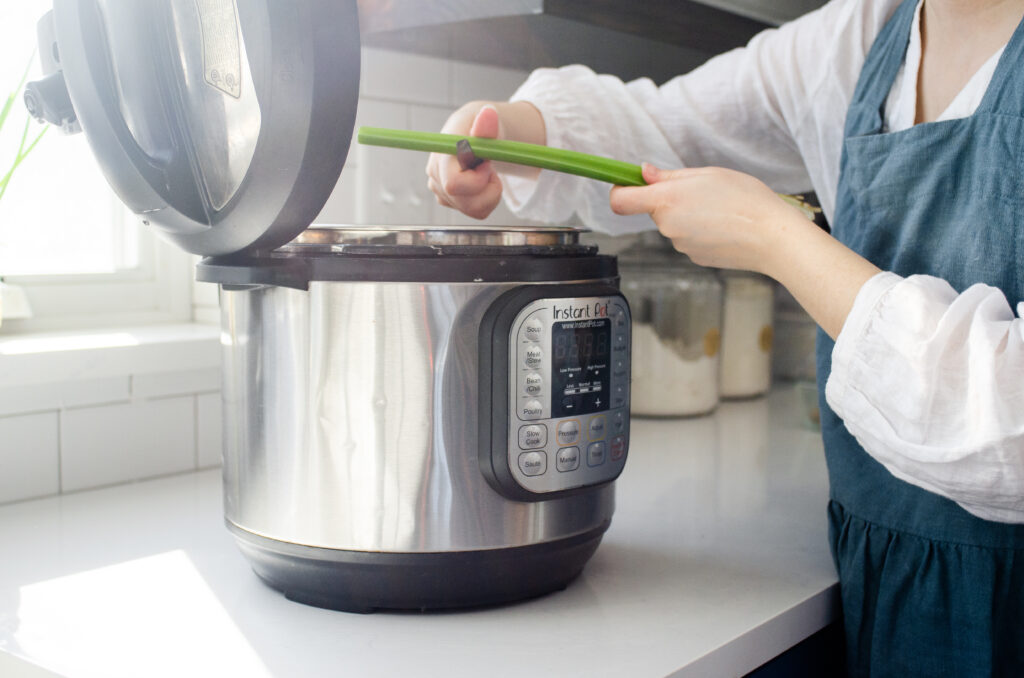
How to Make Chicken Bone Broth in the Instant Pot:
The first step is to basically throw everything into the Instant Pot. I own a 6 quart Instant Pot, so keep that in mind.
But let me break that down and give you a few tips…
First, I like to cut my vegetables directly into the Instant Pot. This makes is really fast and saves on dirtying up a cutting board.
There’s no need to chop the vegetables super fine. Just chunk them in!
Or, if you’re using vegetable scraps, simply dump them into the pot.
Add the chicken bones to the IP as well.
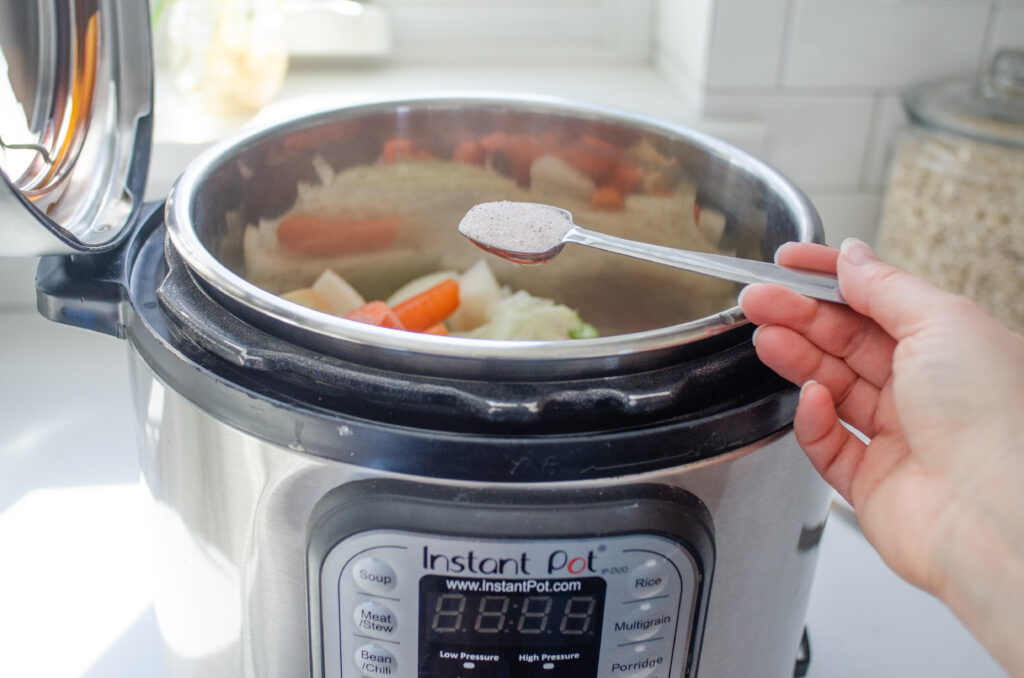
Again, adding salt is totally optional. But I personally think (I don’t have any evidence for this) that salting the broth before cooking it enhances the flavor.
You can add 1-2 teaspoons of salt, depending on if you’re planning on using it for cooking or a sipping broth. In general, you don’t want to over-salt a cooking broth, but a sipping broth can be saltier.
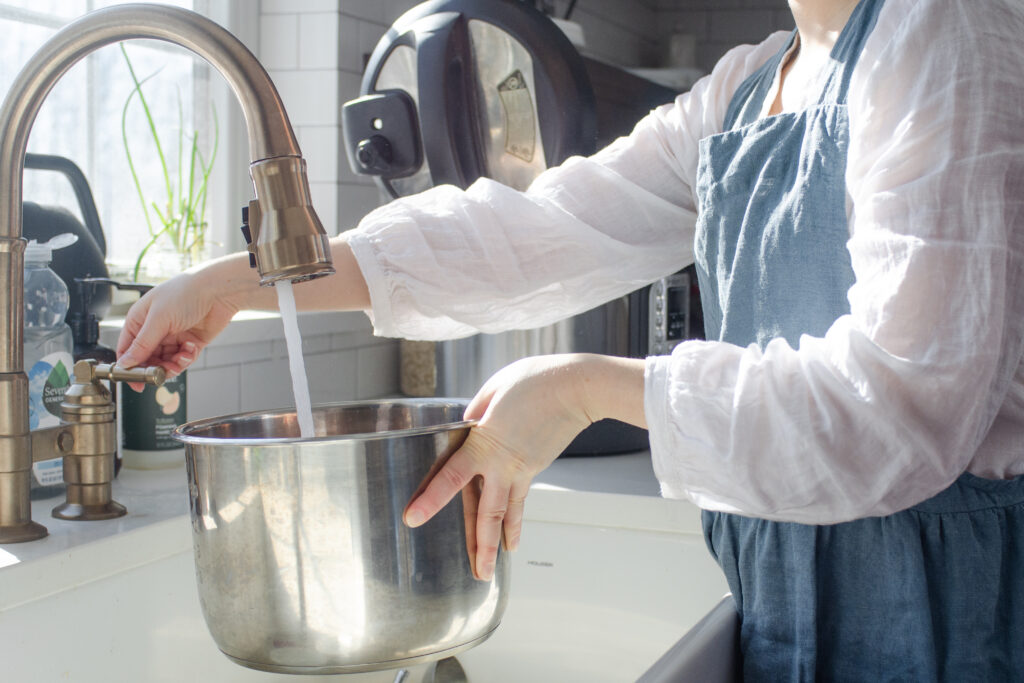
How Much Water Should You Use?
You can add as much water as you like, up to the max fill line of the Instant Pot! But keep in mind that the more water you add, the weaker your broth will be.
I recommend adding just enough water to cover the bones and vegetables.
For 1 pound of uncooked chicken bones, that will probably be around 8 cups of water.
Instant Pot Cook Time:
After you’ve added everything to the Instant Pot, place the lid on in the locked position.
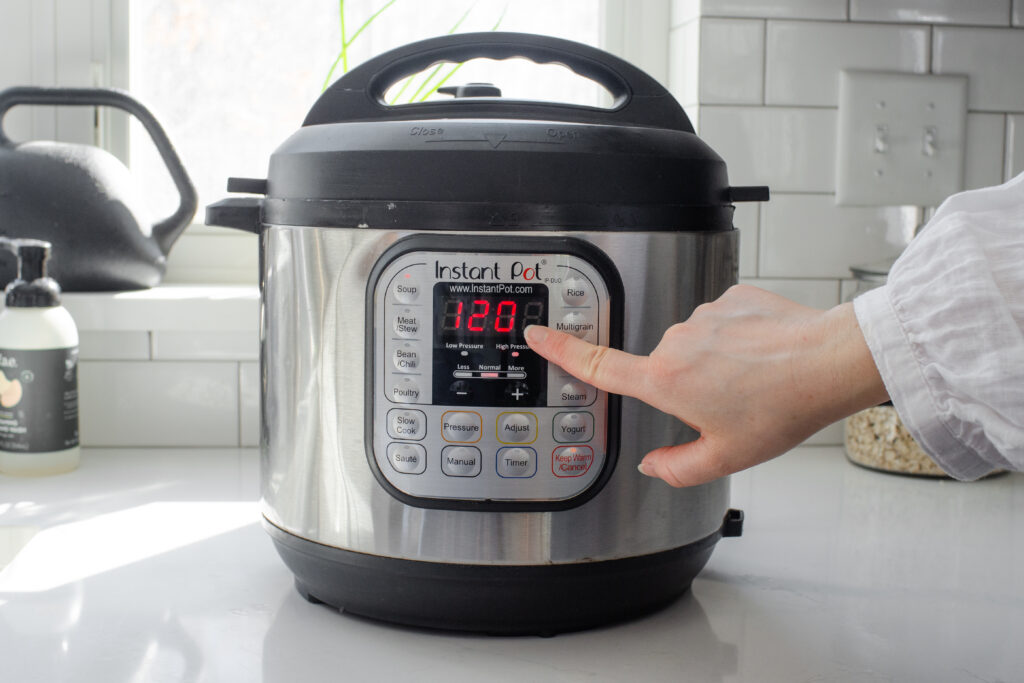
Then set the Instant Pot to the Soup function on High Pressure for 120 minutes.
It will take a while for it to come up to pressure, and then it will start counting down the 120 minutes.
NOTE: For a cleaner flavor, you could boil the broth on the sauté function first and skim off any impurities. I highly value convenience, so I never do this step first. But it’s always an option!
By the way, you can also use the slow cooker function on the Instant Pot to make bone broth. You’ll need to cook it for a long time (12+ hours), but it does work!
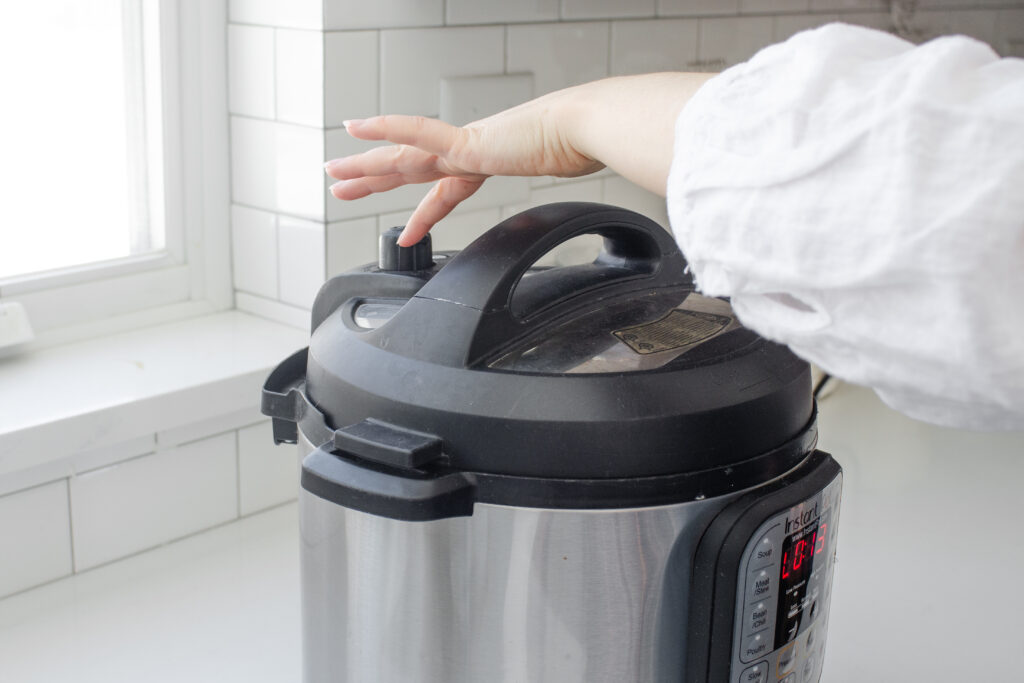
After the broth has cooked for 120 minutes, let the Instant Pot slow release for at least 10 minutes before quick releasing.
If you quick release before then, you may find that the broth starts shooting out of the switch.
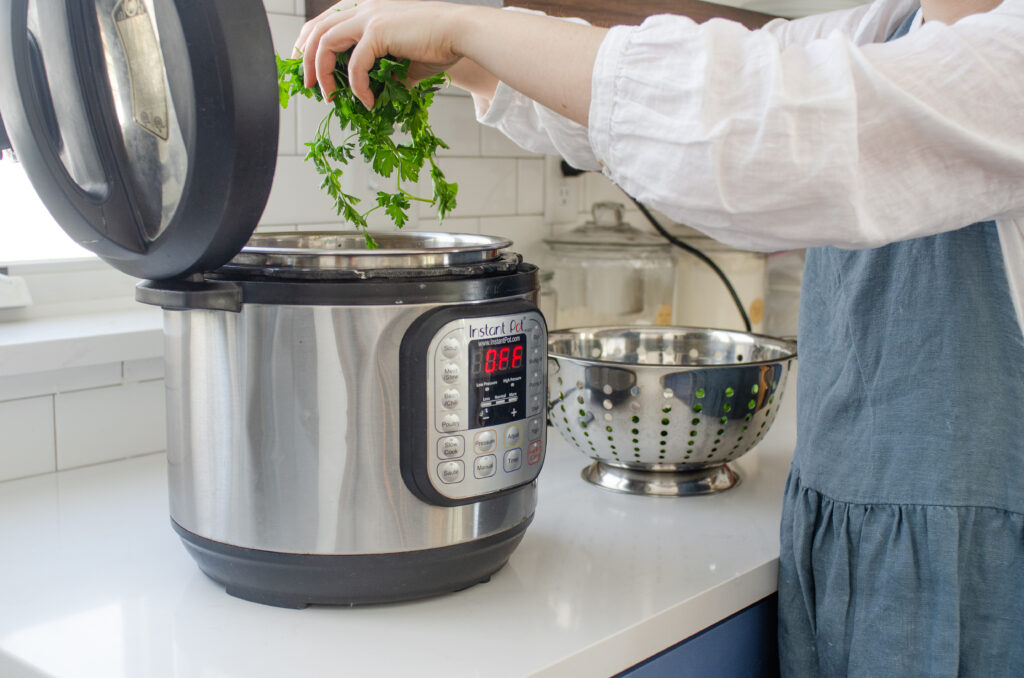
It’s at this point that I like to add any fresh herbs. Then you can let them soak in the broth for about 10 minutes.
You can also just add the herbs at the beginning of the cooking process, but adding them at the end can result in a more fresh flavor.
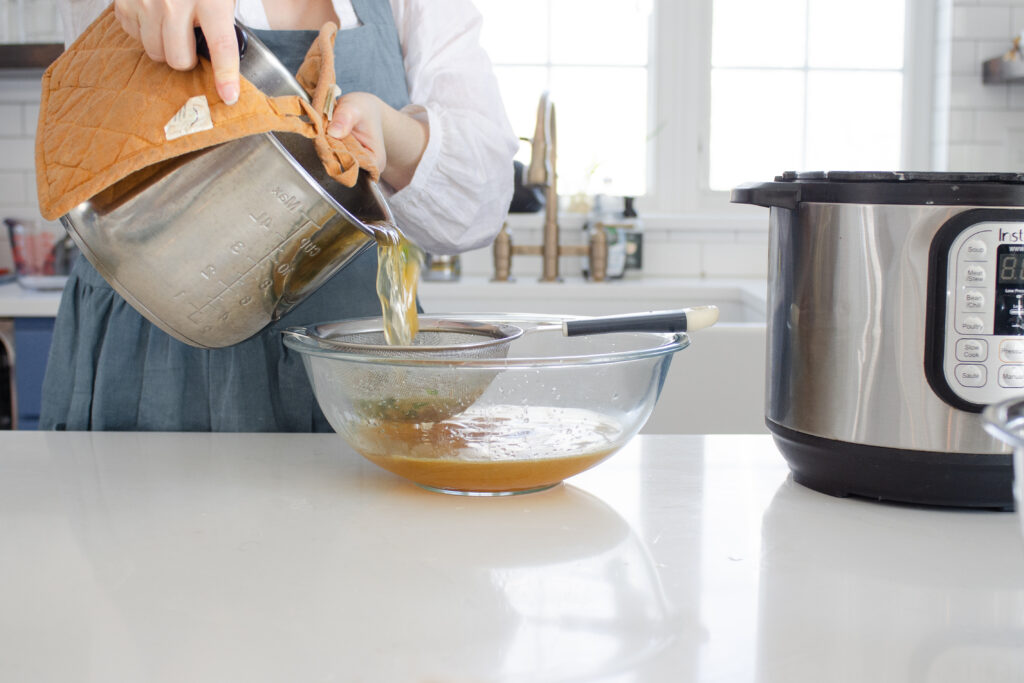
Let the broth cool for a while, and then strain it through a fine mesh sieve into a heat proof large bowl.
Cover and allow to cool to room temperature.
Quick tip: Feel free to run the same batch of bones a second time to make more broth. You’ll want to use less water the next time since you’ve already extracted some of the goodness from the bones.
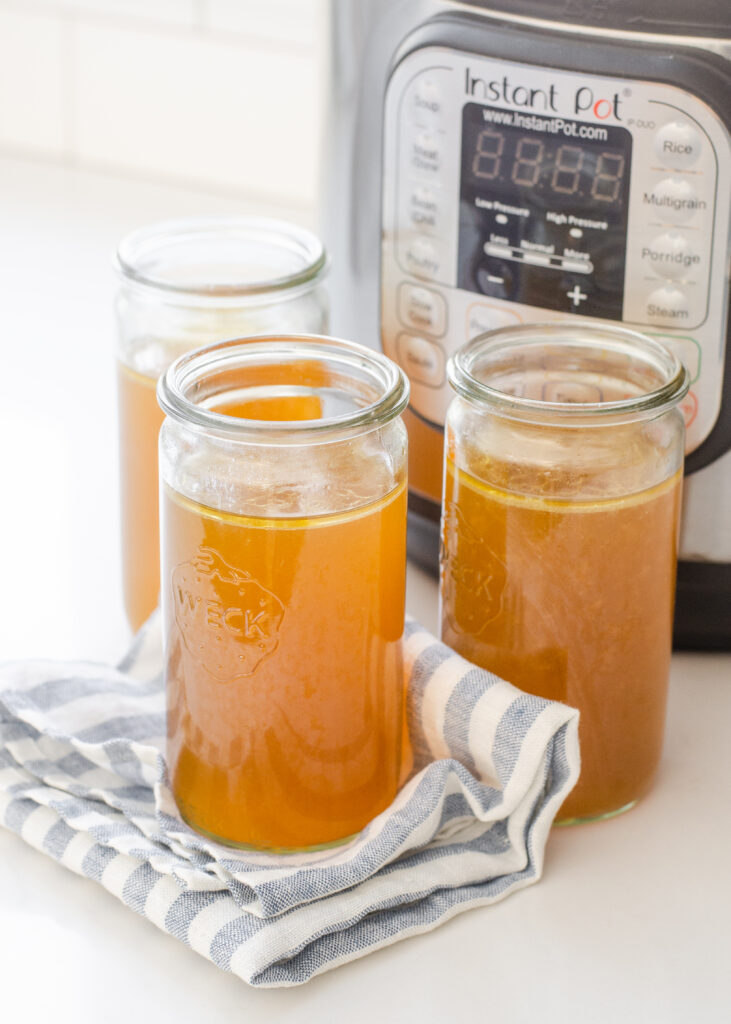
Ah, isn’t it just lovely?! I’m sorry, but store-bought broth can’t hold a candle to that!
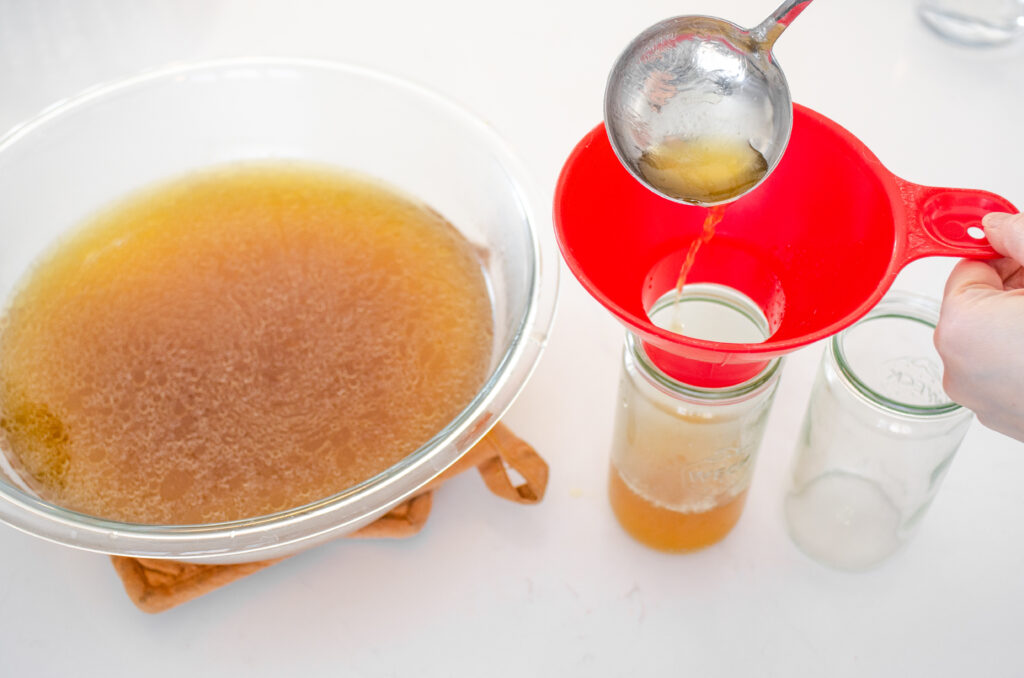
Storing:
There are several ways that you can store bone broth:
- Place in an airtight container and store in the refrigerator for up to 1 week.
- Pour the (cooled!) broth into ice cube trays, freeze until solid, and transfer to a freezer bag or other freezer safe containers.
- Fill glass mason jars 2/3 to 3/4 full, and store in the freezer.
By the way, these are Weck cylinder jars.
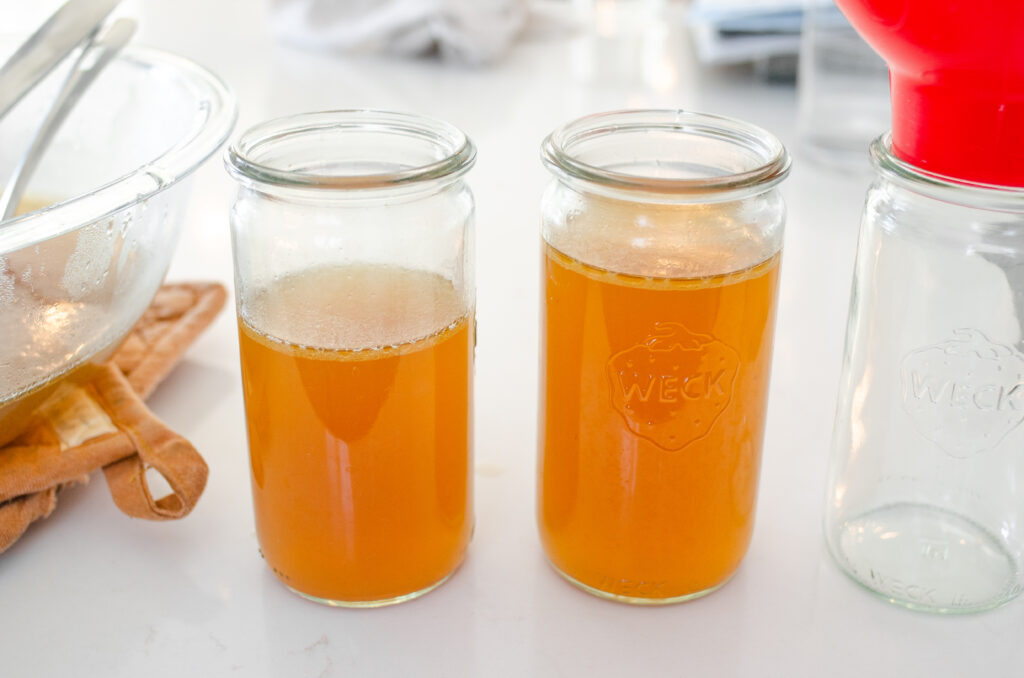
My personal favorite way to store bone broth is in glass jars.
As I mentioned above, it’s really important to only fill the jar 2/3 to 3/4 full if you’re going to place them in the freezer.
Also, the broth MUST be completely cooled before transferring the jars to the freezer.
And you have to make sure that you don’t bump the jars once they’re frozen, because frozen glass jars tend to break very easily.
Health Benefits:
Chicken broth has long been revered for its health properties. And some studies seem to confirm the benefits of this traditional food.
Although the mineral content of bone broth can vary, one of the big benefits of bone broth comes from the gelatin and protein.
Chicken bones contain collagen, which turns into gelatin when cooked. Gelatin contains amino acids, which are also known as the building blocks of protein.
Now bone broth doesn’t always contain all 9 essential amino acids, so it isn’t necessarily counted as a complete protein.
But the amino acids in chicken bone broth have an array of potential health benefits, including improving digestion, lowering inflammation, improving joint health, and promoting good sleep. ¹
And since part of your immune system is located in your gut, it logically follows that foods that promote a healthy gut will also promote a robust immune system. But more research needs to be conducted!
Of course hydration is another great benefit of bone broth. Since chicken bone broth contains electrolytes, it will most likely be a more effective way to hydrate compared to plain water.
How to Get Your Bone Broth to Gel:
There are several factors that will affect how gelatinous your bone broth is:
- The type of bones you use makes a difference. Chicken feet are the best bones for ensuring that you broth will gel. So make sure to include a variety of bones!
- The amount of water you use is important. If your broth is really thin, you probably used too much water. You can boil off the excess liquid using the sauté function on the Instant Pot or on the stove top if you want to thicken up your broth.
- The cooking time and temperature can also affect how gelatinous the final broth is. If you don’t cook it long enough, or if the heat is too low, you may not extract as much gelatin.
How to Use Chicken Bone Broth:
Now that you’ve learned how to make your own bone broth, here are some delicious ways to use it!
- Warm it up and sip it plain or with added ginger or garlic.
- Replace the water when you’re cooking instant ramen with bone broth.
- Use half water, half bone broth when cooking rice.
- Add a little to the pan when reheating leftovers over the stove.
Recipes that Use Bone Broth:
Here are some specific recipes that use homemade broth or bone broth:
Soup Recipes:
- Instant Pot Ham and Bean Soup
- Ramen Recipe with Chicken and Veggies
- Coconut and Chicken Curry Soup
- Roasted Cauliflower and Garlic Soup
Other Recipes:
- Gluten Free Cheesy Potatoes
- Chicken Wild Rice Stuffing Hotdish
- Cranberry Sourdough Stuffing
- Simple Sage Stuffing
- Shepherd’s Pie
- Chicken Pot Pie with Biscuit Crust
- Green Bean Casserole From Scratch
- Healthy Chicken Stir Fry
- Sour Cream Chicken Enchilada Skillet
Instant Pot Chicken Bone Broth Recipe
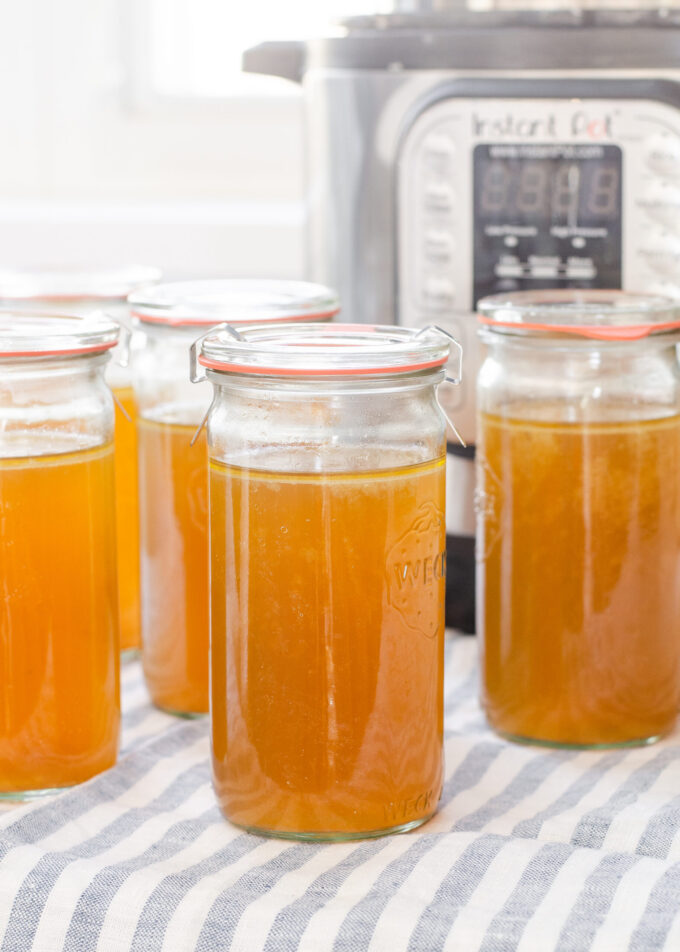
Learn how to make some delicious homemade chicken bone broth in a fraction of the time with the Instant Pot!
Ingredients
- 1-2 pounds of chicken bones
- 1 onion (optional)
- 2 carrots (optional)
- 2 stalks celery (optional)
- 1-2 teaspoons salt (optional)
- 8-12 cups of water
Instructions
- Place the chicken bones in the Instant Pot along with any other vegetables and seasonings.
- Add water to just cover the chicken and vegetables.
- Set the Instant Pot to the Soup function, high pressure, for 120 minutes.
- Allow to slow release for at least 10 minutes after the cooking time has completed. If you filled the Instant Pot to the max fill line, allow to natural release completely before opening.
- Allow broth to cool until warm, then strain through a fine mesh sieve into a heat safe bowl.
- Transfer broth to storage containers and allow to cool completely before refrigerating or freezing. See post above for storage advice.
Notes
- You can use a wide variety of vegetable scraps to make broth. While adding vegetables will increase the mineral content of your broth, it isn't strictly necessary to add anything besides bones and water.
- Most bone broth recipes call for apple cider vinegar or another acidic ingredient. I personally leave this out, but you could add 1-2 tablespoons to the broth and allow to sit for 30 minutes before cooking.
- I like to salt my broth before cooking, but you can completely leave this out or season to taste after cooking.
- The amount of water you use will affect whether or not you get a gelatinous bone broth. Less water = a thicker broth.
- You can also add fresh herbs such as parsley (my favorite), rosemary, or thyme. I like to add them after pressure cooking and allow them to "soak" in the hot broth for at least 10 minutes.
Recommended Products
As an Amazon Associate and member of other affiliate programs, I earn from qualifying purchases.
Nutrition Information:
Yield:
8Serving Size:
1Amount Per Serving: Calories: 260Total Fat: 15gSaturated Fat: 4gTrans Fat: 0gUnsaturated Fat: 9gCholesterol: 107mgSodium: 738mgCarbohydrates: 3gFiber: 1gSugar: 1gProtein: 8g
Nutrition facts are only an estimate.


