Learn how to make nutritious chicken feet bone broth at home!

Have you ever wondered what you can make with chicken feet?
Well, I’ll tell you:
You can make some of the most gelatinous bone broth known to man!

This seriously gets so thick in the refrigerator!
If your broth isn’t doing that, you’re missing out!
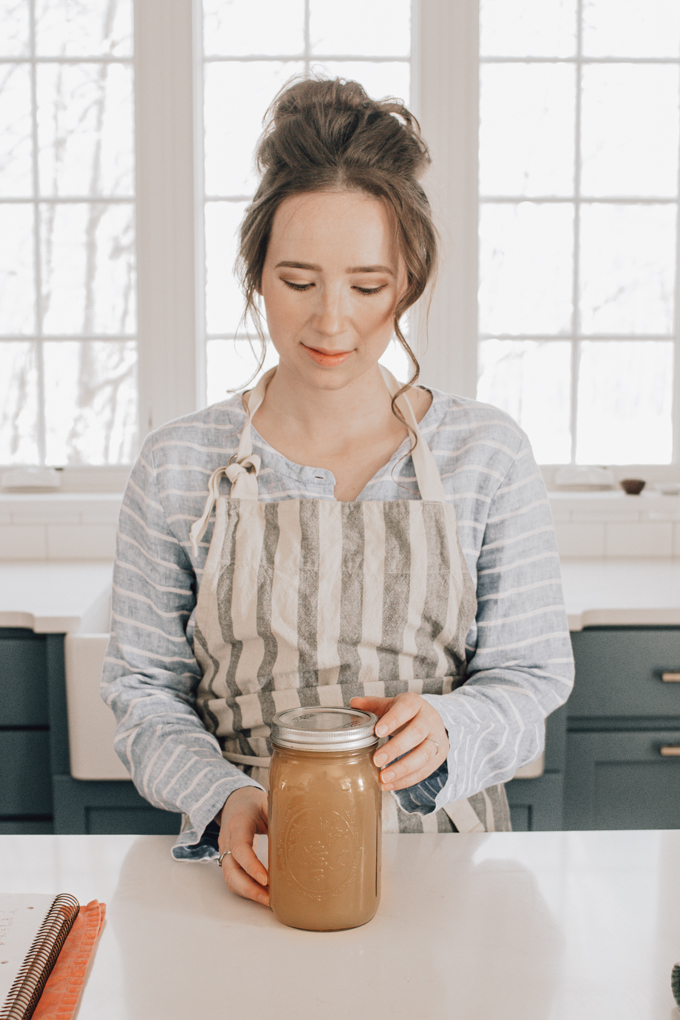
Today I’m going to show you exactly how to cook chicken feet and make nutritious bone broth from them.
This broth is frugal since chicken feet are usually quite affordable.
It also helps to cut down on food waste by using a part of a chicken that might otherwise get thrown out.
Here’s what we’re going to cover in this post:
- Ingredients
- Chicken Feet FAQ
- Stovetop Method
- Instant Pot Method
- Slow Cooker/Crock Pot Method
- Storing and Using
- Video Tutorial
- Printable Recipe
Some links are affiliate, which means I’ll earn a small commission if you click on them and make a purchse. This doesn’t impact the price you pay in the slightest!
Ingredients:
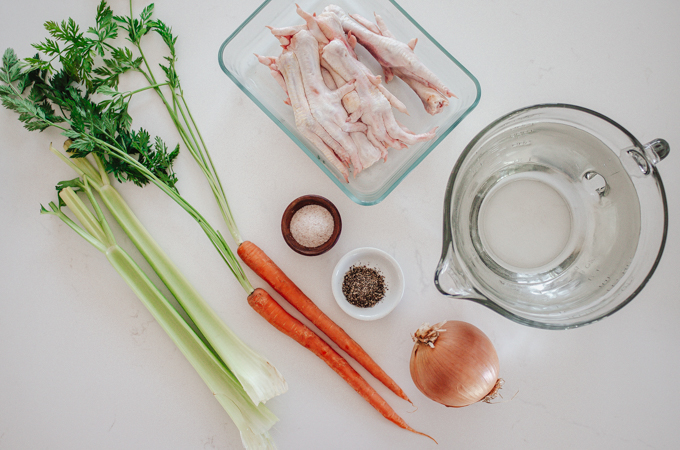
The ingredients you’ll need are the same for all three methods:
- 2 stalks of celery
- 2 carrots
- 1 onion
- 2 teaspoons unrefined sea salt (optional)
- 1/4 teaspoon black pepper (optional)
- 8-16 cups water (depending on which method you use)
- 1 pound skinned chicken feet
Now, I like to make my bone broth without apple cider vinegar. Some claim that it helps to break down the bones so they release more minerals, but others say that it does absolutely nothing.
I personally don’t like the taste, and my broth always turns out quite thick without it. So I leave it out. But if you like you could always add a couple of tablespoons of apple cider vinegar, lemon juice, or anything acidic.

Yes, here are raw chicken feet in all their glory!
Where to Buy Chicken Feet
You might be able to buy chicken feet at a local health food store, a farmer’s market, or an Asian market. If you can locate a local chicken farmer, they most likely offer them, but you might have to do some extra processing. If all else fails, you can also purchase them online.
Now some people like to cut off the chicken nails/fingernails, but I don’t bother with that. But if you were going to make chicken feet soup, you might want to clip them off unless you want to eat them. 🥴
Also, I’ve seen people blanch the chicken feet first before making broth out of them, but I don’t find that necessary. You might get a cleaner flavor at the end if you take the extra time, though.
Chicken Feet vs Chicken Paws: What’s the Difference?
From my research, it seems that the only difference between chicken feet and chicken paws is how much of the leg is left on. Chicken paws consist only of the “foot” part, whereas chicken feet have part of the leg still attached.
Do You Have to Peel Chicken Feet?
If your chicken feet look like those in the photo above, they’re ready to be used! But if they still have the yellow skin on them, they’ll need to be peeled.
I haven’t personally done this since I have access to skinned chicken feet, but apparently you simply boil the chicken feet and then the skin comes off more easily. Just be cautious handling them when they’re hot!
And obviously you’ll want to use chicken feet that are very clean. The ones I purchase are ready to go from the package. But if yours seem a bit dirty, it would be a good idea to make sure they’re super duper clean before using.
But now you might be wondering…are chicken feet healthy for you?
Chicken Feet Health Benefits
Chicken feet are rich in collagen. Collagen has many health benefits, including joint and bone health, skin health, and blood sugar regulation. ¹ When collagen is cooked long enough at the right temperature, it breaks down into gelatin.² That’s why bone broth made with chicken feet is so rich in gelatin!
Okay, let’s dive in and I’ll show you how to make it!

Stovetop Chicken Foot Bone Broth
Let’s start with the stovetop method since it requires the least special equipment.
Place all of the veggies…
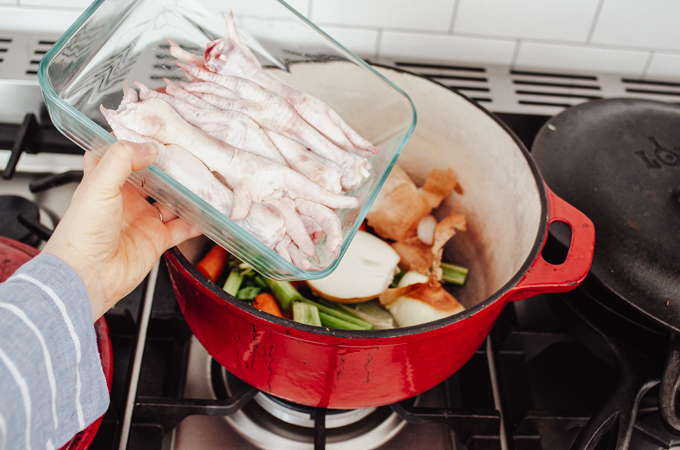
…as well as the chicken feet into a large Dutch oven or stockpot.
Don’t worry if your chicken feet are still a bit frozen – they’ll thaw out quickly in the hot water! Simply add a little bit of extra simmer time.

Add 2 teaspoons of unrefined sea salt…
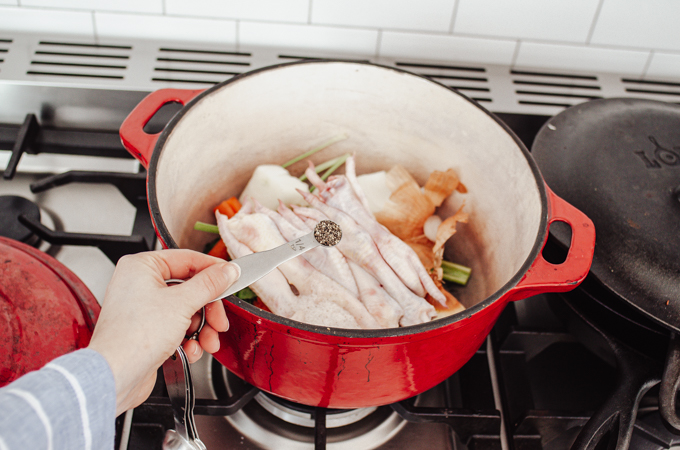
…and 1/4 teaspoon of black pepper.
The black pepper is optional – leave it out if you prefer!

Add 12-16 cups of water.
If you find that too much of the water evaporates while simmering, you can always top it off!
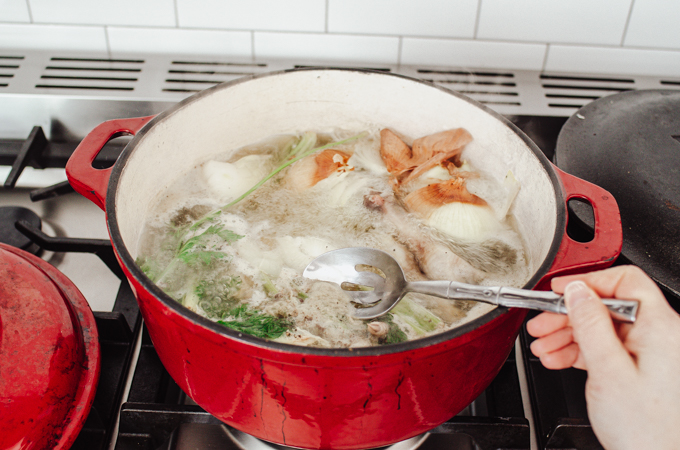
Bring the pot to a simmer.
Simmer for 30 minutes with the lid off, making sure to skim off any scum that floats to the top.

Cover the pot…

…and turn your heat waaaaaay down.
You just want to keep the broth at a gentle simmer. You don’t want a rolling boil.
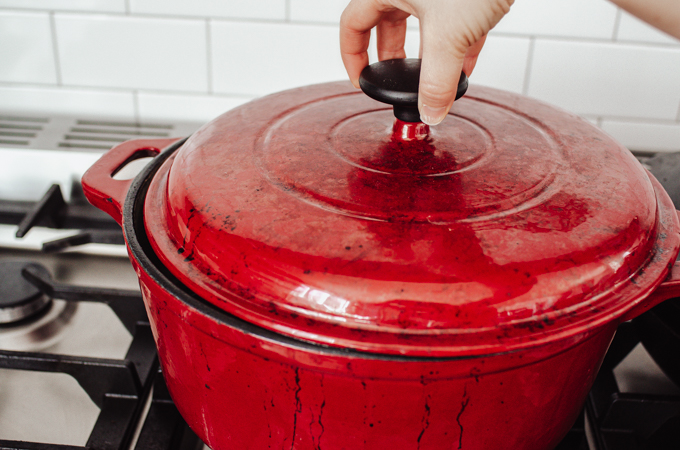
If you find that the broth wants to boil over even at the lowest heat setting, you can crack the lid just a little.

Once the broth has simmered for 6+ hours, you can strain it off.
I like to place a fine mesh sieve over a large stainless steel bowl.

Now you can pour the strained broth into storage containers.
I like to use glass jars since I try to avoid storing in plastic when I can.
But make sure to read my tips for storing broth in glass at the end of this post to avoid some common mistakes!
Instant Pot Chicken Feet Bone Broth
Now I’d like to show you how to make chicken feet bone broth in an Instant Pot.
This is my personal favorite method because it’s a lot faster than the other two!
I can have broth ready in about 3 hours!
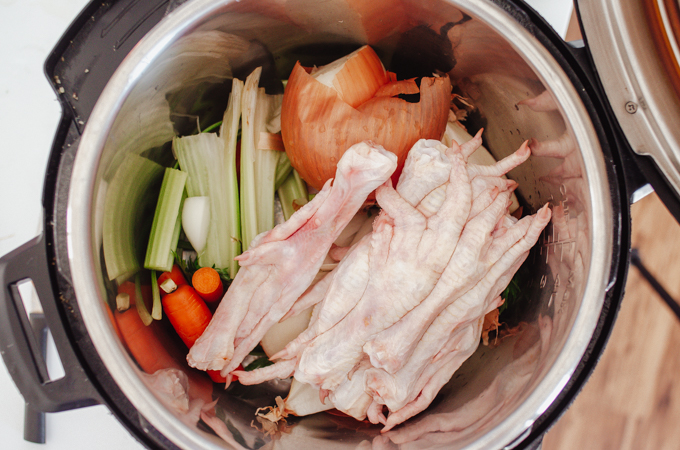
Place the carrots, celery, onion, salt, pepper, and chicken feet in the instant pot.
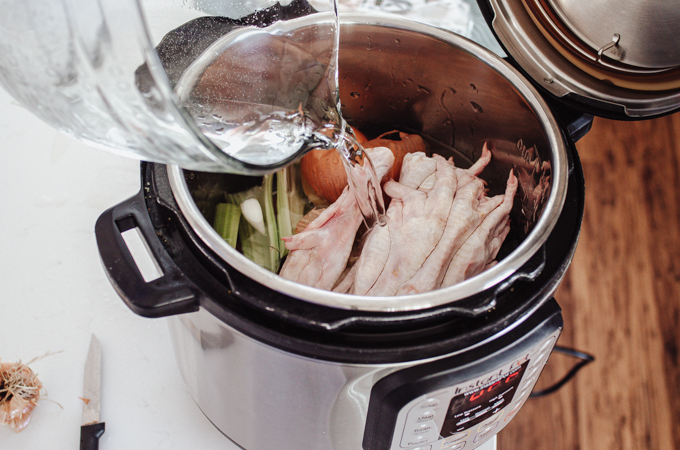
Pour 8 cups of water on top.
Since you aren’t losing as much water to evaporation with the Instant Pot method, you don’t have to use as much water.

Lock the lid in place, and make sure it’s set to sealing.
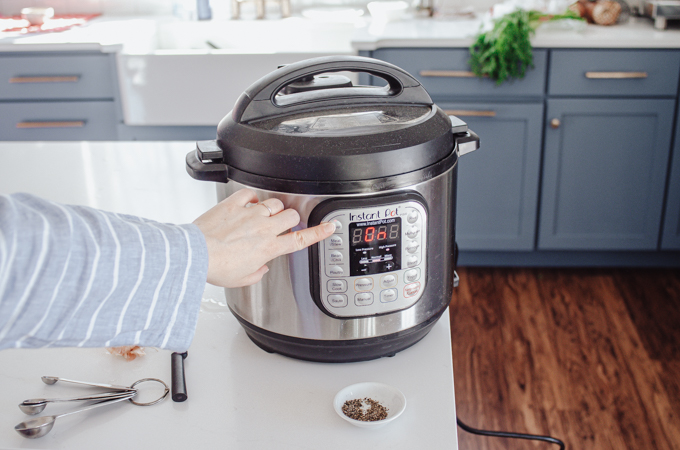
Set your Instant Pot to the soup function.

Hi the + button until it reaches 120 minutes.
Slow release for at least 10 minutes before releasing the pressure. You can also just wait for the Instant Pot to depressurize by itself.

Strain the broth and pour it into storage containers.

Slower Cooker/Crockpot Chicken Feet Bone Broth
Okay, now let me show you how to make some gut healing bone broth in your slow cooker!
I actually don’t own a slow cooker since mine bit the dust a few years ago. So I just use the slow cook function on my Instant Pot.
Place all of the ingredients into your slow cooker/crockpot.
For this method you’re going to use 10-12 cups of water. You will lose some to evaporation, but not as much as the stovetop method.

Set your slow cooker to a low or medium heat setting.
Different crock pots will heat at different rates. You’re looking to get the broth nice and hot, but not boil it.

Cover and allow to slow cook for 12+ hours.
I just use a lid from one of my stock pots on top of my Instant Pot when I use the slow cook function.
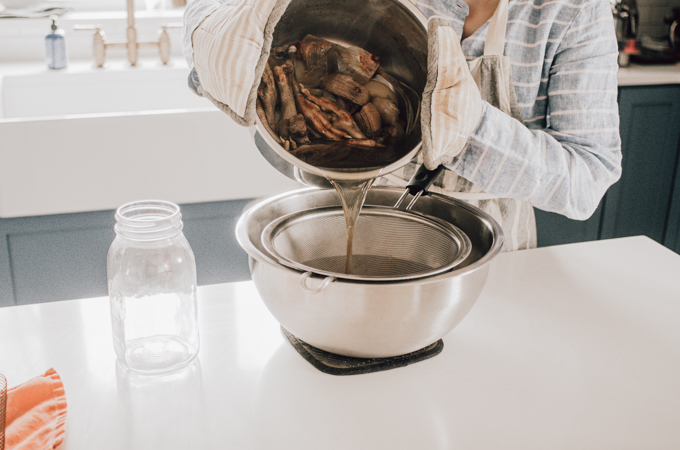
Strain off the broth and pour it into storage containers.

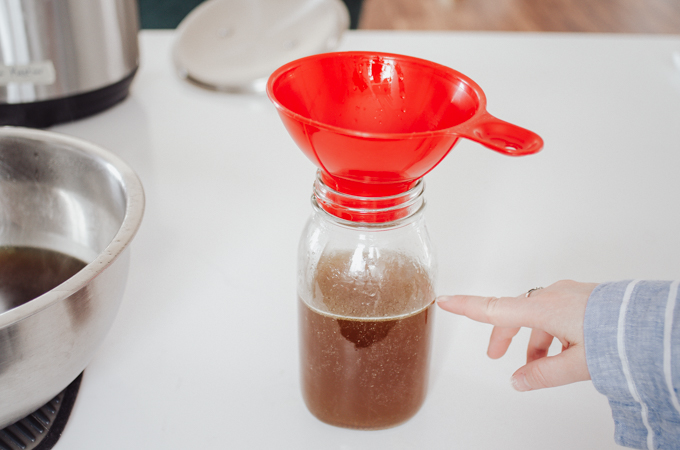
I like to use a canning funnel to cut down on any spills while transferring my broth to jars.
Tips for Storing Broth in Glass Jars in the Freezer
Now like I said, I like to store my broth in glass jars. But you need to follow a few tips to ensure the best results:
- Cool your broth to room temperature before placing it in the fridge or freezer. This is especially important before placing in the freezer. Putting hot broth directly into the freezer can cause the glass to crack.
- Only fill your jar 2/3 to 3/4 of the way full. Broth expands when it freezes, so if the jar is too full it might crack when it freezes.
- Make sure that you don’t knock the jars while they’re frozen. Glass cracks more easily when frozen, so even a little bump might ruin your broth.
Chicken Feet Soup?
Now, you can actually make chicken feet soup if you keep in the chicken feet and eat them. You’ll need to be careful while you eat around any small bones. And you’ll probably want to cut off the fingernails first.
I personally haven’t tried this: I didn’t grow up eating chicken feet, so there’s still a bit of a weird factor for me. It does seem to be prized in some countries for health benefits though. Maybe I’ll be brave enough some day?
But I definitely love making different kinds of soup from my chicken feet bone broth: Chicken noodle, ramen, Butternut Squash, Coconut and Chicken Curry, chili, etc.
Video Tutorial
Here’s a video tutorial for you in case you learn better that way!

More Homemade Recipes:
- Sourdough Tortillas
- Bacconaise
- Homemade Peanut Butter Cups
- How to Make Croutons Over the Stove
- Easy Homemade Ranch Dressing
- Homemade Strawberry Syrup
- Homemade Pizza Sauce
- How to Make Yogurt
- Homemade Pumpkin Puree
- Homemade Chili Powder
- Toddler Snack: Homemade Sour Fruit Gummies
Chicken Feet Bone Broth Recipe
It's easy to make this healthy, nutritious chicken feet bone broth at home in the Instant Pot, slow cooker, or over the stove!
Ingredients
- 1 pound chicken feet (peeled and prepared)
- 2 stalks celery
- 2 carrots, peeled or scrubbed
- 1 yellow onion
- 2 tsp unrefined sea salt
- 1/4 tsp black pepper (optional)
- 8-16 cups water
Instructions
For the Stovetop Method:
-
Place the chicken feet, celery, carrots, onion, sea salt, and pepper in a large Dutch oven or stockpot. Pour 12-16 cups of water on top.
-
Bring the broth to a simmer. Simmer for 30 minutes, skimming off any scum that comes to the surface.
-
Turn the heat down to very low, cover the pot, and allow to simmer gently for 6+ hours. If the broth wants to boil over even at the lowest setting, you can crack the lid open. If the liquid level gets too low, you can top it off with more water.
-
Allow the broth to cool a bit, then strain it into a large bowl through a fine mesh sieve. Pour into storage containers.
For the Instant Pot Method:
-
Place the chicken feet, celery, carrots, onion, sea salt, and pepper in the Instant Pot. Pour 8 cups of water on top.
-
Set the Instant Pot to "sealing" and turn it to the Soup function. Hit the + button until it reaches 120 minutes.
-
Allow the Instant Pot to slow release for at least 10 minutes before quick releasing, or just let it depressurize by itself.
-
Strain and pour into storage containers.
For the Slow Cooker Method:
-
Place the chicken feet, celery, carrots, onion, sea salt, and pepper in the slow cooker. Pour 10-12 cups of water on top.
-
Set the slow cooker to low or medium, depending on how hot your machine gets. You want the broth to get nice and hot, but not come a rolling boil.
-
Slow cook for 12+ hours. Strain and pour into storage containers.
Recipe Notes
- The broth can be stored in the refrigerator for up to a week, and in the freezer for at least 3 months.
- If you plan on storing glass jars of broth in the freezer, make sure to only fill the jars 2/3 to 3/4 of the way full, allow them to cool completely before putting in the freezer, and don't knock them once they're frozen.
- The salt amount makes for a lightly seasoned broth. Feel free to add more salt if you want a sipping broth.
- The calorie amount is estimated based off of commercial bone broth nutrition facts labels.

Merri
Saturday 6th of April 2024
All I can find is freeze-dried or dehydrated chicken feet. Will that work?
Eleisawifelife
Saturday 17th of February 2024
Do you have one where it’s a sweet dessert using natural collagen, I.e. bone broth?
Eleisawifelife
Monday 19th of February 2024
@Erica Kastner, appreciate your reply! I like putting these in ice trays and throw it in while cooking to add flavour instead of just regular broth. Thanks for sharing the recipe!
Erica Kastner
Saturday 17th of February 2024
I don't have a recipe like that! I have recipes that use collagen peptides, but not desserts made with bone broth.
Ray Garcia
Saturday 25th of November 2023
Can you eat the vegetables after making the broth
Erica Kastner
Saturday 25th of November 2023
Yes, but they get pretty mushy, so I usually don't.
Zoe
Friday 3rd of November 2023
Hi! Thanks so much for posting this. I’m wondering, why do you skin the chicken feet? Would the skin not be a helpful addition for the purpose of more collagen? Thank you!
Kelly
Thursday 19th of October 2023
Hello,
My soup didn't turn in to gelatin, I think I added to much water. I only did 1/2 pound of feet. Do you think I can reuse the broth and just add more chicken feet?
Erica Kastner
Thursday 19th of October 2023
Yes, that should work fine! Or you could simmer the broth to concentrate it more.