
Sourdough Sandwich Bread
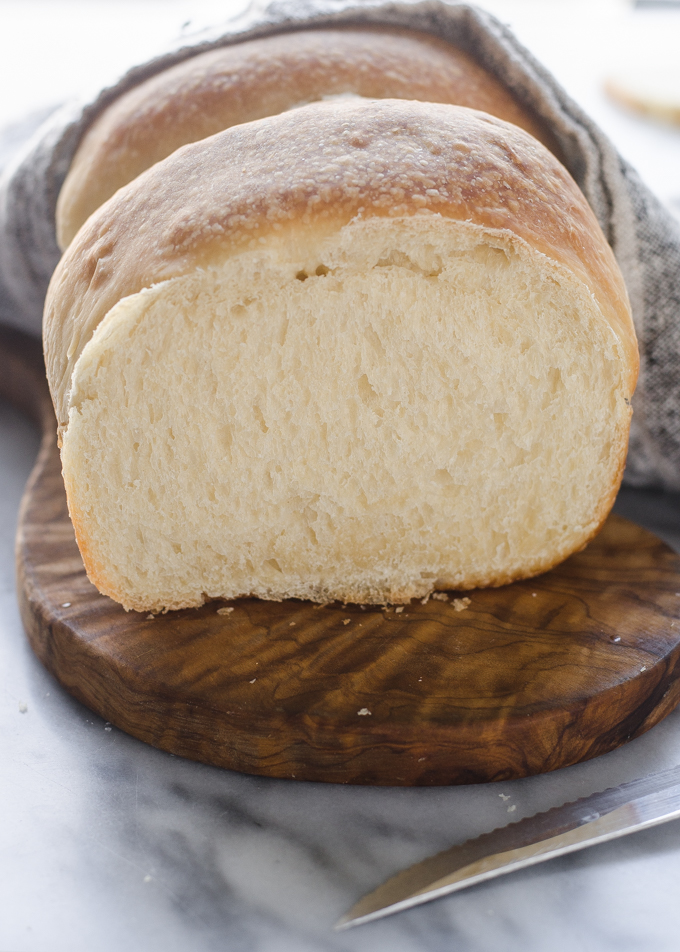
This sourdough sandwich bread is soft, naturally leavened, and perfect for toast, sandwiches, etc.
My first love with sourdough was my homemade artisan sourdough bread - that recipe makes some out-of-this-world-good bread. I truly think that every sourdough baker should make a rustic loaf like that at least once.
That loaf is insanely delicious. BUT...it isn't always the most practical. All those beautiful little air bubbles don't always make for the best toast or sandwich. When you don't want to have to tear at a sandwich with your teeth, or when you don't want the melted butter to run out the bottom of your toast, you make this sourdough sandwich bread.
This loaf is soft and beautiful and delicious. The perfect vehicle for any sort of topping you want to throw at it. Let's dive in and see how it's made:
How to Make Sourdough Sandwich Bread
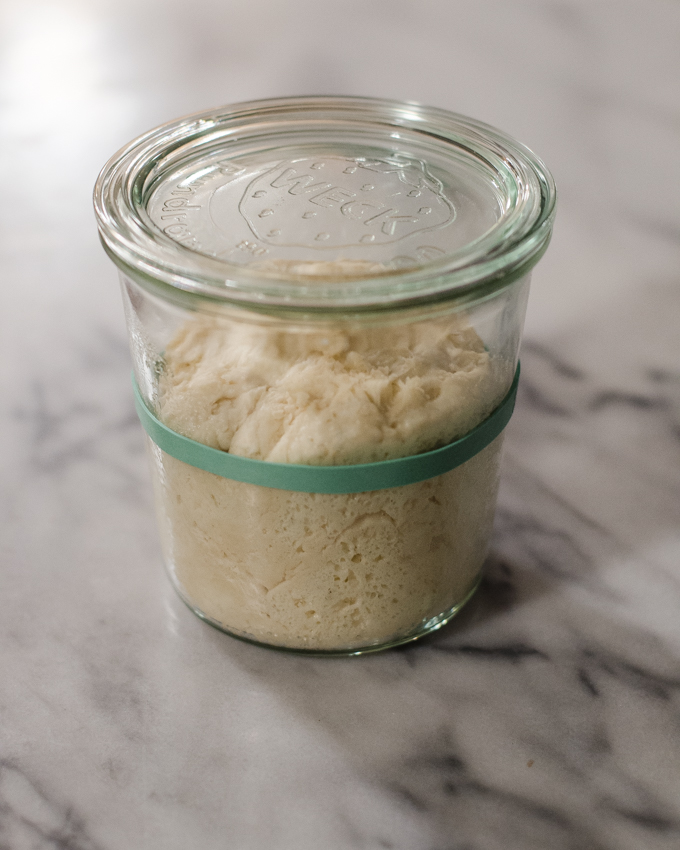
First, we need to make the leavain. What is a levain, you ask? It's basically a sourdough starter that you mix up specifically for your recipe. It's the leaven that will make your bread rise.
Unlike my artisan sourdough bread recipe, we're noting using a wet, 100% hydration levain. This one's more like a stiff dough, and it contains milk! Mix it together and wait for it to ripen and rise.
Mixing the Dough:
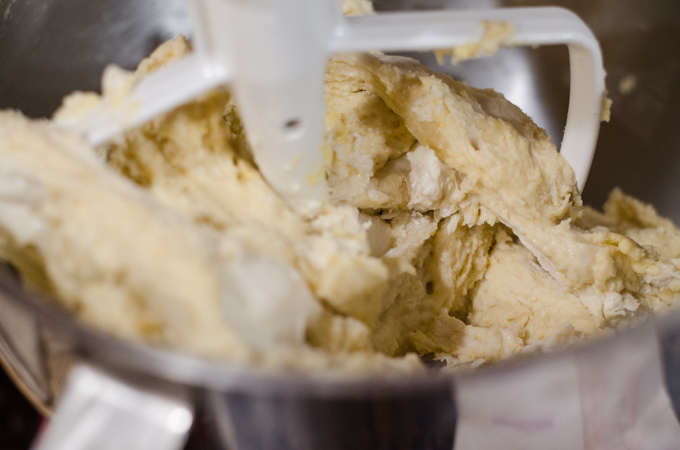
Next, you add all of the ingredients (including the levain) except for the salt and butter to the bowl of a stand mixer. Mix with the paddle attachment just until everything is combined. Let rest (autolyse) for 30 minutes.
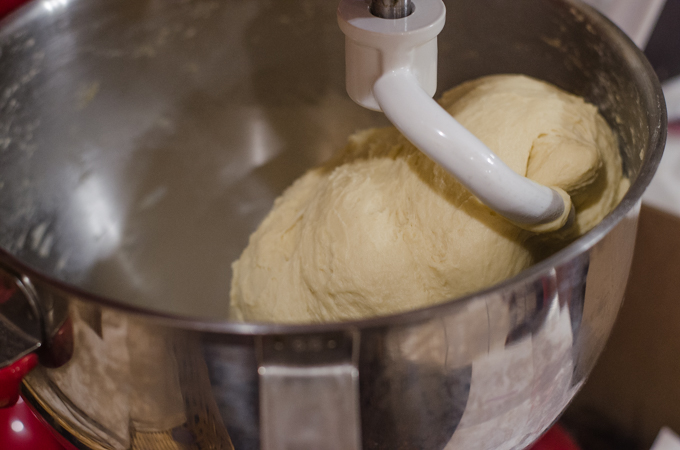
Switch to the dough hook. Add the salt and knead the dough until it starts to come together, about 3 minutes.
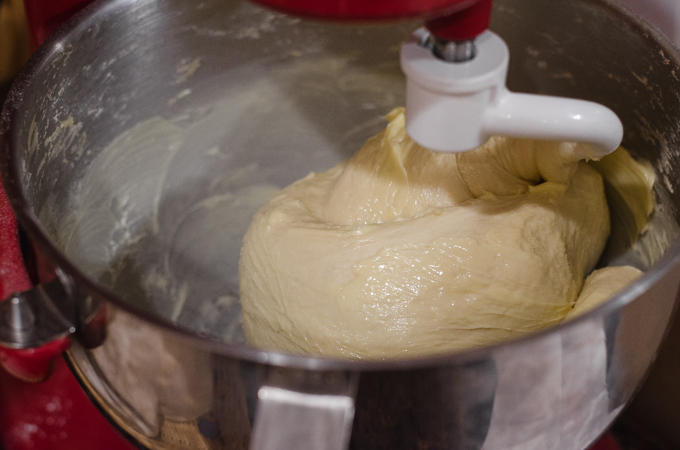
With the mixer running, gradually add the butter, mixing well after each addition. At first it will seem like a greasy mess. Just keep going and the butter will eventually absorb into the dough.
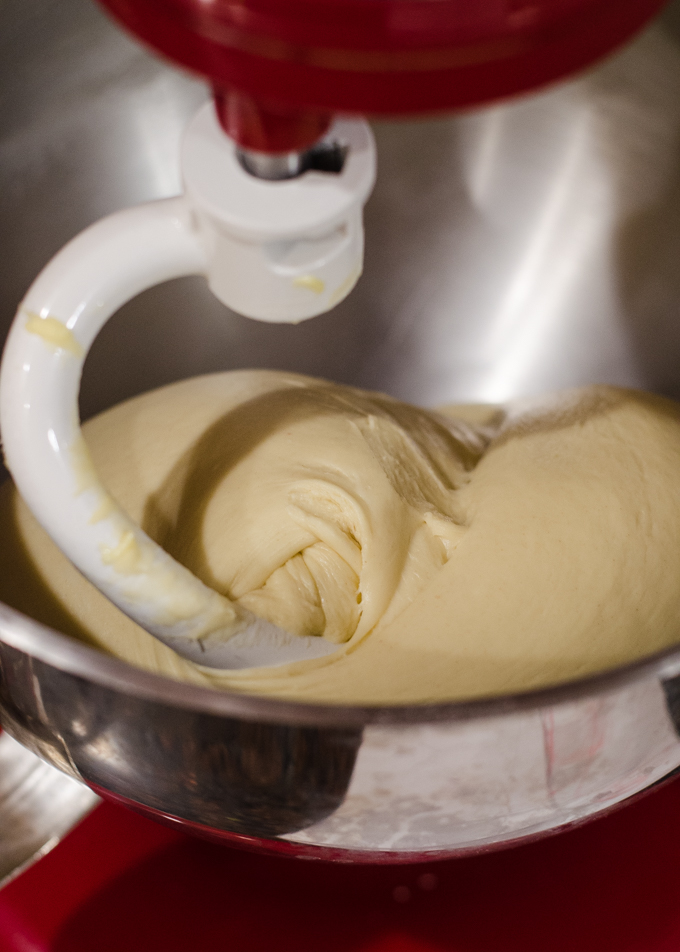
Keep kneading until the dough is beautifully smooth and passes the windowpane test. Be patient - it can take quite a while for the gluten to develop enough!
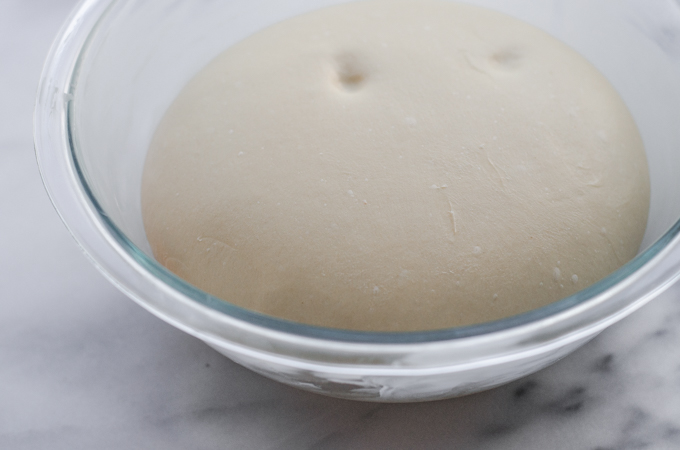
At this point you have a couple of options:
- You can let the dough rise at room temperature for 2 hours, then place it in the refrigerator overnight.
- If your kitchen is quite cold like mine is in the winter/spring, you can do the bulk rise overnight at room temperature. If your kitchen is quite warm, I recommend using the first method.
Forming the Loaf:

The next day, divide your dough into 3 equal parts. Cover with a damp tea towel and let rest for 1 hour.
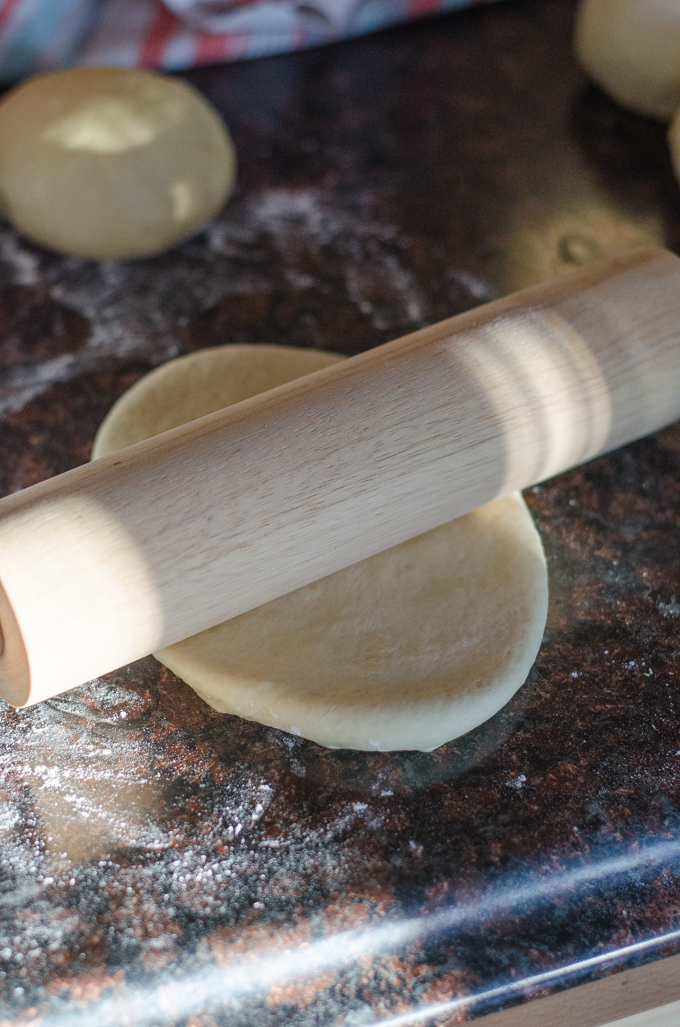
Roll the balls out into ovals.

Now roll each oval up jelly-roll-fashion.
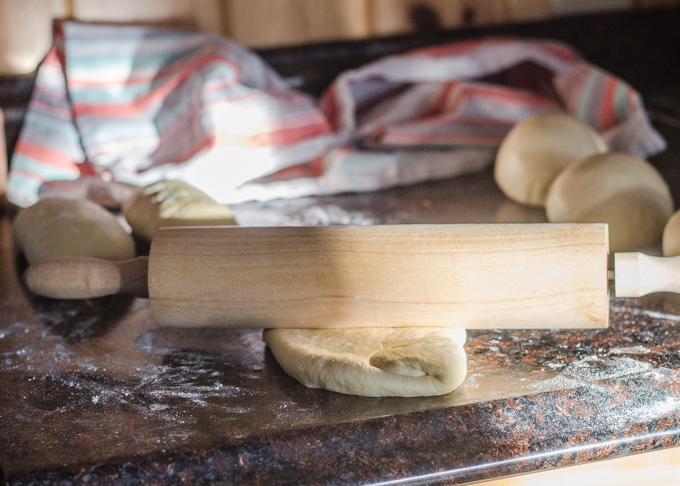
Flatten the roll back out into an oval again along the seam.

Roll the dough back up one more time like a jelly-roll.
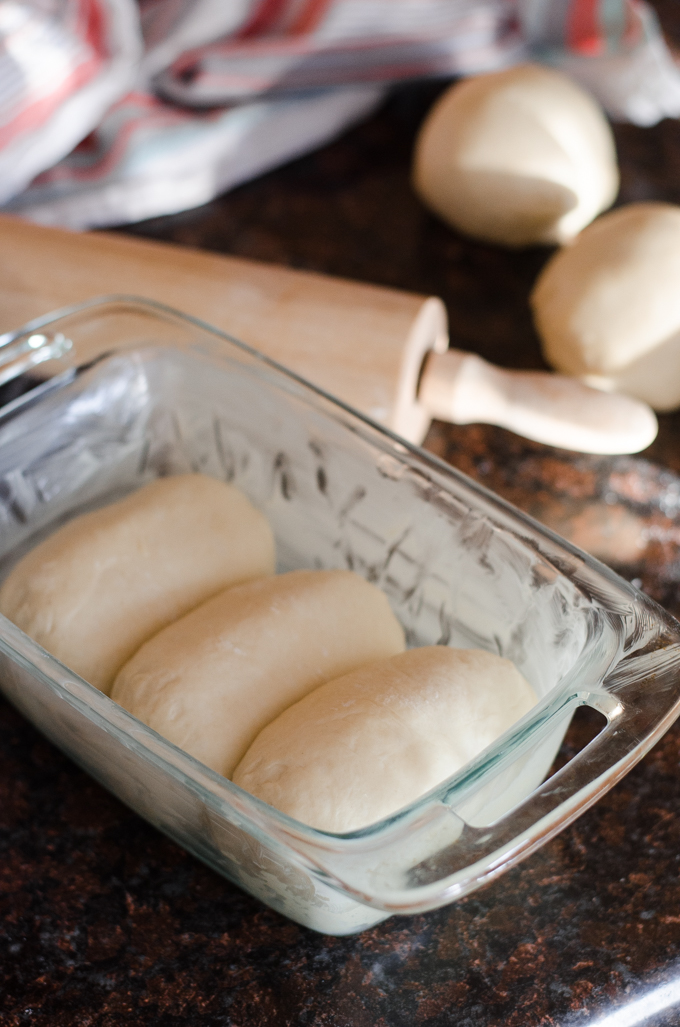
Put the rolls into a buttered loaf pan, seam side down.
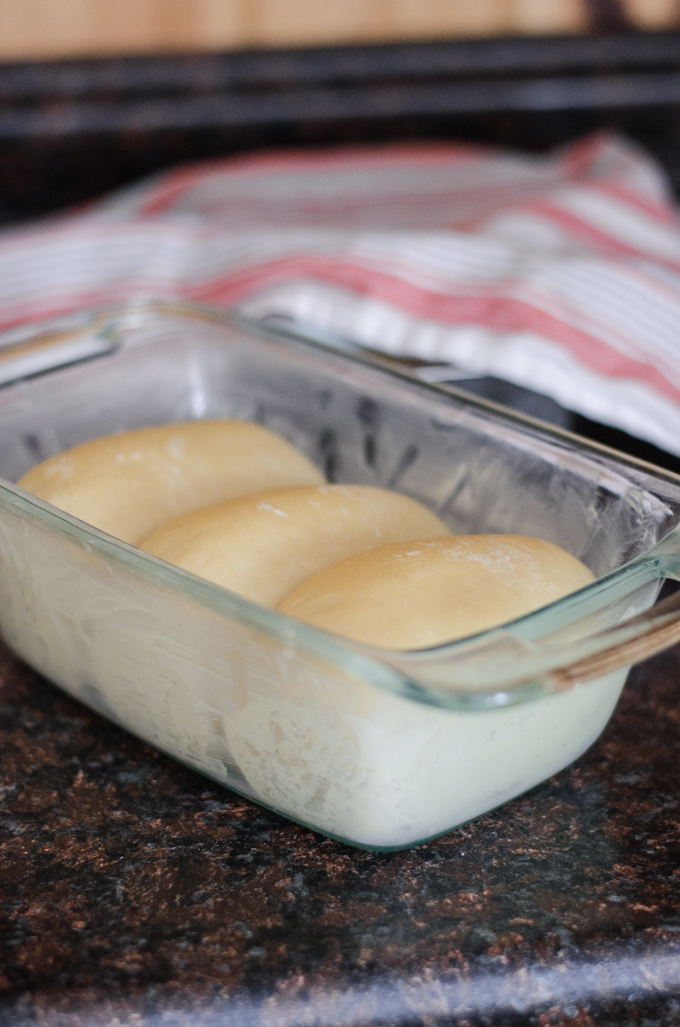
Cover with a damp tea towel and allow to rise at room temperature for 6 hours.
Baking Sourdough Sandwich Bread:
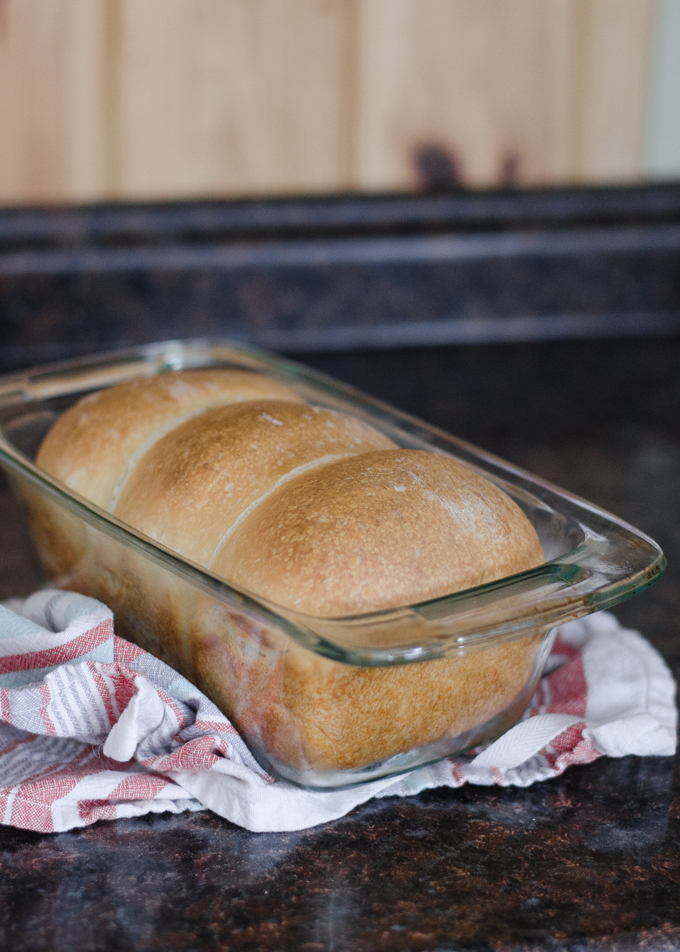
Bake in a hot oven for about 40 minutes. You want the dough to reach an internal temperature of about 195-200° F.
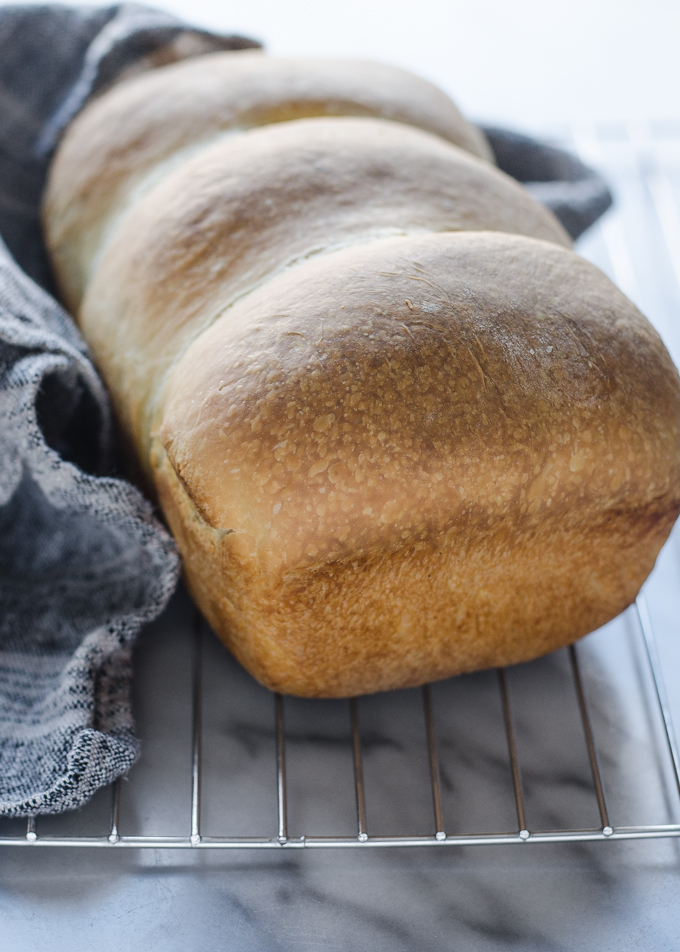
Transfer to a wire rack to cool.
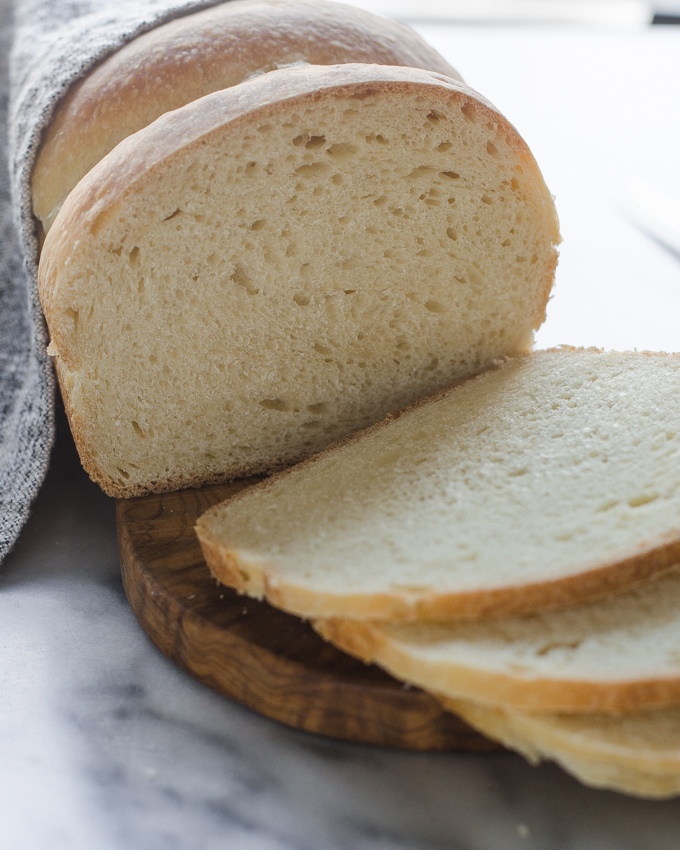
Try your best to wait until the loaf has completely cooled to slice into it.
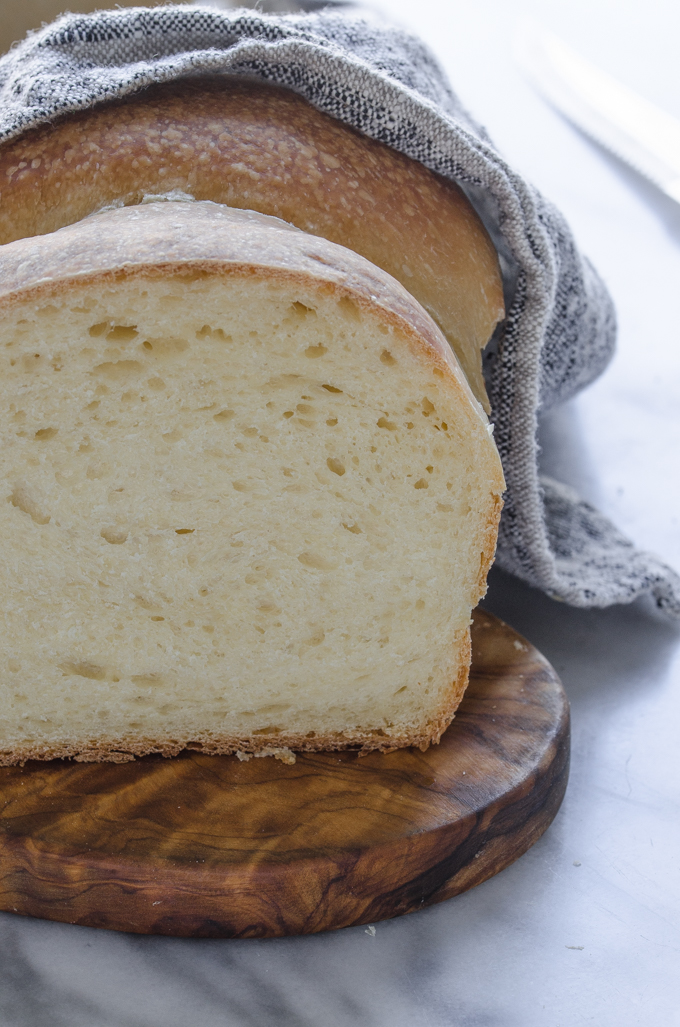
The first time I made this bread, we scarfed down about half a loaf in one sitting. Reuben devoured slice after slice, even though he isn't a big bread fan! It's that good.
Notes:
- I scaled up the original recipe (BTW, go follow Cook Til Delicious) to better fit a standard American loaf pan. The original amount was for a pullman loaf pan, which I don't own.
- I have made this recipe with and without the sugar. Of course it's absolutely delicious with the sugar, but it's still really good without it.
- If you don't have any bread flour on hand, you can still totally pull off this loaf. I've made it with part bread flour, and also with all AP flour.
Here are some ideas for what to make with your Sourdough Sandwich Bread:
- Ricotta Avocado Toast
- Cream Cheese and Chive Sandwiches
- French Toast
- Bacon and Brie Grilled Cheese
- Bacon, Avocado, and Tomato Sandwich
Here's a video demonstration of the process:

Sourdough Sandwich Bread
This sourdough bread is soft and light - perfect for making sandwiches or toasting!
Ingredients
For the Levain/Starter:
- 23 grams 100% hydration sourdough starter (see note)
- 38 grams whole milk
- 70 grams bread flour (can also use AP flour)
For the Final Dough:
- all of the levain/starter
- 173 grams all-purpose flour
- 173 grams bread flour (or more AP flour)
- 1 whole egg
- 1 egg yolk
- 168 grams whole milk
- 43 grams sugar, optional
- 8 grams unrefined salt (I used Himalayan pink salt)
- 43 grams butter, softened
Instructions
For the Levain/Starter:
-
Mix together all of the levain ingredients in a jar. Let sit at room temperature to mature and rise, about 8 hours.
For the Final Dough:
-
Place all of the dough ingredients (including the levain) except for the salt and butter in the bowl of stand mixer fitted with the paddle attachment. Mix on low speed until it comes together in a shaggy dough. Let rest (autolyse) for 30 minutes.

-
Switch to the dough hook. Sprinkle in the salt and knead for 3-5 minutes, or until the dough starts to come together.

-
Add the butter gradually, mixing well after each addition. It will start out greasy, but the butter will eventually absorb into the dough. Continue kneading until the dough passes the windowpane test, about 10 minutes.

-
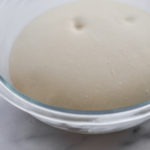
Place the dough in a lightly greased bowl, then turn to grease all sides of the dough. Cover tightly and allow to rise at room temperature for 2 hours. Place in the refrigerator to rise overnight.
-
The next day, divide the dough into 3 pieces and form into balls. Place on a lightly floured surface, cover with a damp tea towel, and allow to rest for 1 hour.

-
Roll each ball into an elongated oval, then roll each one up jelly-roll-fashion. Allow to rest for 10 minutes. Roll them out into an oval again along the seam, then roll each one up like a jelly roll once more. Transfer the rolls to a buttered 9x5-inch loaf pan. Cover with a damp tea towel and allow to rise at room temperature for about 6 hours. At that point the dough should have puffed up and filled the pan about ⅔-3/4 of the way.

-
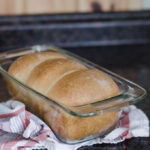
30 minutes before the loaf is ready to bake, preheat your oven to 400 degrees F. Place the risen loaf into the hot oven and bake for 20 minutes. Lower the oven temperature to 350 degrees F and continue to bake for 15-20 minutes, or until the loaf reaches an internal temperature of 195-200 degrees F.
-
Transfer to a wire cooling rack and allow to cool completely before slicing (if you can).

Recipe Notes
- 100% hydration starter means a starter that has been fed with equal weights (not volumes) of water and flour and allowed to rise until doubled, about 6-12 hours depending on the temperature of your kitchen.
- All of the mixing can be done by hand if desired.
- Recipe adapted from Cook Til Delicious




Wow! It really is a beautiful loaf of bread. Your step by step instructions make me feel like this is something I might be able to actually do!
Thank you for taking the time to document the whole process. I can just imagine how yummy toad in a hole would be for this or even just a great grilled cheese.
Thank you, Jennifer! I learn well by step-by-step instructions, so I wanted to include them. ?
I'm so excited to try this! It's rising now.
One thing I noticed is that you never said how much salt to add. I looked at the recipe you adapted and went with their numbers, hoping it will be the right amount!!
Oops - sorry about that! I left out the salt by mistake - I'm blaming mom brain on this one. ? I updated the recipe to include the salt. Hope you enjoyed the bread!
Thank you! I absolutely LOVED it and can't wait to make my next loaf!!
I'm so glad you enjoyed it, Charla! And thank you so much for leaving a review - I really appreciate it! ❤
It's proofing in the fridge right now, my concern is the 6 hours proofing on the counter at room temperature with eggs in it. Is that safe?
I haven't had any issues with it being unsafe with the eggs. But obviously if you have a compromised immune system, or are feeding the bread to pregnant women or small children, you want to be extra cautious.
I made this last week and it was delicious. I just mixed up a loaf for this week’s sandwiches. I used 100g of whole wheat and the balance bread flour. Added extra 15g milk due to the whole wheat flour. We’ll see how this turns out tomorrow afternoon. Thanks for a great recipe and detailed instructions.
So glad you enjoyed it, Meg! You'll have to let me know how it turned out with the whole wheat flour!
Hi,do you bake this loaf in a steam saturated oven or just plain heat?
I use just plain heat.
Just curious. Why do you separate the dough into three "rolls" and then cook it all together as one loaf? Would this work equally well if I were to roll it into one large loaf?
Thanks!
It's just to make it pretty! You can definitely just do one big roll if you prefer!
Hi Erica,
I just made the sourdough sandwich from your recipe. I think the bread didnt rise enough. The texture is thick and doesn't have many big holes like your bread. I am not sure if the bread wasn't baked enough or rise enough. Do you have any advices?
Hi Anne,
So sorry it didn't work out! Could you give me a few more details about the fermenting and rising time? Was your base starter very active and bubbly before you made the stiff starter? Did the stiff starter rise visibly and have air holes? Is your kitchen warm or cool? Sourdough can be a fine art, and you need to know your kitchen so you get a feel for how sourdough reacts in it. If your kitchen is really cool, it can take a lot longer for your dough to be read to form and bake than a recipe says. It's best to go by visual cues and not times. If your kitchen is very warm, your sourdough may be ready way before a recipe says, and that can result in very sour bread or one that's over proofed and falls in the oven.
Hope that helps!
This was soft, fluffy, buttery, and very delicious
Yay! So glad you enjoyed it, Karen! ❤
I have my own sourdough starter. How much do I use for this recipe?
Hi, Sandra! This recipe actually uses your sourdough starter to create a "stiff" starter specifically for this recipe. You're basically feeding your sourdough starter with flour and milk to make a thicker than normal starter. Does that make sense?
What in the world is a windowpane test?!
A windowpane test is a quick test that you do to see if you've developed enough gluten in your dough. Grab a small piece of dough, and slowly stretch it out. If you can pull it thin enough without breaking it that you can see light through it, it passes the windowpane test! If not, you need to knead it more. Hope that helps!
Hi there! I've got my levain going tonight. It seems rather dry and stiff. Is that correct? if by tomorrow am, it hasn't risen, what would you recommend i do? Add something to the starter? or start over and add more milk?
Hey there,
Sorry, I didn't see your comment until now! Yes, the levain is supposed to be quite stiff. I'm actually working on a video to demonstrate this, because it's quite different than most sourdough "starters"!
This bread actually turned out great!! And I am a novice bread maker! It was soft, flavorful, made great grilled cheese..I was a bit hesitant about rolling it into 3 separate jelly rolls but oh my, it really turned out better than I could have imagined. Thank you for posting this recipe 🙂
So glad it turned out for you! Yeah, the 3 jelly rolls seems a bit strange at first, but they're lovely!
I’m anxious to try this recipe, but being a sourdough novice, I’m unclear about the starter. Surely there’s something more to it than just flour and milk?
Hi, Kate! Yes, a sourdough starter is made by mixing together flour and water, and feeding it with flour and water at least once a day until it develops beneficial yeast and bacteria. It takes some time to get it going before you can bake bread with it. Here's my post about making a sourdough starter from scratch: https://www.butteredsideupblog.com/sourdough-starter-from-scratch/
I know weighing the ingredients is preferable, but I do not have a scale. Can you provide the standard measurements in cups? Thank you!
Here are the approximate measurements. I had to round up or down to make it make sense (1/3 of a teaspoon isn't really a thing). So I don't know for sure that this would turn out as well! Definitely add more flour or milk if the wetness of the dough seems off.
Levain:
1 1/2 tablespoons starter
2 1/2 tablespoons milk
8 3/4 tablespoons bread flour
Dough:
1 cup + 6 tablespoons all purpose flour
1 cup + 5 1/2 tablespoons bread flour
1 whole egg
1 egg yolk
11 tablespoons milk
3 1/2 tablespoons sugar
1 1/2 teaspoons of salt
3 tablespoons butter
Has anybody tried this without the eggs or with flax eggs? One of my little ones has an egg allergy, but I've been searching for a soft sourdough recipe!
Yes! A lady over on Instagram made this loaf with a flax egg: https://www.instagram.com/p/B_Opwx7Ja1B/
Thanks so much for the reply! I'll try it out ?
Best Recipe! I’m making a double batch currently as my loaves are in oven. Beautiful loaf. It’s fun making a rustic loaf but thus one is practical for day to day sandwiches and when you don’t want large air holes in your bread. The starter finally has tang and I threw in some rye flour to help with the tang when baking the starter. Perfect loaf.
Yes, a rustic loaf is delicious, but not always the most practical for a sandwich or even toast! Mmm...adding rye sounds yummy!
Thank you for this recipe! I was very sceptical as I was making it because my dough looked a lot more stiff than yours does in the video and my machine almost stopped working. But in the end it turned out quite nice... although I did need to leave it to rise longer than you did. Just wondering if I could use honey next time instead of sugar? Thanks
So happy it worked out for you, Kyla! Maybe you could start with a smaller amount of flour and work up to the right consistency? Yes, it should work to substitute honey, though the dough might be a bit wetter since honey is a liquid sweetener.
I made this today and w just had a slice or 2. I am amazed there’s some left!!!
I made it itch out sugar and used all AP flour.
Great recipe and great instruction, the video was especially helpful.
Thanks,
Art
So glad you enjoyed it, Art! And I'm happy that the video was helpful. 🙂