
Sourdough Sandwich Bread
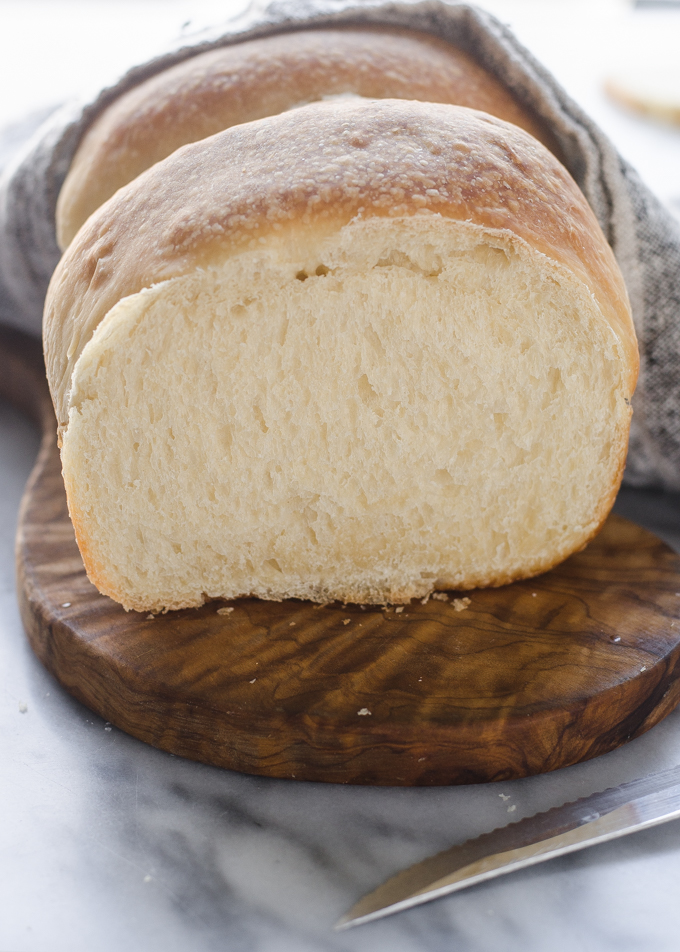
This sourdough sandwich bread is soft, naturally leavened, and perfect for toast, sandwiches, etc.
My first love with sourdough was my homemade artisan sourdough bread - that recipe makes some out-of-this-world-good bread. I truly think that every sourdough baker should make a rustic loaf like that at least once.
That loaf is insanely delicious. BUT...it isn't always the most practical. All those beautiful little air bubbles don't always make for the best toast or sandwich. When you don't want to have to tear at a sandwich with your teeth, or when you don't want the melted butter to run out the bottom of your toast, you make this sourdough sandwich bread.
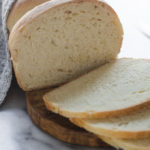
This loaf is soft and beautiful and delicious. The perfect vehicle for any sort of topping you want to throw at it. Let's dive in and see how it's made:
How to Make Sourdough Sandwich Bread
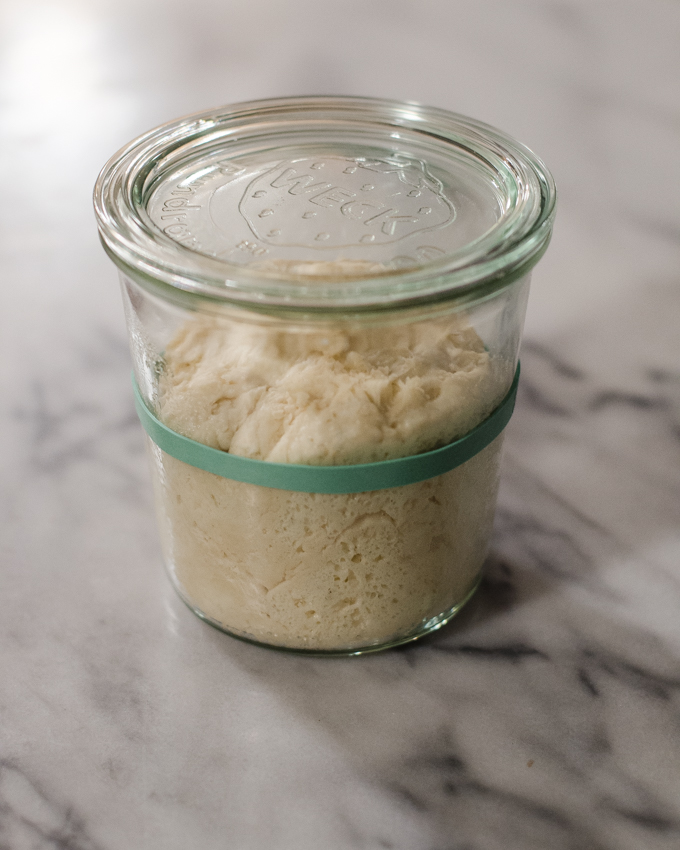
First, we need to make the leavain. What is a levain, you ask? It's basically a sourdough starter that you mix up specifically for your recipe. It's the leaven that will make your bread rise.
Unlike my artisan sourdough bread recipe, we're noting using a wet, 100% hydration levain. This one's more like a stiff dough, and it contains milk! Mix it together and wait for it to ripen and rise.
Mixing the Dough:
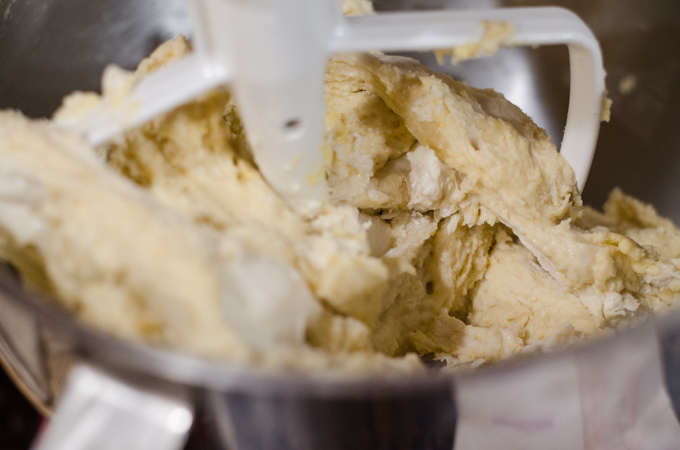
Next, you add all of the ingredients (including the levain) except for the salt and butter to the bowl of a stand mixer. Mix with the paddle attachment just until everything is combined. Let rest (autolyse) for 30 minutes.
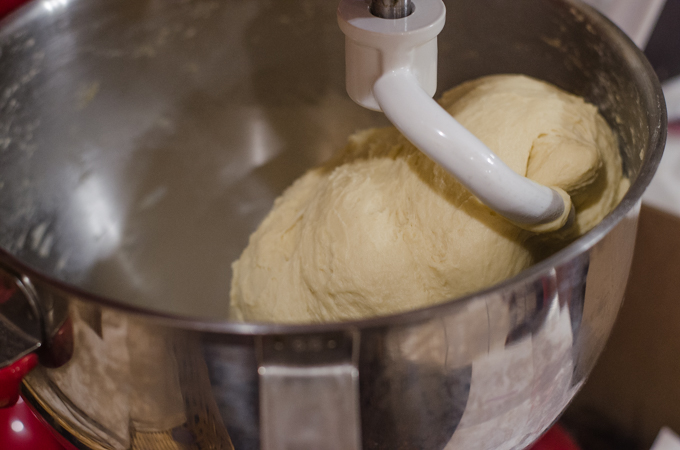
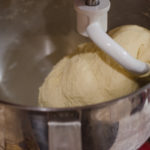
Switch to the dough hook. Add the salt and knead the dough until it starts to come together, about 3 minutes.
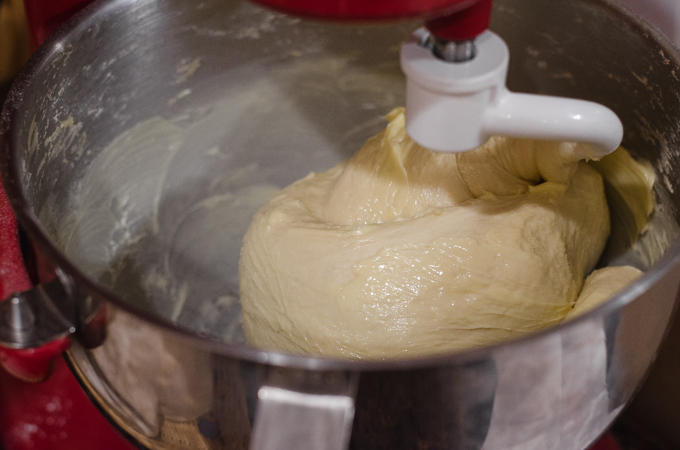
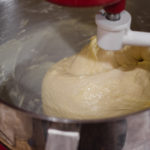
With the mixer running, gradually add the butter, mixing well after each addition. At first it will seem like a greasy mess. Just keep going and the butter will eventually absorb into the dough.
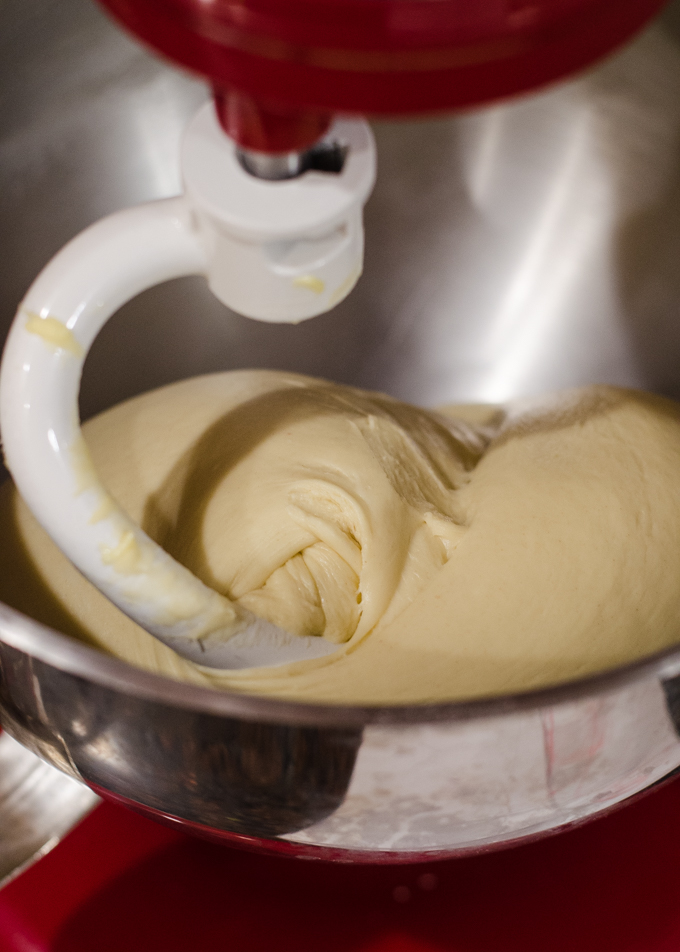
Keep kneading until the dough is beautifully smooth and passes the windowpane test. Be patient - it can take quite a while for the gluten to develop enough!
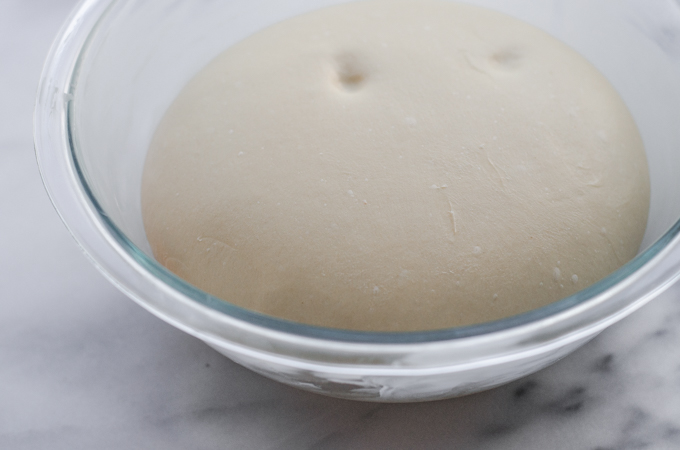
At this point you have a couple of options:
- You can let the dough rise at room temperature for 2 hours, then place it in the refrigerator overnight.
- If your kitchen is quite cold like mine is in the winter/spring, you can do the bulk rise overnight at room temperature. If your kitchen is quite warm, I recommend using the first method.
Forming the Loaf:
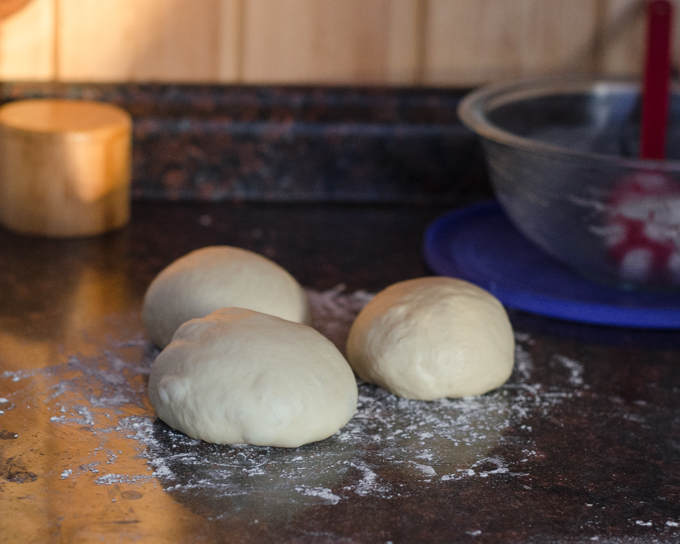
The next day, divide your dough into 3 equal parts. Cover with a damp tea towel and let rest for 1 hour.
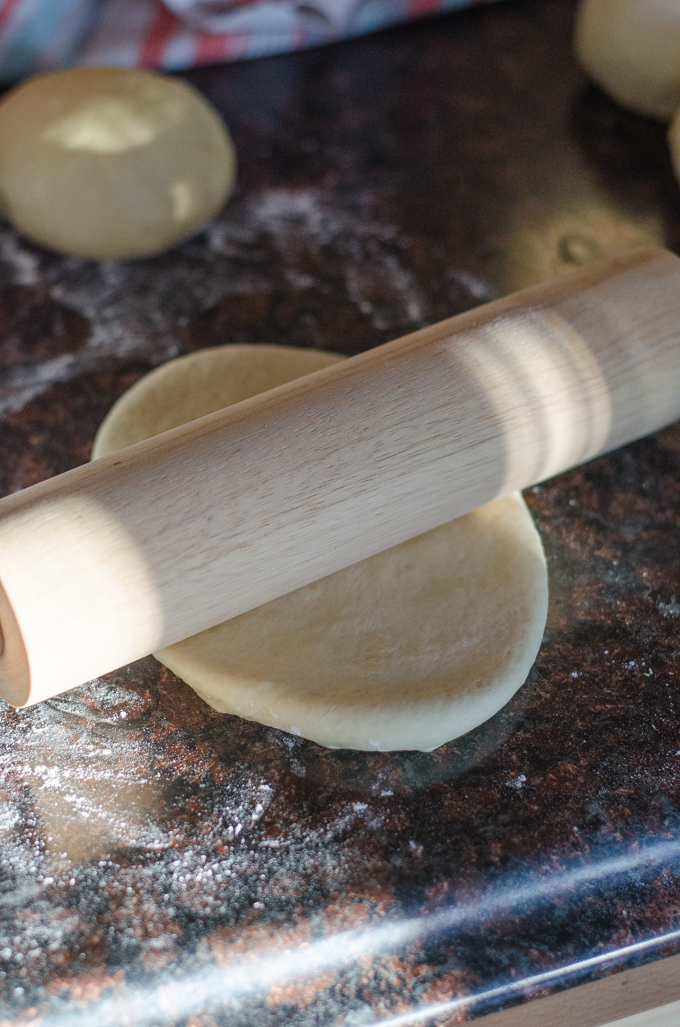
Roll the balls out into ovals.
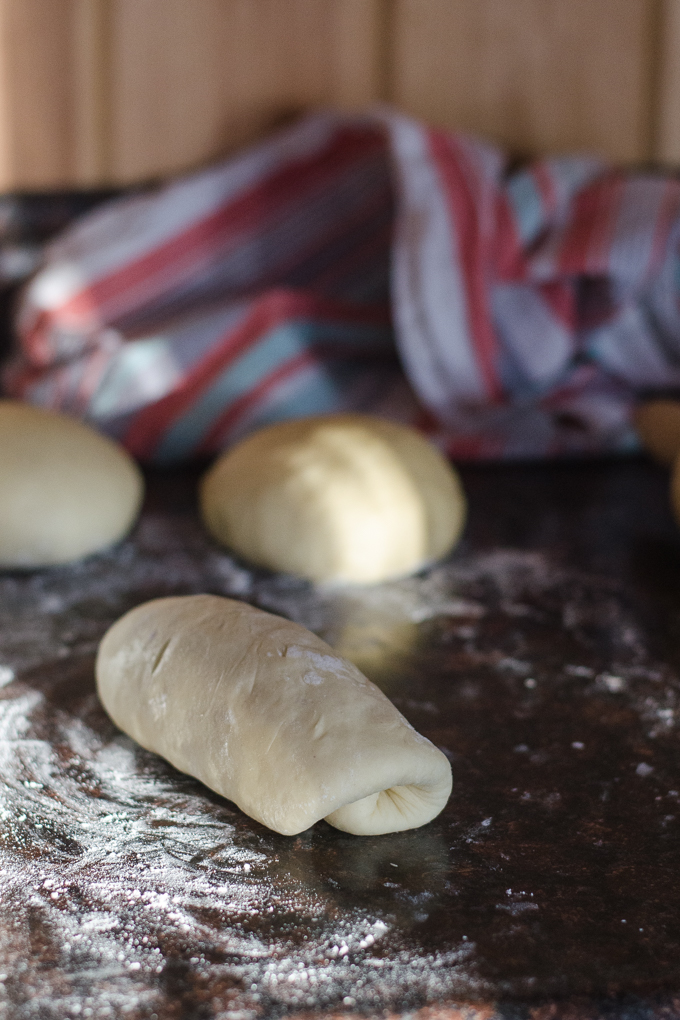
Now roll each oval up jelly-roll-fashion.
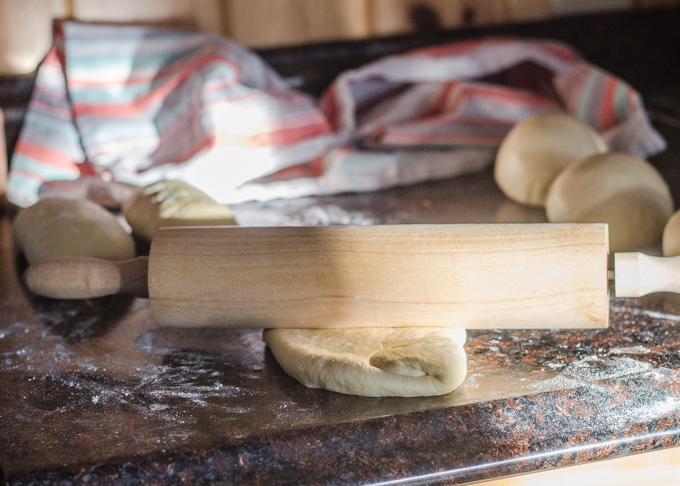
Flatten the roll back out into an oval again along the seam.
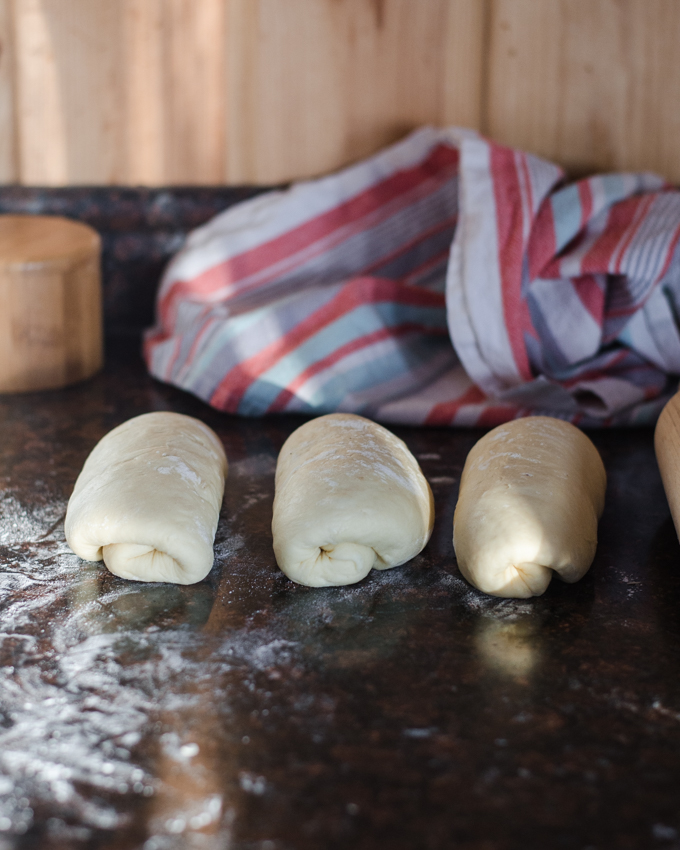
Roll the dough back up one more time like a jelly-roll.
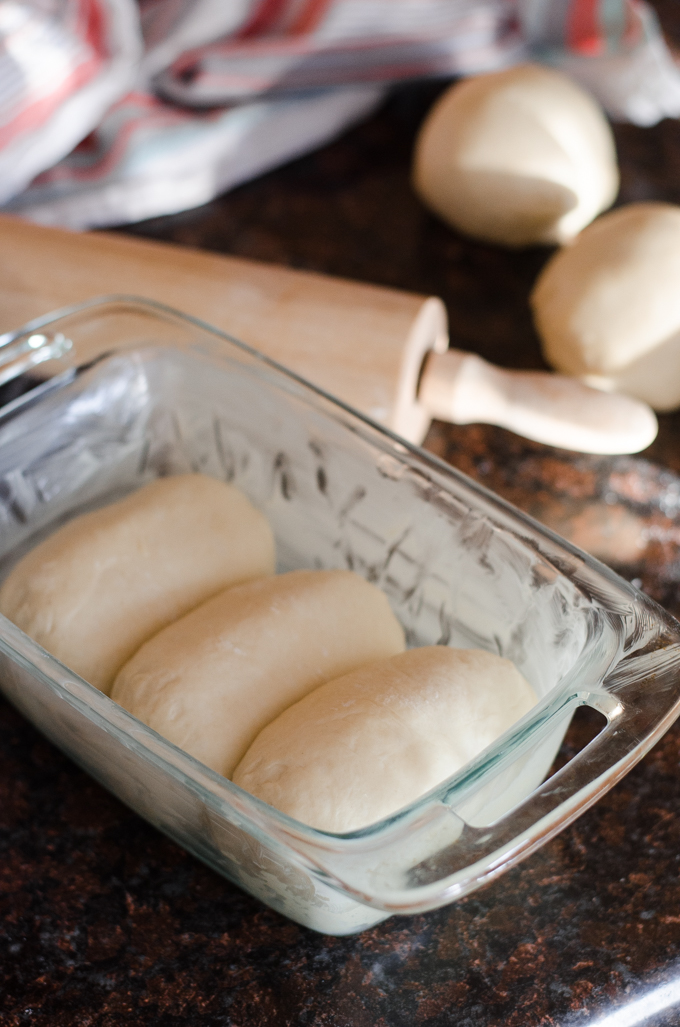
Put the rolls into a buttered loaf pan, seam side down.
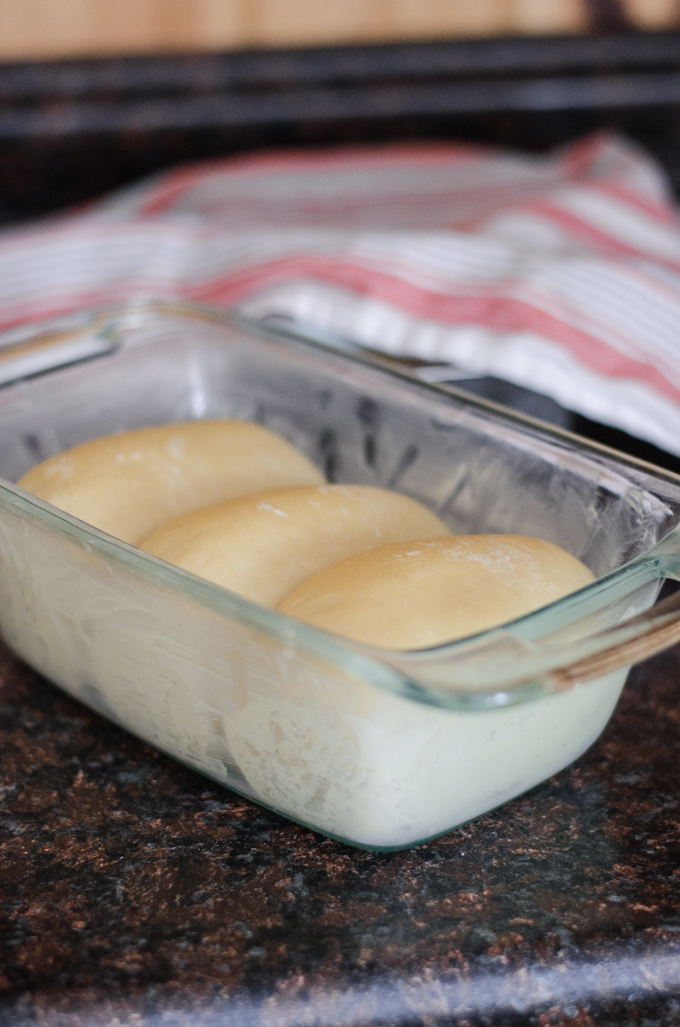
Cover with a damp tea towel and allow to rise at room temperature for 6 hours.
Baking Sourdough Sandwich Bread:
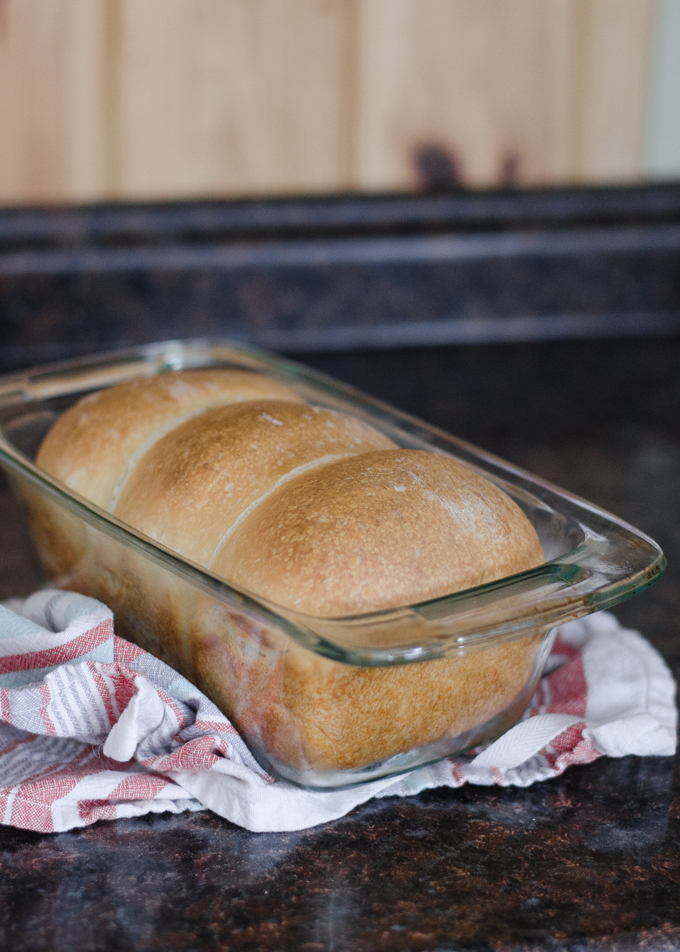
Bake in a hot oven for about 40 minutes. You want the dough to reach an internal temperature of about 195-200° F.
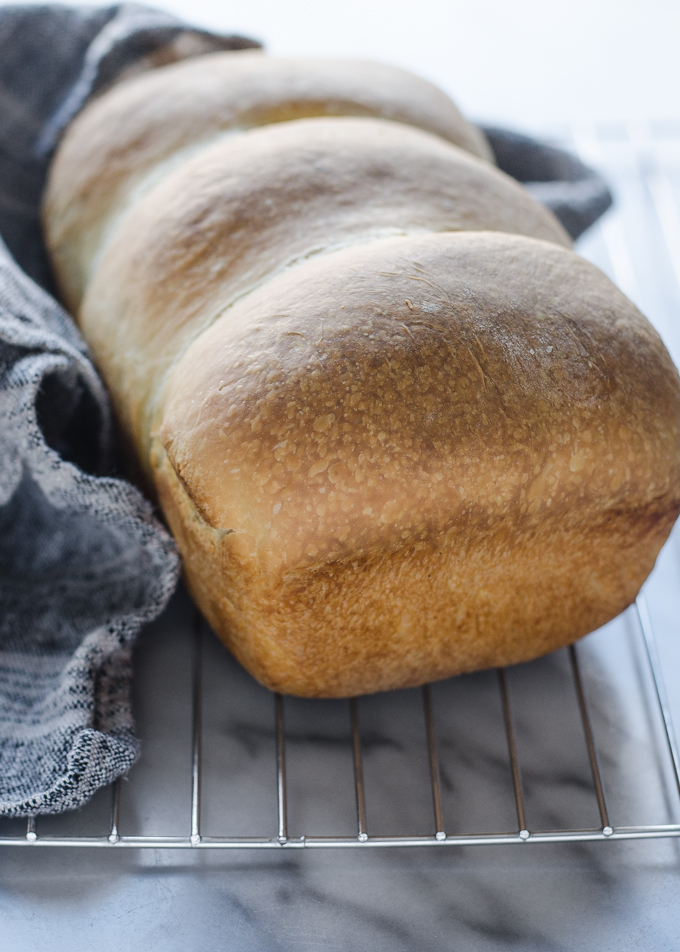
Transfer to a wire rack to cool.
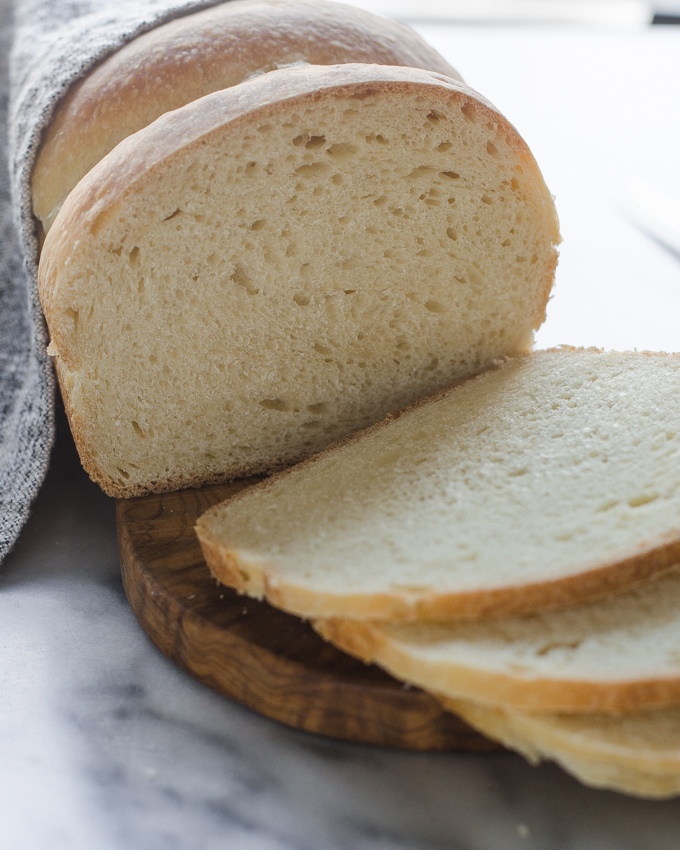
Try your best to wait until the loaf has completely cooled to slice into it.
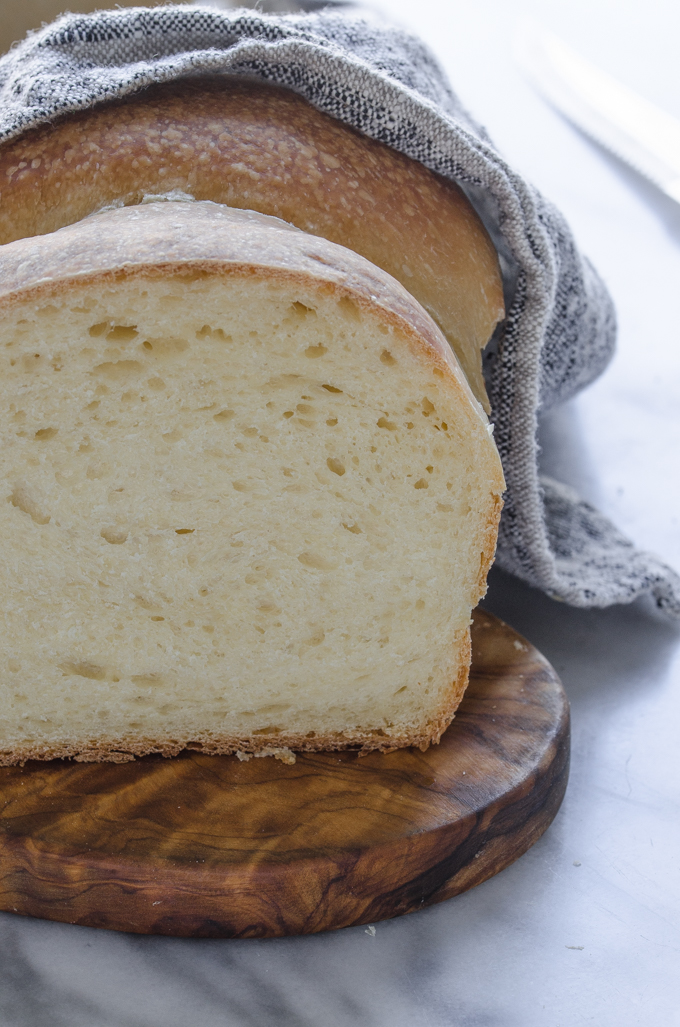
The first time I made this bread, we scarfed down about half a loaf in one sitting. Reuben devoured slice after slice, even though he isn't a big bread fan! It's that good.
Notes:
- I scaled up the original recipe (BTW, go follow Cook Til Delicious) to better fit a standard American loaf pan. The original amount was for a pullman loaf pan, which I don't own.
- I have made this recipe with and without the sugar. Of course it's absolutely delicious with the sugar, but it's still really good without it.
- If you don't have any bread flour on hand, you can still totally pull off this loaf. I've made it with part bread flour, and also with all AP flour.
Here are some ideas for what to make with your Sourdough Sandwich Bread:
- Ricotta Avocado Toast
- Cream Cheese and Chive Sandwiches
- French Toast
- Bacon and Brie Grilled Cheese
- Bacon, Avocado, and Tomato Sandwich
Here's a video demonstration of the process:

Sourdough Sandwich Bread
This sourdough bread is soft and light - perfect for making sandwiches or toasting!
Ingredients
For the Levain/Starter:
- 23 grams 100% hydration sourdough starter (see note)
- 38 grams whole milk
- 70 grams bread flour (can also use AP flour)
For the Final Dough:
- all of the levain/starter
- 173 grams all-purpose flour
- 173 grams bread flour (or more AP flour)
- 1 whole egg
- 1 egg yolk
- 168 grams whole milk
- 43 grams sugar, optional
- 8 grams unrefined salt (I used Himalayan pink salt)
- 43 grams butter, softened
Instructions
For the Levain/Starter:
-
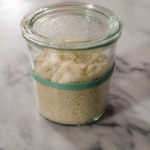
Mix together all of the levain ingredients in a jar. Let sit at room temperature to mature and rise, about 8 hours.
For the Final Dough:
-
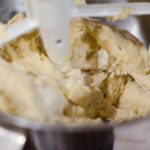
Place all of the dough ingredients (including the levain) except for the salt and butter in the bowl of stand mixer fitted with the paddle attachment. Mix on low speed until it comes together in a shaggy dough. Let rest (autolyse) for 30 minutes.
-
Switch to the dough hook. Sprinkle in the salt and knead for 3-5 minutes, or until the dough starts to come together.
-
Add the butter gradually, mixing well after each addition. It will start out greasy, but the butter will eventually absorb into the dough. Continue kneading until the dough passes the windowpane test, about 10 minutes.
-
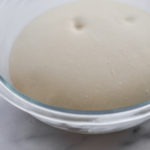
Place the dough in a lightly greased bowl, then turn to grease all sides of the dough. Cover tightly and allow to rise at room temperature for 2 hours. Place in the refrigerator to rise overnight.
-
The next day, divide the dough into 3 pieces and form into balls. Place on a lightly floured surface, cover with a damp tea towel, and allow to rest for 1 hour.

-
Roll each ball into an elongated oval, then roll each one up jelly-roll-fashion. Allow to rest for 10 minutes. Roll them out into an oval again along the seam, then roll each one up like a jelly roll once more. Transfer the rolls to a buttered 9x5-inch loaf pan. Cover with a damp tea towel and allow to rise at room temperature for about 6 hours. At that point the dough should have puffed up and filled the pan about ⅔-3/4 of the way.

-
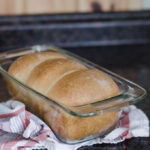
30 minutes before the loaf is ready to bake, preheat your oven to 400 degrees F. Place the risen loaf into the hot oven and bake for 20 minutes. Lower the oven temperature to 350 degrees F and continue to bake for 15-20 minutes, or until the loaf reaches an internal temperature of 195-200 degrees F.
-
Transfer to a wire cooling rack and allow to cool completely before slicing (if you can).
Recipe Notes
- 100% hydration starter means a starter that has been fed with equal weights (not volumes) of water and flour and allowed to rise until doubled, about 6-12 hours depending on the temperature of your kitchen.
- All of the mixing can be done by hand if desired.
- Recipe adapted from Cook Til Delicious




I really wish you’d had a time line when you start this, mix, rest, etc. I read this over and over and watched the video but I’m obviously way off on my ti ing. Resting 2 hours at room temp and them overnight in the fridge... and it’s 9 am for me. Never again.
Sorry about that, Kathy! I know sourdough can take some planning!
Here are some suggested baking schedules. The times are estimates since different kitchen temperatures will require different fermenting times.
TO BAKE IN THE MORNING (best in a cool kitchen):
10:00 2 days before you want to bake: Mix together levain + let ferment overnight.
6:00 next morning: Mix the dough + let rise 2 hours. Then place in fridge.
10:00 the same evening: Shape loaf + let rise overnight.
6:00 next morning: Bake.
TO BAKE IN THE AFTERNOON:
Noon the day before: Mix together the levain.
8:00 that night: Mix the dough + let rise 2 hours. Then place in fridge.
8:00 next morning: Take dough out of fridge + shape.
2:00 in the afternoon: Bake
Thank you sooo much! This will help me as a beginner immensely!
You're welcome!
Hello dear
Unfortunately I forgot to refrigerate the dough .It stayed in a cool kitchen overnight .I made it at 1:00am and now its 12:00 pm .I just kept in the fridge right now .Do you think it will rise?
Hi Hanan,
As long as it hasn't over proofed, it should still rise a second time!
I've been trying to find a good sandwich loaf for sourdough that is kid friendly and not too difficult. I've tried at least 6 different recipes and this is my favorite and the only one I am making now! The instructions and times given have all worked for me (I've had to leave other recipes to rise much longer than the instructions say and it ends up way too sour). It isn't too sticky of a dough so it is easy for me to make (I use my bread machine on the dough setting). The flavor is wonderful - when I slice it it smells like toasted marshmallows! It has come out beautifully EVERY time I've made it! The only thing I am working on is figuring out my oven timing and temperature, I think my oven runs hot. Thank you for a wonderfully tasty and do-able recipe!
I'm so happy that it's working out so well for you, Vanessa! Sourdough sandwich bread is SO nice to work with! Thanks for sharing that it works to mix the dough in your bread machine! Yes, the oven I used to test this recipe was cool/average, so if your oven runs hot you'll definitely want to adjust the temperature or time!
I am struggling with this recipe. Last night was the second time I attempted it and I can't get past the levian stage. Both times I have left it overnight and in the morning there is zero change. My starter was nice and bubbly when I started, in fact, I used it to make your sourdough pull-apart rolls and they came out beautifully. Our thermostat is set to 75 degrees F so I know the kitchen was warm enough and this second time around I made sure to start with room temperature milk incase my starter didn't like the shock of cold milk. Any suggestions? This loaf of bread looks beautiful and based on the comments I've read it works for others.
Hi Erica,
Did you see any bubbles in the levain, or did it still look like freshly mixed dough? Since it's a stiff levain, it doesn't rise much at all. But you should see a few air bubbles on the sides.
Another thought I had: how old is your starter? If you've only just mixed it up, it might not be "mature" enough to make a stiff levain.
There were only a few bubbles in the Levin. I started my starter in the middle of March 2020.
@Erica, from a fellow SD baker...I've read Leo Mauricio's directions for an overnite levain and he says that it needs to be kept cooler, around 70-72°, to ensure that it doesn't overferment.
Hello Erica! We love the bread. This will now be one of my go-to recipes. I was looking for recipes to use my sourdough starter on and I’m so glad I came upon this one. Like you said, we couldn’t wait for it to cool down before slicing into it. It smelled so good coming out of the oven that we couldn’t resist. I added a bit more sugar than your recipe called for (45 g instead of 43 g) because the hubby and daughter like bread on the sweeter side and it still tasted so good. Your instructions & accompanying pictures were so easy to follow (esp for a beginner baker like me). Thanks a lot! Looking forward to baking using your other recipes.
This makes me so happy, Anna! Thank you for sharing what you did. I'm so glad that the photos were helpful to you! Yes, this loaf is reaaalllllly difficult to let cool completely before slicing. ?
I made a couple whole wheat boules from Ken Forkish's great book Flour, Water, Salt, Yeast. But his levain build always calls for way too much levain and I forget every time until I'm doing the autolyse. So I thought, what can I do with extra levain? I googled "levain sandwich bread" and I'm not gonna lie, picked your link because of the unique look of the loaf! And I am SO happy with how it turned out. I am anxiously awaiting cutting into it but refuse to until it's at room temperature. But it's killing me! From the looks of it though, I'm pretty sure it'll be perfect. Can't wait!
Thank you for sharing how you found my recipe! And I'm so pleased that you enjoyed it!
Its currently warm and humid where I am 86F. A few questions on how I should manage this :
1. the levin/starter, would that still be a 8 hours or what are the signs that I should be looking out for, since I read in the comments that the levain will not be doubling,
2.you suggested a 2 hours followed by overnight rise in fridge. If I do not want to do an overnight rise in the fridge is it possible and should I be looking for a doubling of the dough to know its ready?
3. I have a 8x4.5 loaf pan, can this be used for this recipe as its smaller than yours.
Love your sourdough recipes so far so I am planning to try this one out soon!
Hey there!
1. You want the starter to visibly rise and have air bubbles. If your kitchen is quite warm, that might be 6 hours instead of 8.
2. Yes, you could do a bulk rise at room temp. I would look for the dough to double. Keep an eye on it if your kitchen is really warm! It might be done in 4 hours.
3. Yep, that size of loaf pan should work!
Hi Erica, if where I live is much warmer weather now, how long should I be leaving the levain/ starter out for? Also if I am not planning on overnight rise in the fridge. Can I leave it out in kitchen for the bulk fermentation? And his long should I be looking at? Thanks
I would check the levain at 4-6 hours. And if you aren't doing a fridge bulk rise, I would check at 4 hours to see if it has doubled.
Are you sure this is for one loaf? I just made the bread and it looks amazing but when I went to put into loaf pan it was obvious that it was way too much dough so I divided it into 2. Both loaves have risen slightly over the top of pan.
Am I the only one that had this happen??
Hi Denise,
What size of loaf pan did you use?
I used a 9x5 loaf pan. I made the recipe again today with the same results. 2 beautiful loaves????
So happy you enjoyed it! ✨❤
By the way...I started making the ARTISAN SOURDOUGH BREAD It was also amazing. I found it difficult to make sandwiches with it so looked for the sandwich loaf. It was then I saw your comments about the Artisan not being good for sandwiches.
BTW...I find the artisan loaf hard to slice. I have a great bread knife but still hard. Considering buying an electric knife. What is your suggestion??
Yes, it's always a little tricky to slice. I just use a good bread knife. Or look pitiful and Reuben offers to slice it instead. ?
This is my favorite sandwich bread recipe. This last time I made it with 100% freshly ground kamut flour. It worked beautifully and tasted delicious. I have tweaked ingredients and steps- it's very flexible. Thanks for this great recipe.
So happy you enjoyed it, Sandy! And thank you for sharing that it works with kamut as well.
My timing is a bit off! What is the longest I can let this Sourdough Sandwich Bread rise in the refrigerator?
I would say up to 3 days, but I haven't personally let it rise that long!
I have an active starter that I regularly feed 50g starter, 100g water, 100g flour. I’m confused on what I should feed the starter for this recipe before I start. So I thought, 50g starter, 50g water, 50g flour. Math is not my strong suit. Can you list here what the correct amount of starter and how much water and flour to feed for 100% hydration? Thank you. I can’t wait to try this recipe!
I know you can really dial in the accuracy of sourdough if you make sure to feed it exactly the right ratio of starter/flour/water, but honestly I just try to feed it at least as much weight of flour and water as starter, and I don't sweat if I go over. So if I have 20 grams of starter, I'll feed it AT LEAST 20 grams each of flour and water, but I might feed it 75 grams each if I want to increase the size of my starter. The ratio of starter to flour and water isn't what determines if it's 100% hydration. It's the ratio of flour to water that determines that. How much you feed your starter does affect its strength, but not its hydration. Does that make sense?
Usually it's fine to over-feed your starter (it will just take longer for it to mature), but you don't want to under-feed it (e.g. feeding 100 grams of starter with 20 grams each of flour and water).
For this particular recipe, you only use 23 grams of 100% hydration starter to make a separate, stiff starter. So you can pour 23 grams of 100% hydration starter into a separate jar from your regular starter jar, make the stiff starter from that, and feed the rest of your 100% hydration starter as you normally would.
Hope that wasn't too wordy!
I have two pullman pans with lids, do I need any different directions for using) On pan is 9" x 4" x 4" the other
is 13" x 4" x 4" Whic would you suggest??
I would use the 9x4 inch pan if you bake them without the lid on top - it might rise a bitter higher than the photos. If you're going to bake with the lid on, I think the 13x4 might be more appropriate? Otherwise there won't be enough space for the dough to expand enough without spilling over. Does that make sense?
Erica, this is a lovely recipe! I have been making sourdough for about three years and finally feel I have developed some skills with it. This recipe is perfect for my family and friends who are not really fans of the "Tartine" style sourdough loaf but love a slightly tart and flavorful bread that can be used for sandwiches and toast. Your recipe fits the bill. Thanks for posting it!
K
Thank you! Yes, it's nice to have a softer sourdough recipe sometimes - it's a little closer to "conventional" bread, only tastier!
Hi Erica! Your recipe looks decadent, and I’m thinking of getting my starter out of the fridge and trying it this weekend. I don’t own a stand mixer, but am considering kneading this by hand. Any tips to ensure I can get the dough to the correct state?
I would suggest using wet or greased hands if the dough is really sticking to them, and kneading for a longer time. Just keep going until you reach windowpane!
Wondered if I can use all bread flour and no AP flour.
You should be able to use all bread flour!
Could I use part whole wheat flour and part bread flour?
As a relatively inexperienced baker, this is by far the most complicated bake I've ever attempted. At pretty much every stage I was convinced that I had messed up somehow. I was determined to persevere however and while the end result could have been better if was one of the most delicious breads I have ever baked and I will certainly be trying it again in order to perfect it
Aw, so happy that it turned out delicious for you!