
Easy Chocolate Pudding Recipe
This easy chocolate pudding recipe only requires one pot (and no extra bowls!) and just a few simple ingredients you probably already have!
I find it interesting how different families tend to have things they always make from scratch, and things they buy premade.
Growing up, pudding was something we almost always made from scratch. In fact I slightly despised premade pudding packs, probably because I knew what the REAL stuff tasted like.
And the good news is it's SUPER easy to make chocolate pudding from scratch with my simple recipe! In fact you might never go back to the boxed mix.
Okay, let's dive in and learn how it's done:
Video Tutorial
Here's a quick video overview in case you like to learn by watching a demonstration (same). The full written tutorial and printable recipe are below!
Ingredient Notes
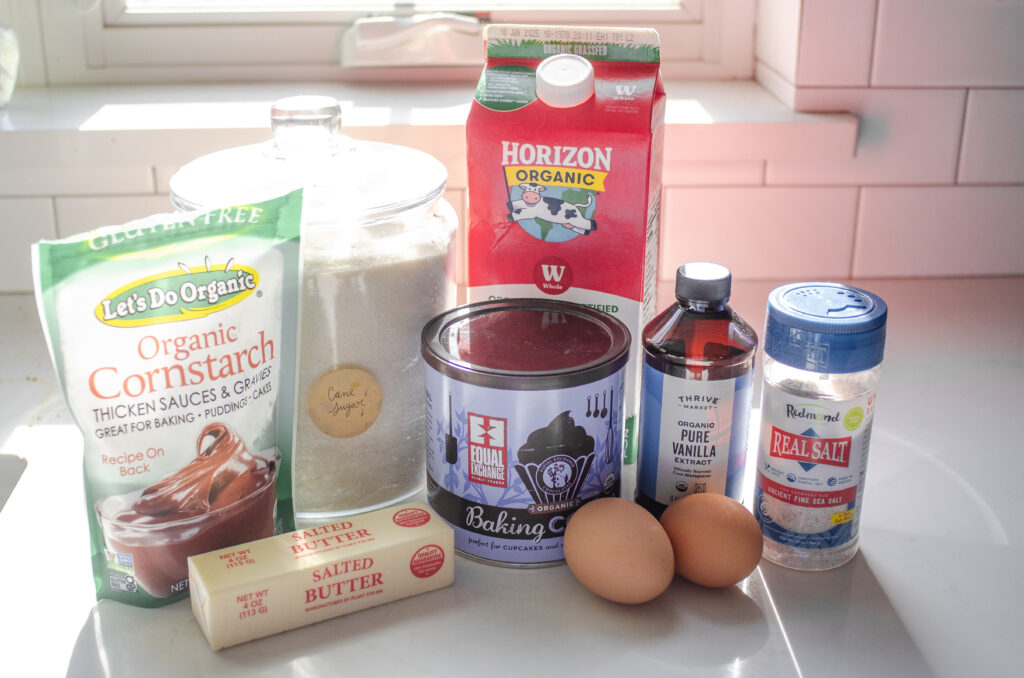
First, let's go over the simple ingredients you'll need:
- Cornstarch: This is what will make the pudding nice and thick when it's chilled.
- Unsweetened Cocoa Powder: I like to use organic, fair trade cocoa powder.
- Sugar: Almost any sweetener will work in this recipe. I usually make it with maple syrup, but cane sugar also works really well. The standard recipe is ½ cup sugar, but I usually reduce this to ⅓ or ¼ cup of sweetener.
- Salt: You'll want to add a pinch of salt to help draw out all the other flavors.
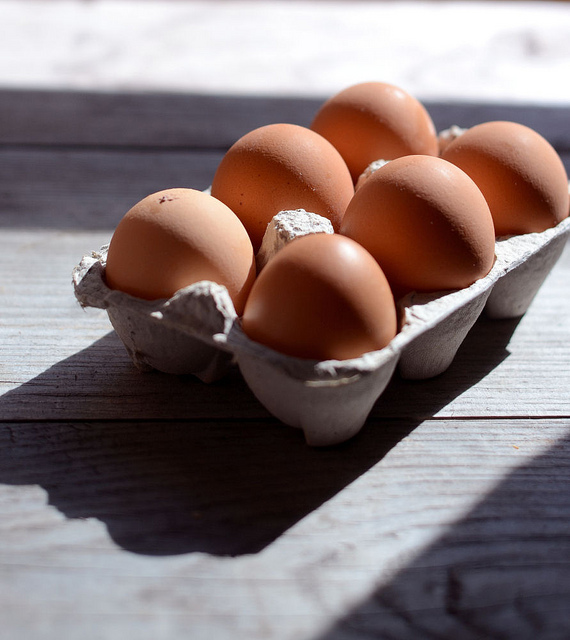
- Eggs: You'll be using just the yolks.
- Milk: I like to use whole milk. For an extra creamy chocolate pudding, you could use part cream.
- Vanilla Extract: Even though this is a chocolate pudding, adding some vanilla lends such a lovely flavor.
- Butter: This adds some extra richness and flavor to the final pudding.
Step-by-Step Instructions
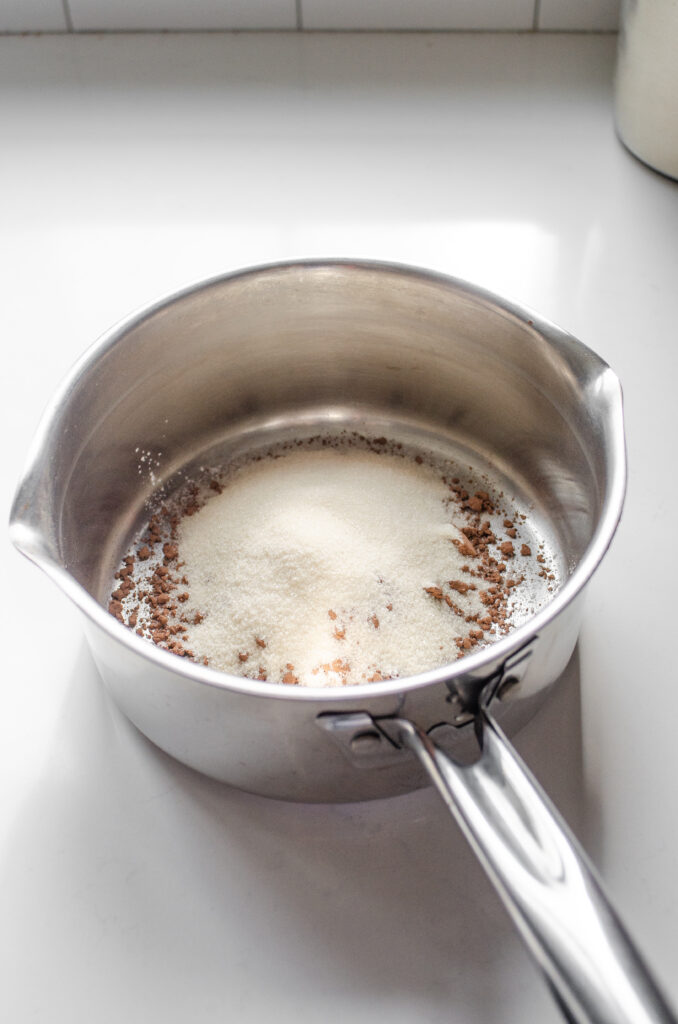
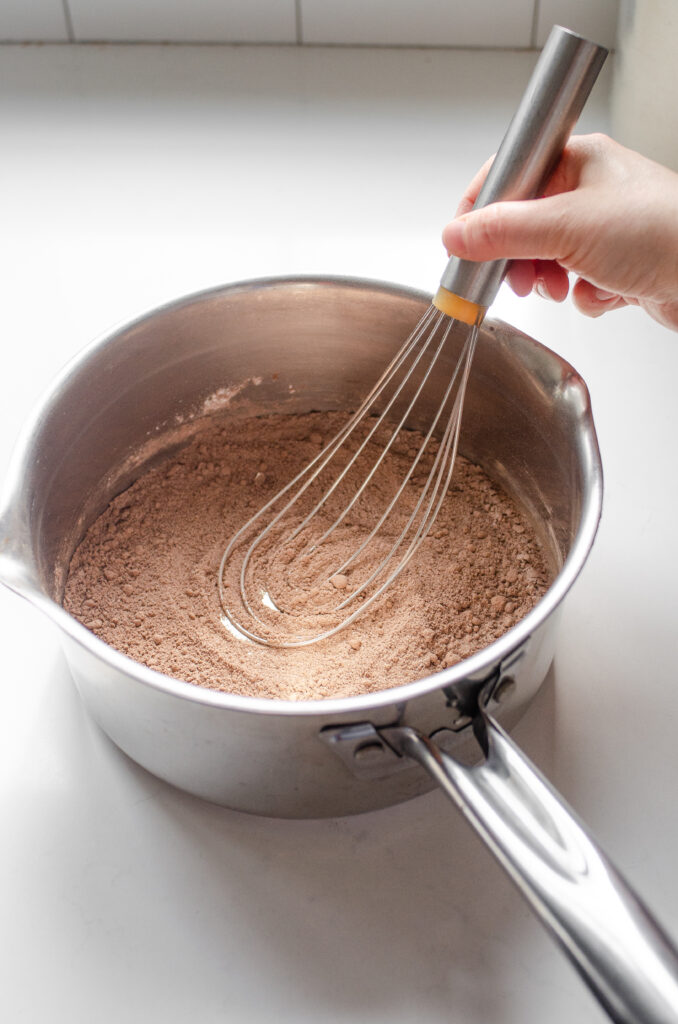
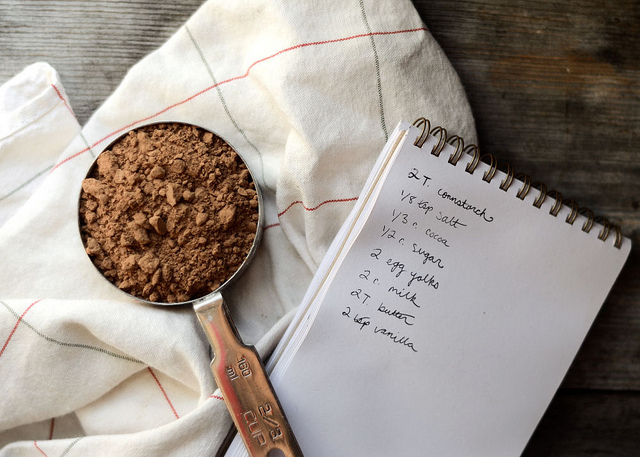
Begin by measuring the corn starch, cocoa powder, sugar, and salt into a medium saucepan.
Whisk until well combined.
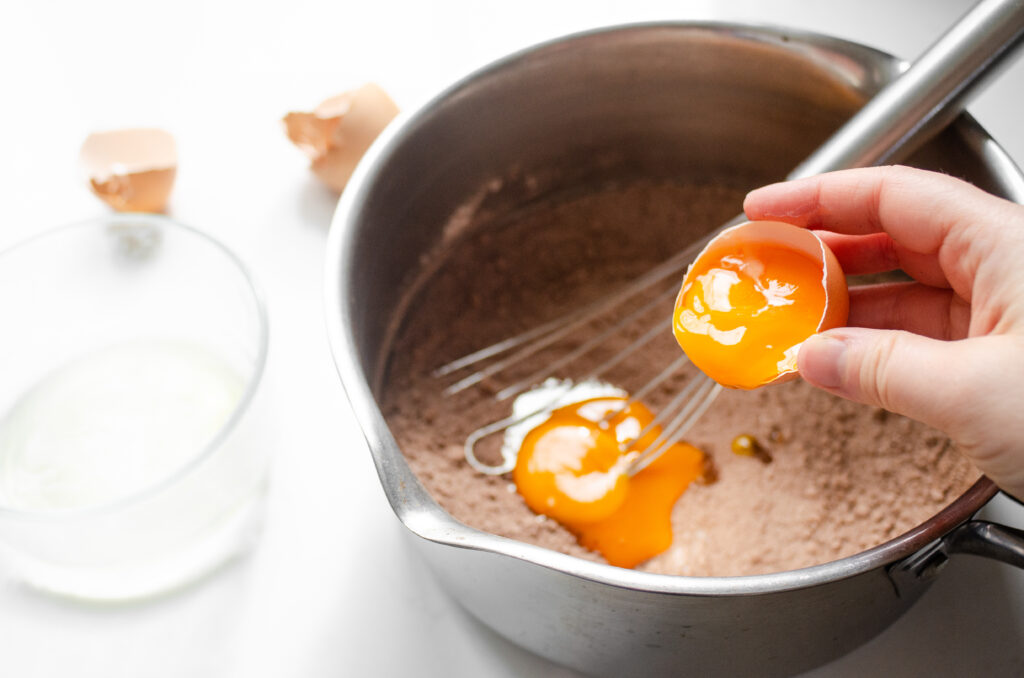
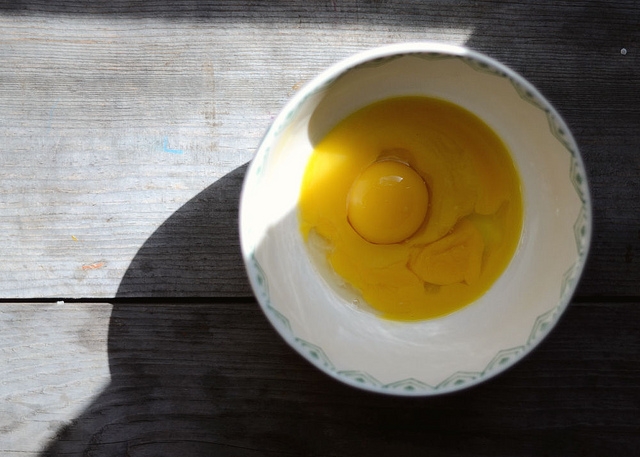
Add two egg yolks to the cocoa mixture.
Dishes Saving Tip: Crack the eggs over a storage container. That way you don't have to dirty up an extra bowl!
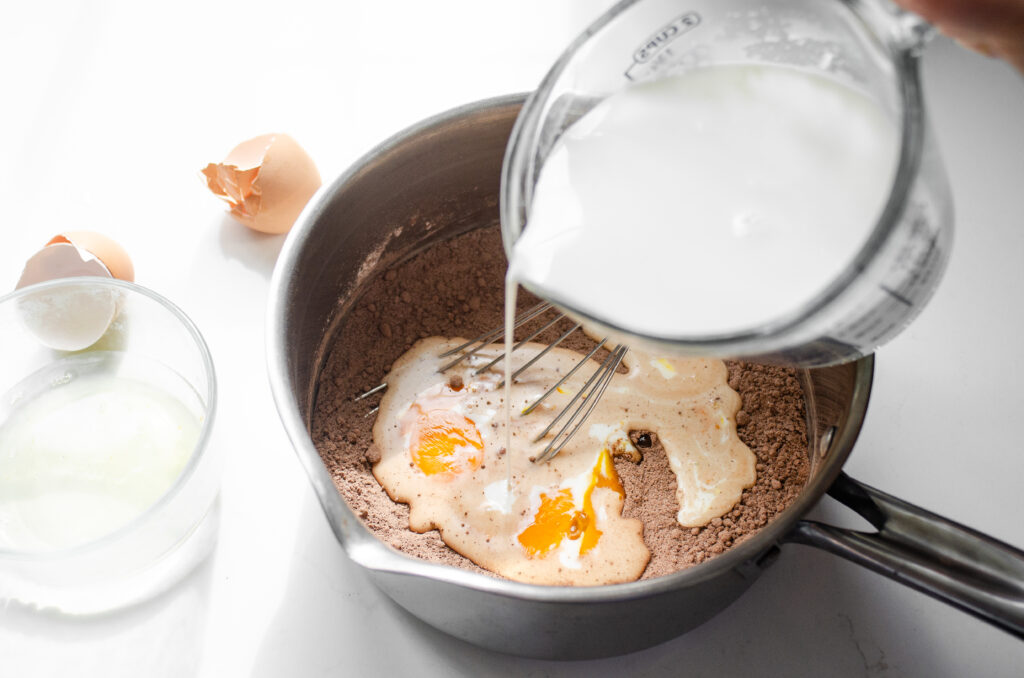
Next, pour about ⅓ to ½ cup of milk into the pan.
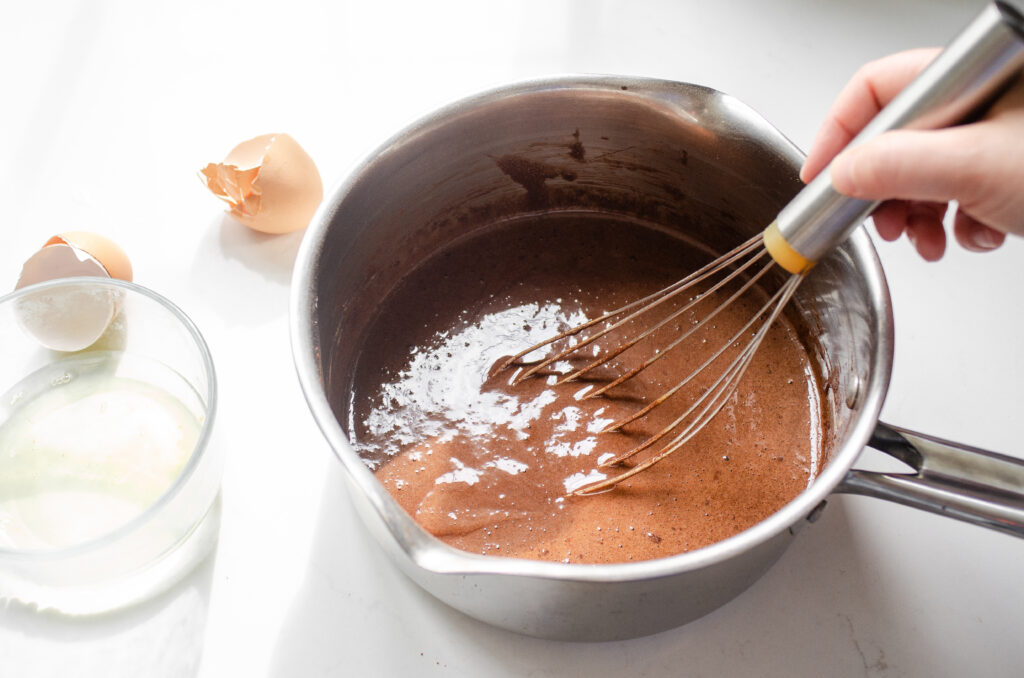
Whisk until a smooth paste forms.
It can be difficult to get cocoa powder to mix with milk, but adding only a little at first makes it a bit easier.
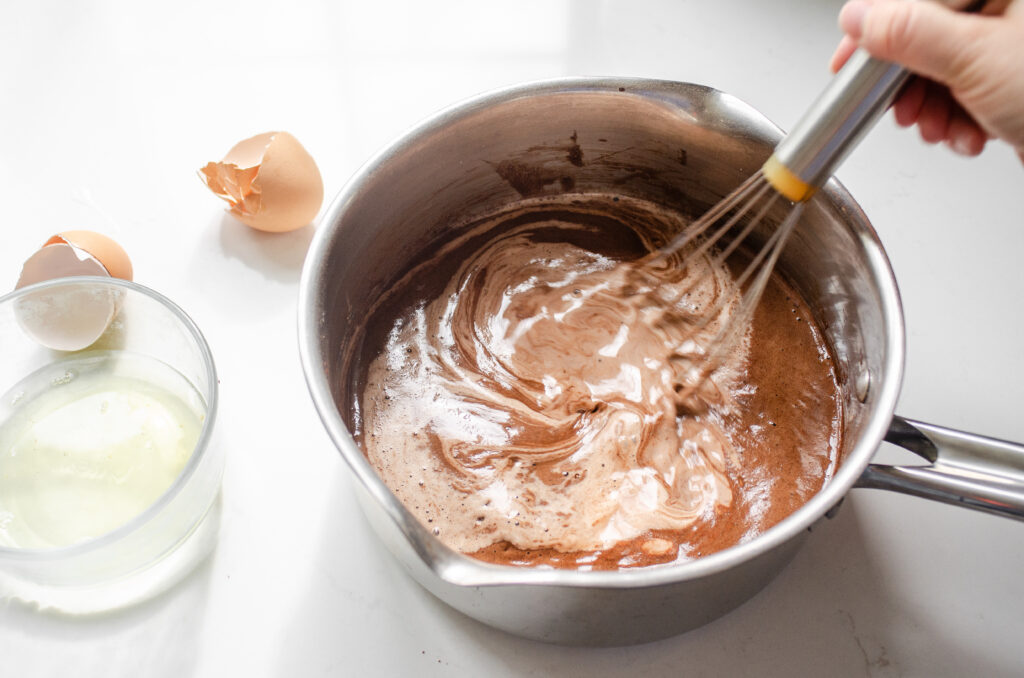
Add the remaining milk and whisk until well combined.
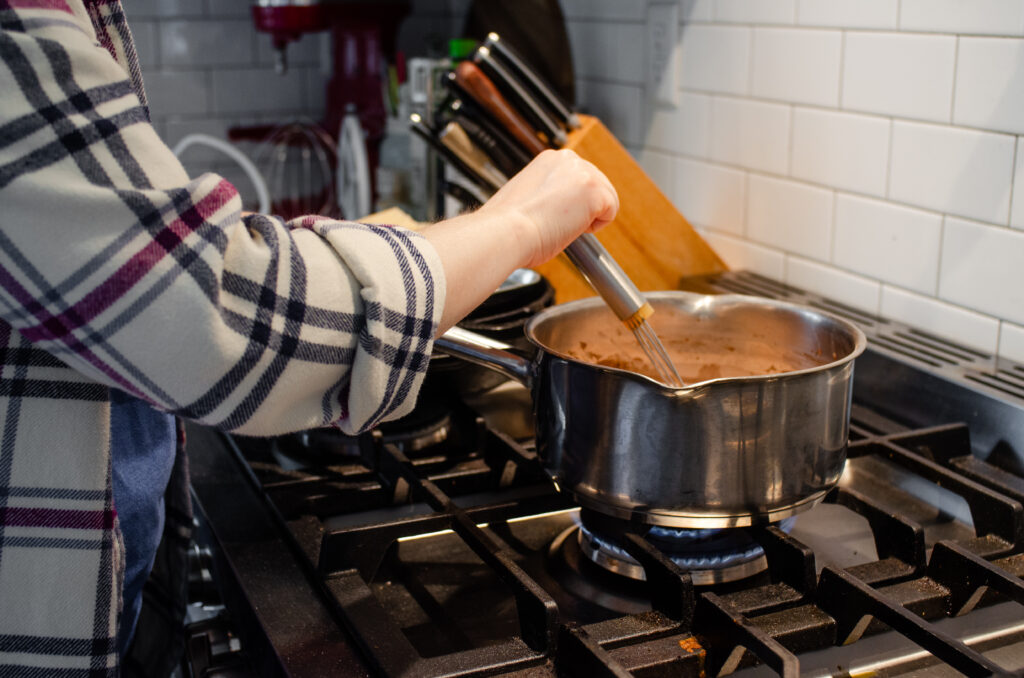
Move the pan to the stove and turn it on to medium heat.
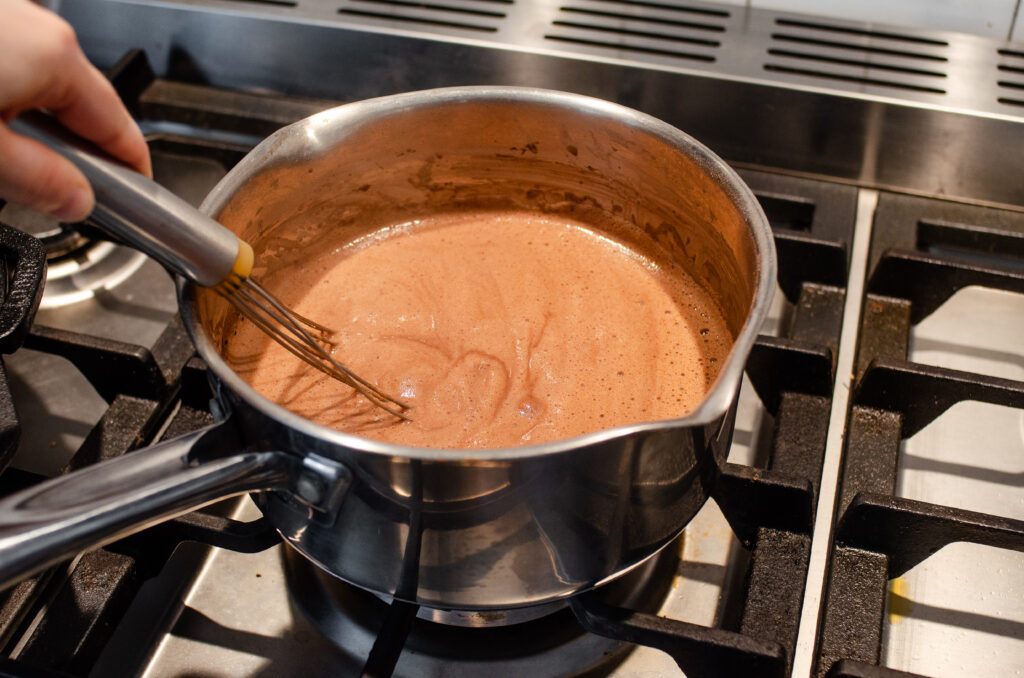
Bring the mixture to a full boil, whisking constantly.
Or at least nearly constantly.
You want to make sure you whisk all over the bottom of the pan to ensure the pudding doesn't stick and burn.
Boil for 1 minute.
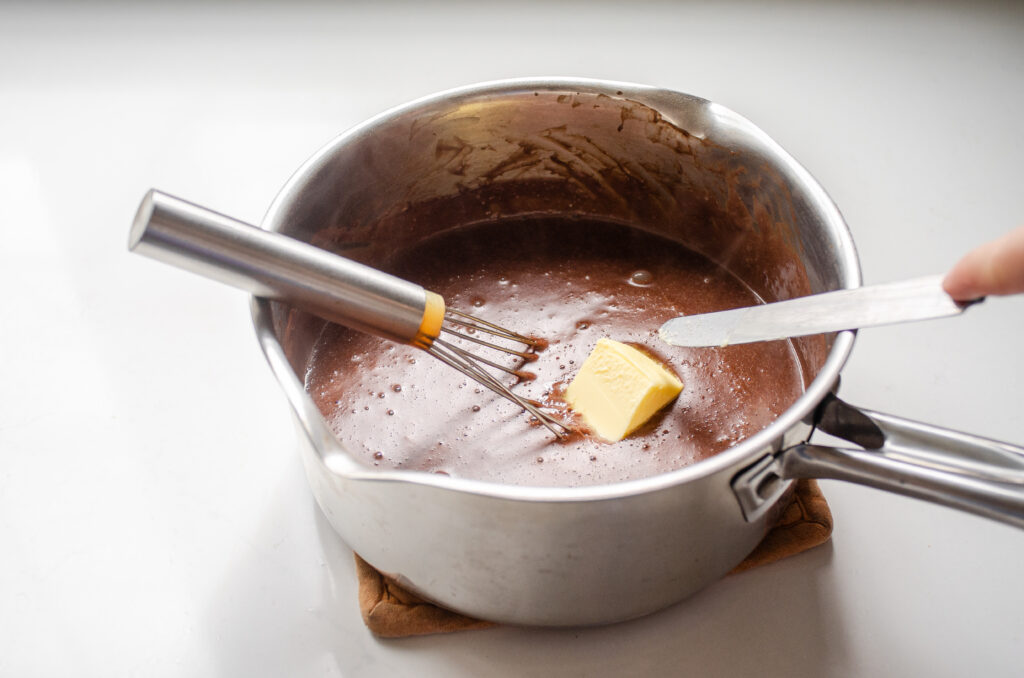
Add 2 tablespoons of butter...
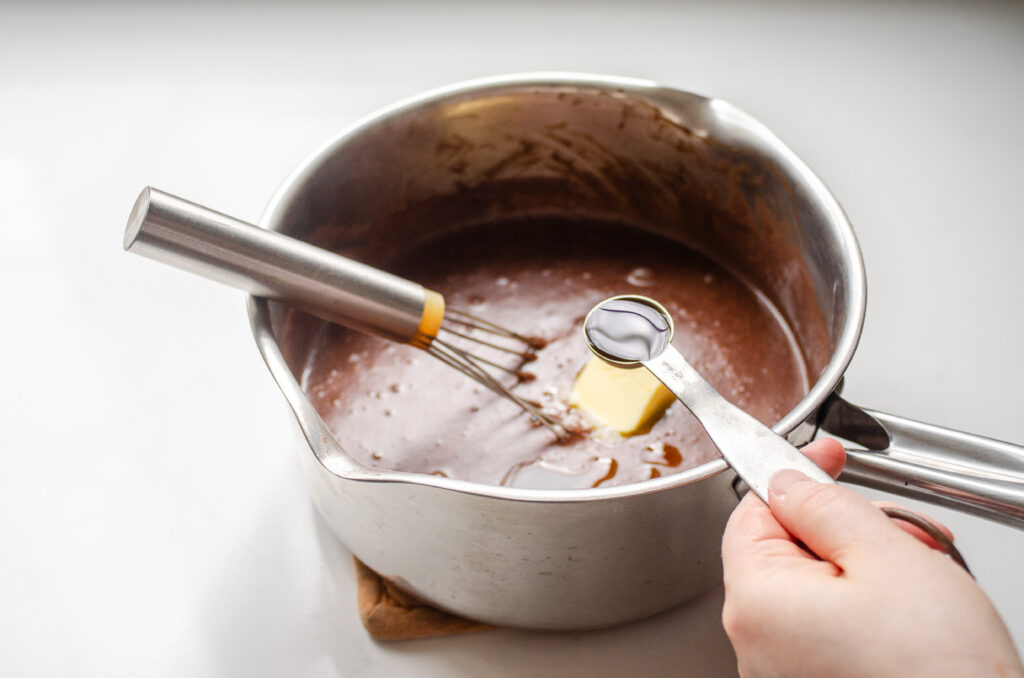
...and 2 teaspoons of vanilla extract.
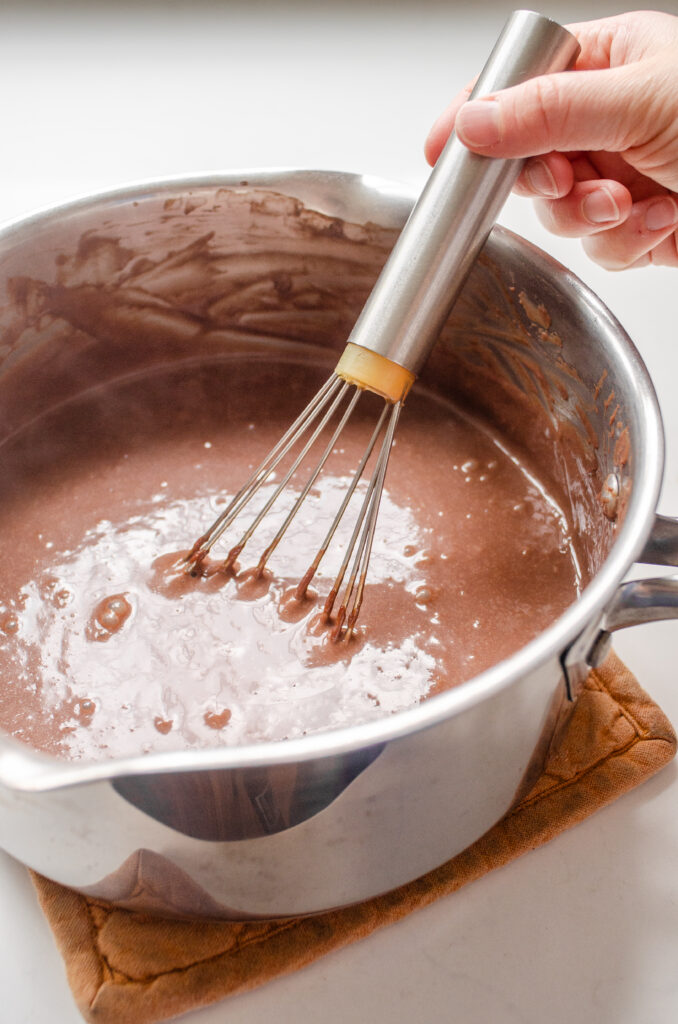
Whisk until completely smooth.
See how easy peasy that was?! And SO much better than instant pudding from the grocery store.
Serving
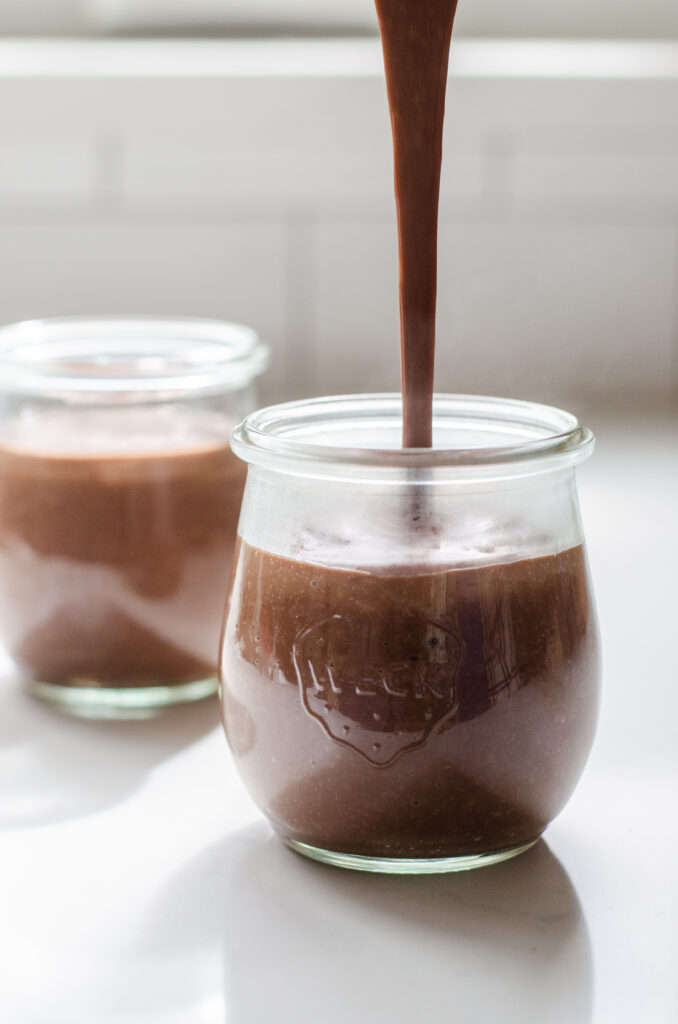
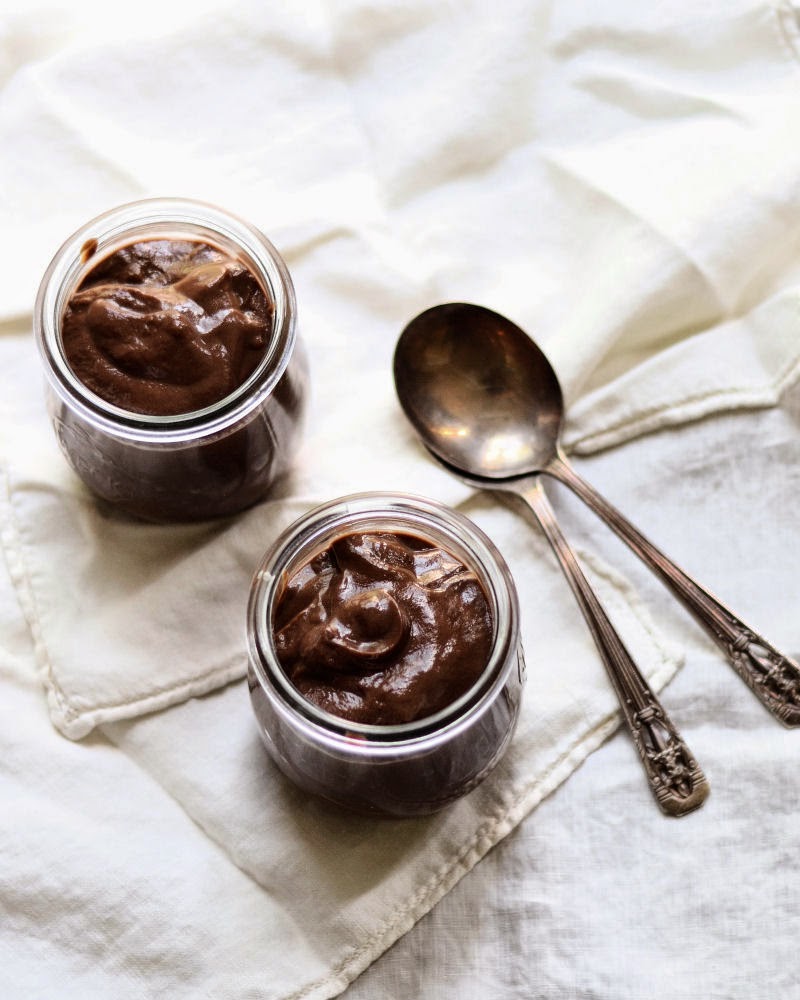
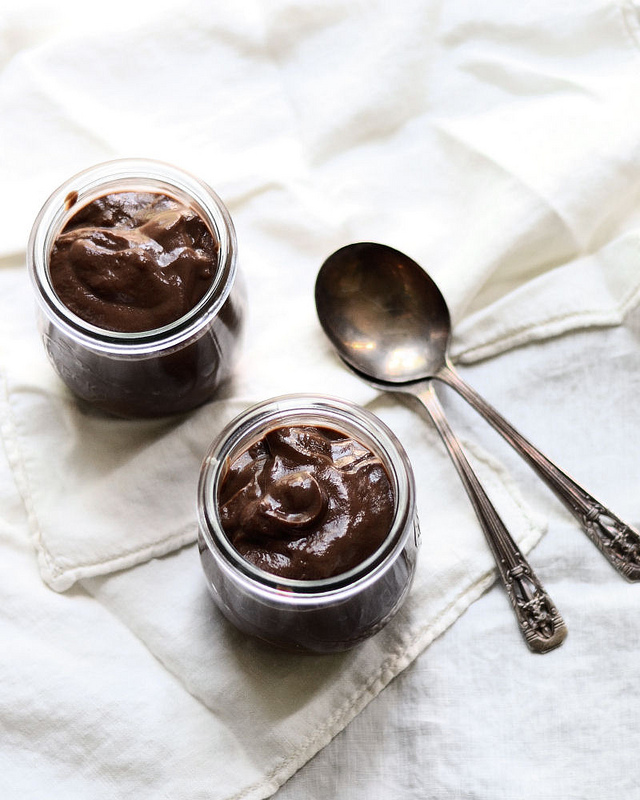
The more traditional way to serve chocolate pudding is chilled. If you decide to go that route, you can pour the warm pudding into individual serving dishes.
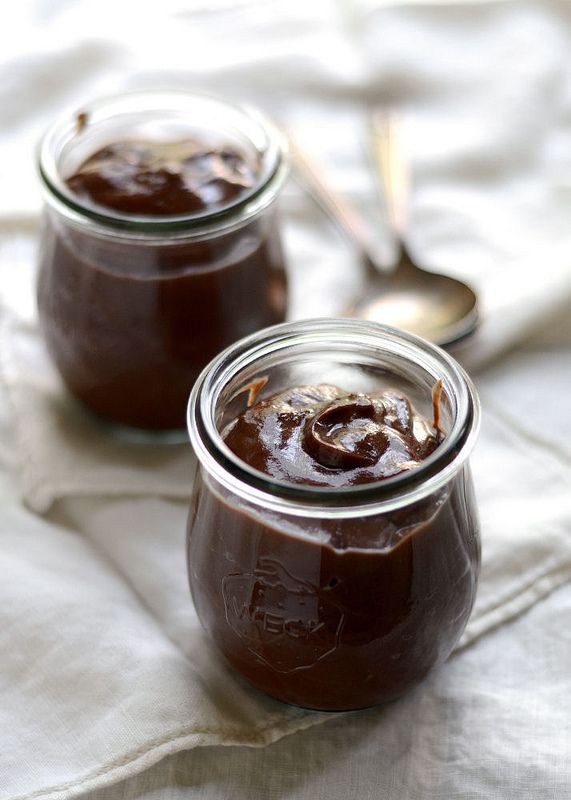
These Weck tulip jars are perfect, but you can also use pint or half pint mason jars, or heat proof glass bowls.
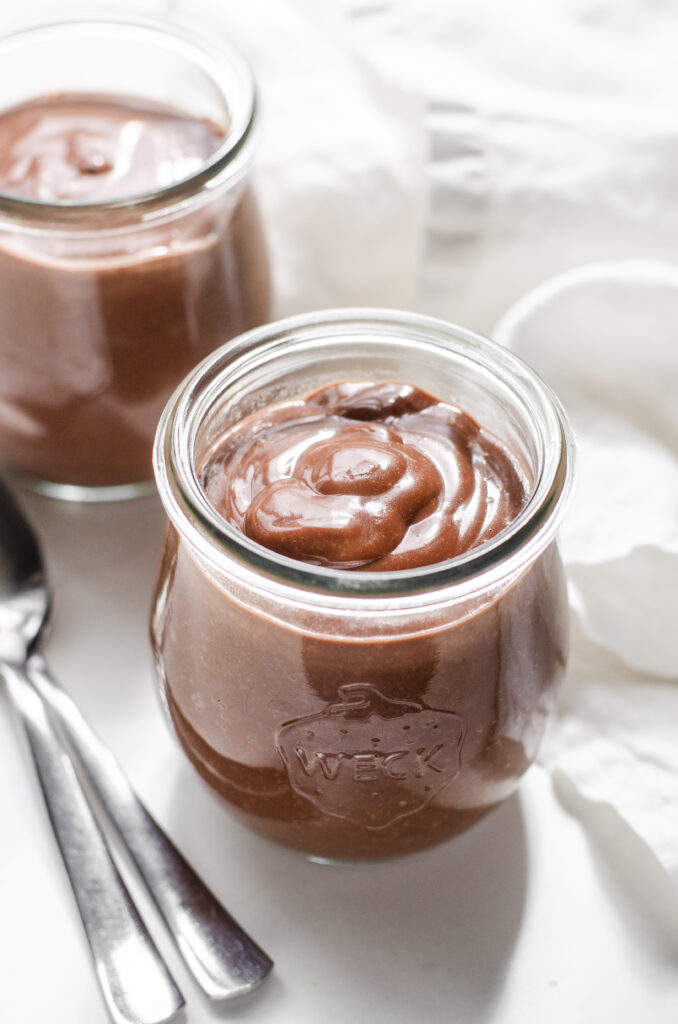
Chill for about 4 hours, or until set.
To avoid a skin on the top of the pudding, you can cool until just warm, and place a piece of plastic wrap directly on the surface of the pudding. I usually skip this step because I don't find it necessary.
Of course the easiest way to serve it is straight from the jar, no frills.
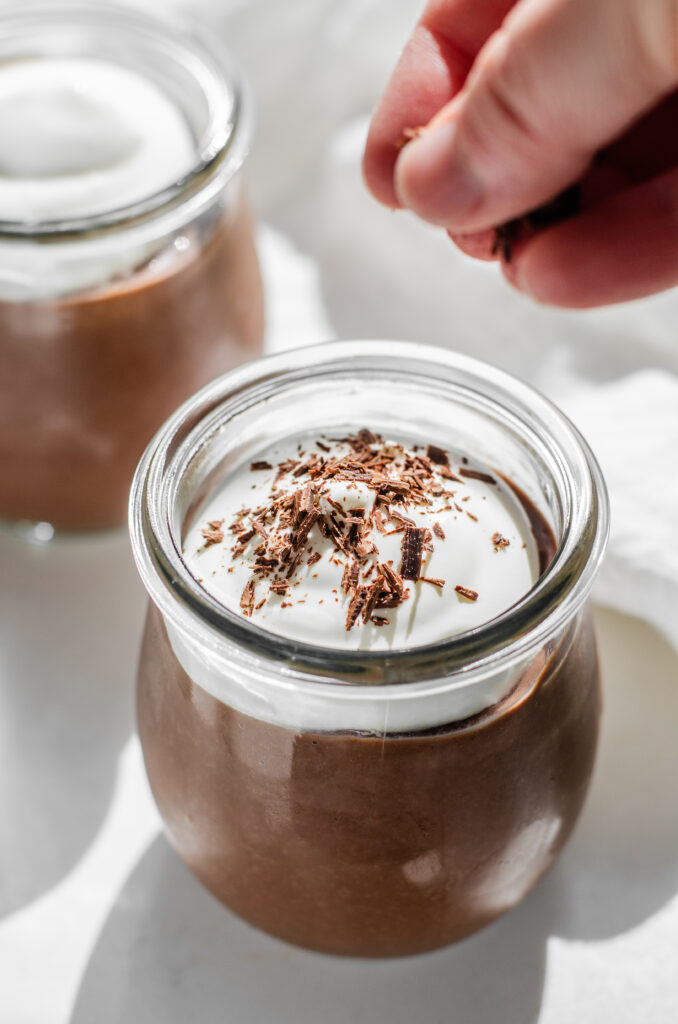
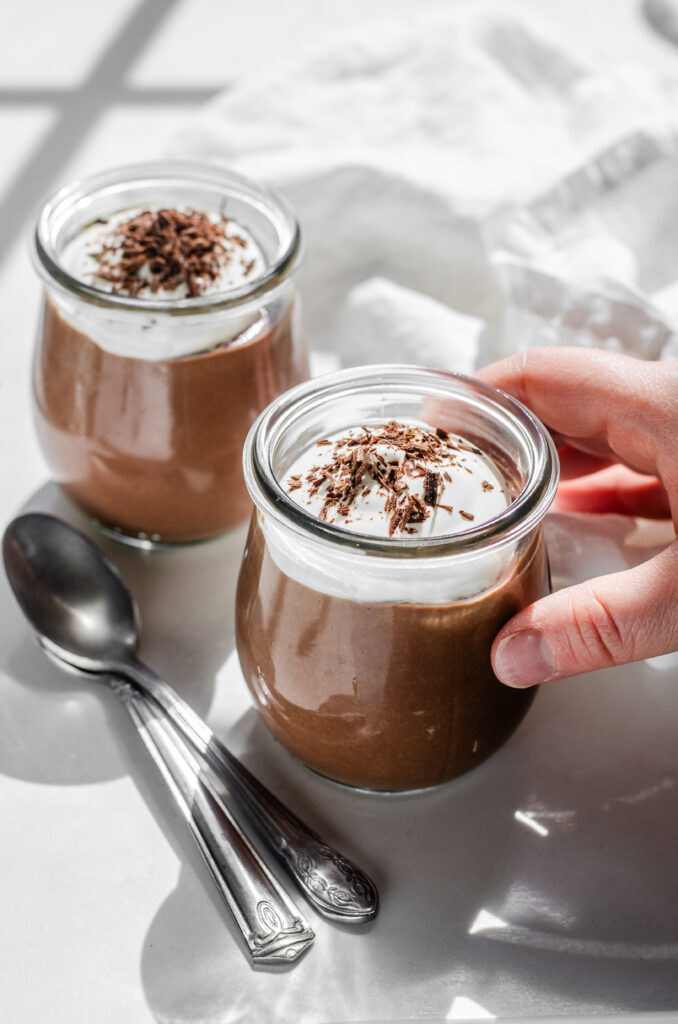
But for a more decadent chocolate pudding, you can add a dollop of whipped cream and a sprinkle of chocolate shavings, mini chocolate chips, or cocoa powder.
Such a classic dessert!
The Best Way to Serve Chocolate Pudding
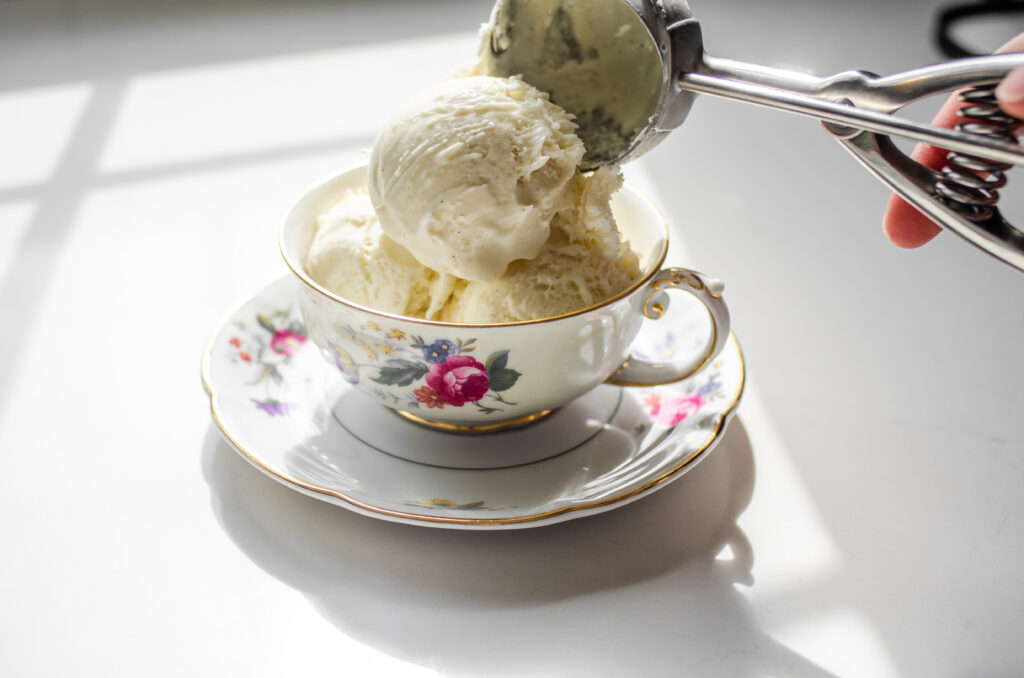
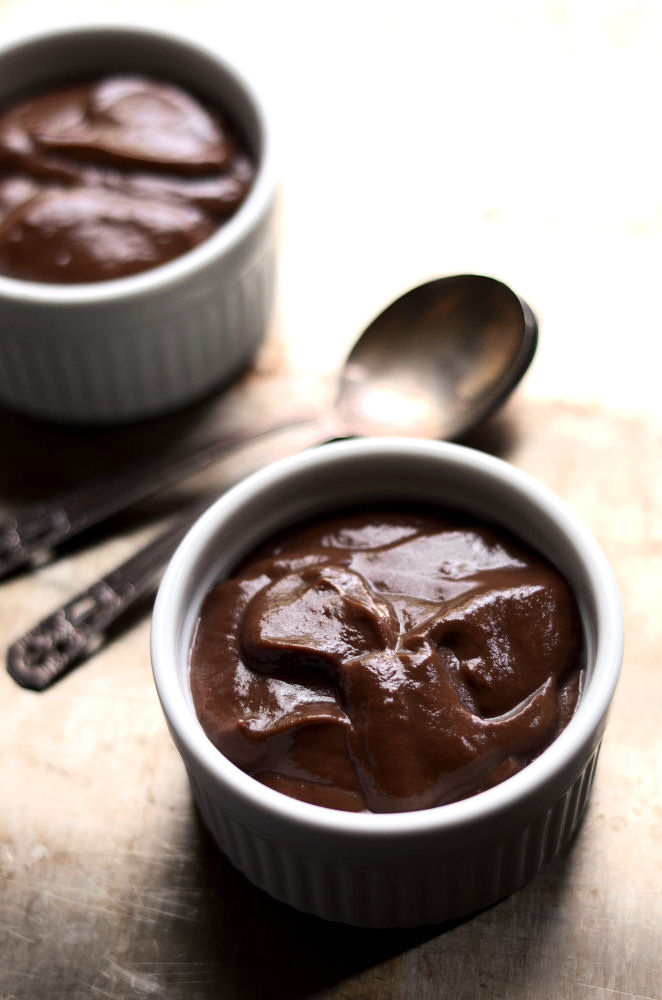
Now hands down, the BEST way to serve homemade chocolate pudding is hot over ice cream.
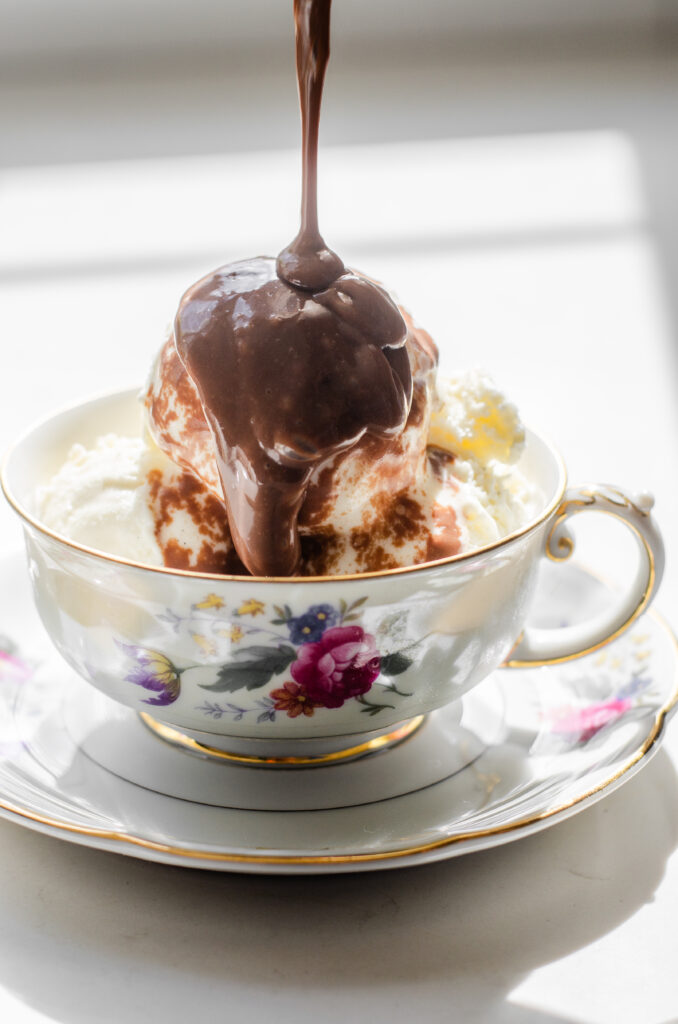
The warm pudding melts the ice cream, and the two meld together into something utterly scrumptious.
It's kind of like pudding affogato.
BONUS: You don't have to wait for the pudding to chill before serving. You can literally serve it as soon as it's done cooking!
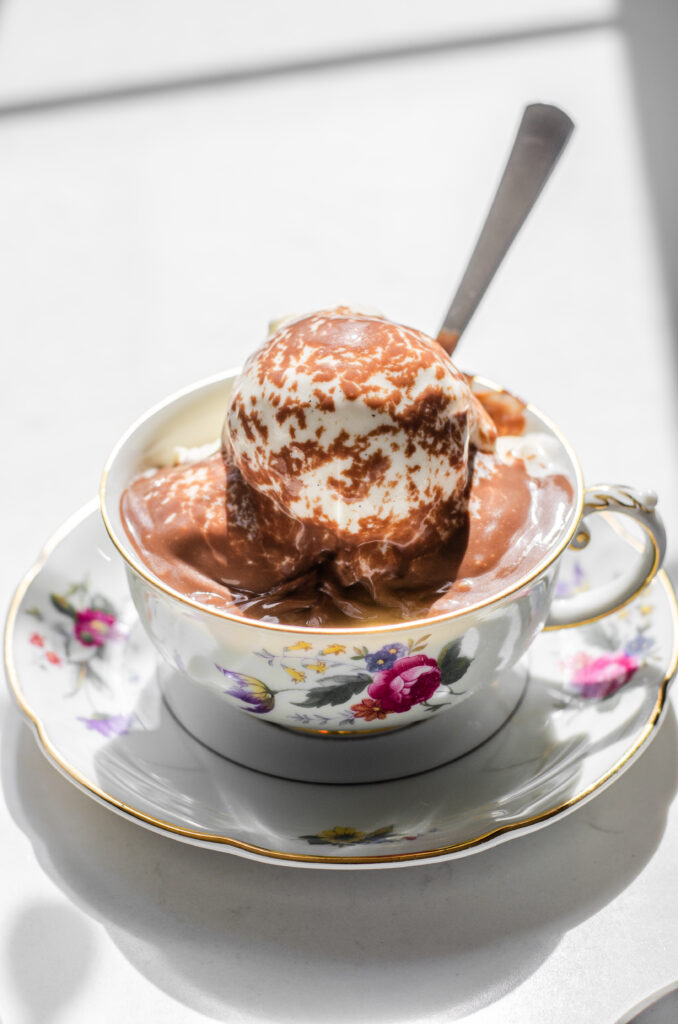
For a hot fudge sundae vibe, you could add chopped nuts (pecans are my favorite), peanut butter, fresh fruit, etc.
This was the ultimate comfort food for me growing up.
What kind of toppings would you add? Let me know in the comments!
Storing
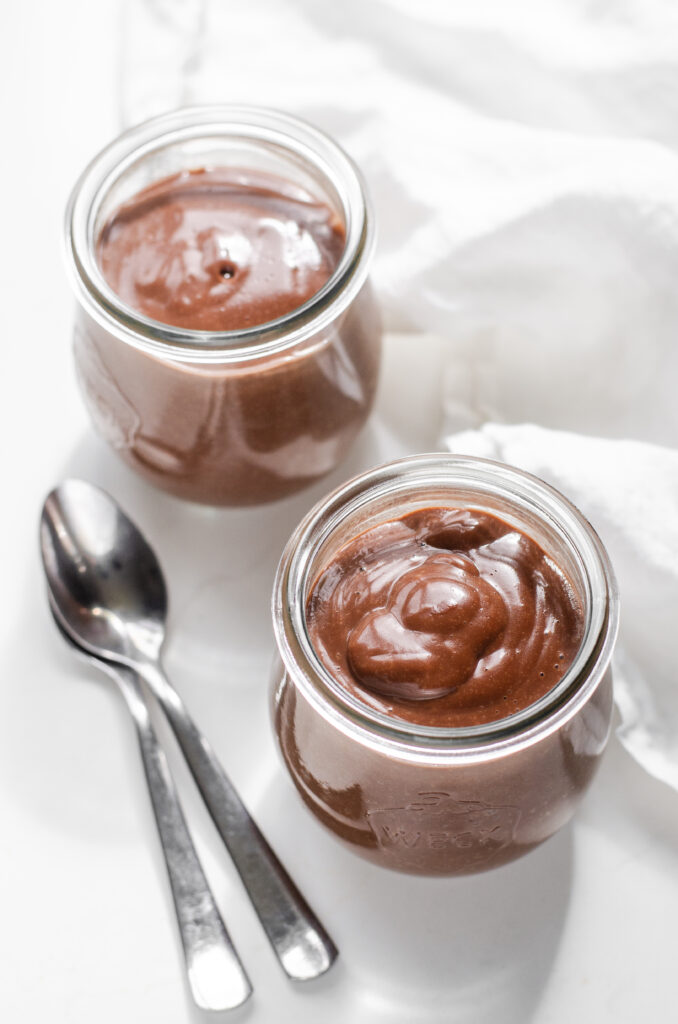
Since the pudding contains milk and eggs, you'll need to store it in the refrigerator.
Homemade pudding will stay good in an airtight container in the refrigerator for around 5-7 days. If it's getting close to the end of the shelf life, use your eyes and nose to check for freshness before consuming.
How to Make Pudding Better
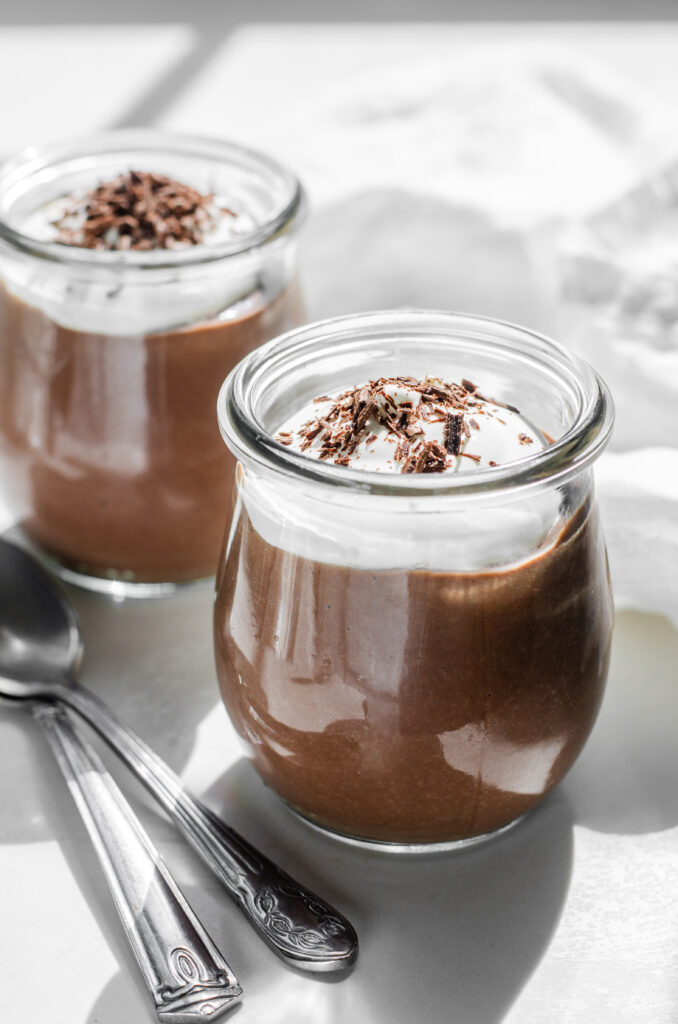
Here are my essential tips to ensuring your homemade chocolate pudding is amazing:
- Use whole milk or even whole milk plus a little heavy cream for a richer texture. Avoid fat free milk if possible.
- Add a pinch of salt to avoid an overall bland flavor.
- Don't skip the vanilla extract! Adding layers of flavor is important for a phenomenal homemade pudding.
- Get creative when serving: serve warm over ice cream, or chilled with whipped cream and fresh berries.
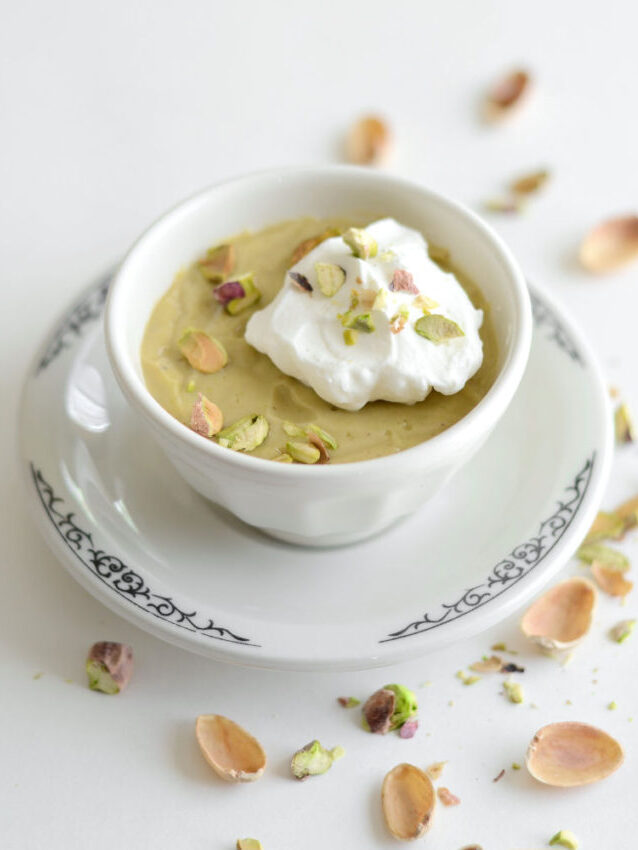
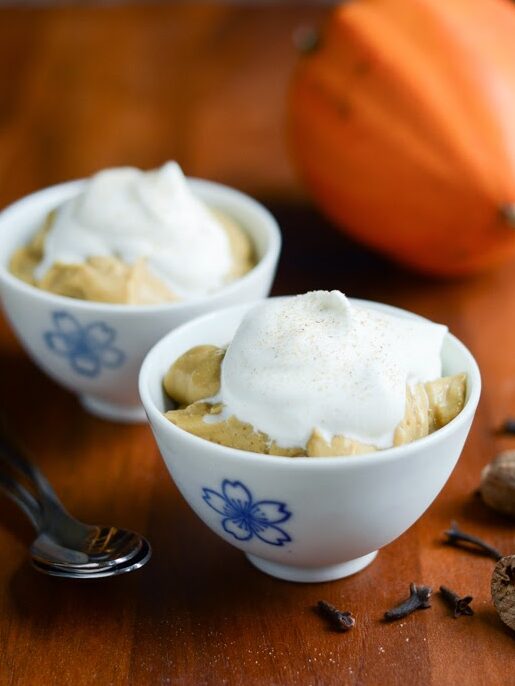
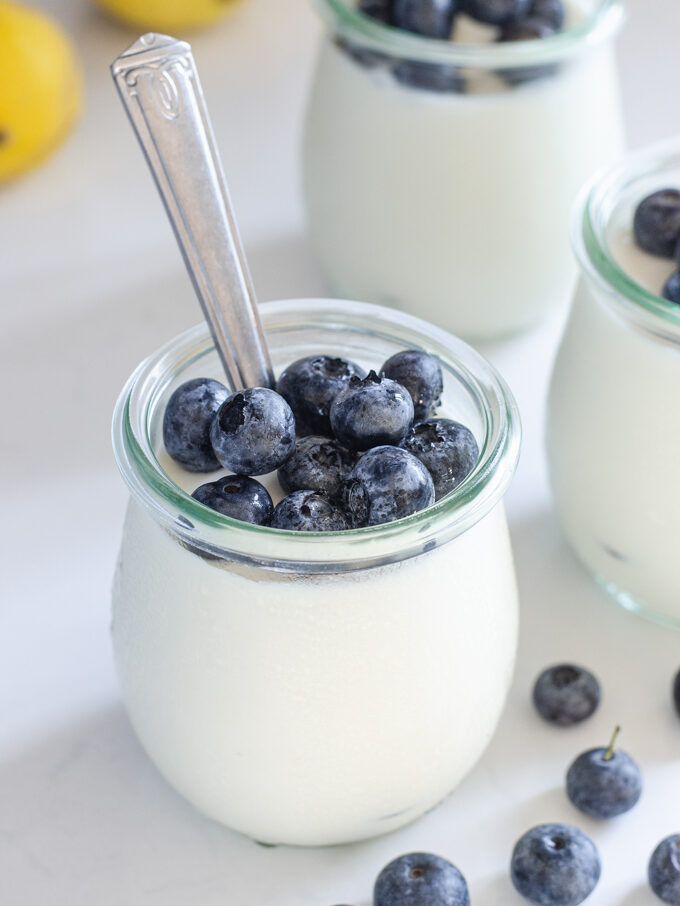
More Pudding Recipes:
Recipe Card
Homemade Chocolate Pudding
Homemade chocolate pudding tastes SO much better than store-bought, and it's easy to make as well!
Ingredients
- 2 tablespoons cornstarch
- ⅛ teaspoon salt (just a pinch)
- ⅓ cup unsweetened cocoa powder
- ½ cup maple syrup or sweetener of choice (see note)
- 2 large egg yolks
- 2 cups whole milk
- 2 tablespoons butter
- 2 teaspoons vanilla extract
Instructions
-
1) In a medium saucepan, whisk together the cornstarch, salt, cocoa powder, and maple syrup or sugar until smooth. Add the eggs yolks and ⅓ cup of the milk and whisk until a smooth paste forms. Whisk in the remaining milk.
-
2) Set the heat to medium and cook, stirring constantly, until the mixture thickens and comes to a boil. Boil and stir for 1 minute.
-
3) Remove from heat and stir in the butter & vanilla. Serve warm (over ice cream) or chilled (with whipped cream).
Recipe Notes
- Many different sweeteners will work in the recipe, including cane sugar, granulated sugar, maple syrup, etc.
- I like to use ⅓ or even ¼ cup of sweetener for a dark chocolate pudding.
- Store any leftovers in the refrigerator in an airtight container for 5-7 days.
- Adapted from Betty Crocker
Originally published on August 6, 2013 at 9:30 AM.
I love a classic pudding like this. And yours turned out so dark and dreamy! Lovely recipe.
I saw this on here earlier today and just finished making a batch. I have milk to use up so this was great. 🙂
Curious: what kind of cocoa do you use? Dutch cocoa or just generic?
How chocolatey is it? For instance, I didn't like brownies very much because they were so dark and rich.
So glad you enjoyed it! I use regular cocoa - I don't think I've ever seen it in any of our shops. Which do you prefer?
I'd say it's about medium-heavy on the chocolatey side. 🙂
So decadent and delicious! I love a good classic chocolate pudding 🙂
Pinned!!
This looks delicious! And I agree that pretty much everything is better home made.
Hi Erica, I just discovered your blog and it's gorgeous. I will definately making these chocolate pots!
Hi Erica!
I just found your site via a Tumblr post and I have to say that I can't wait to try this one. I do have a question. I'm lactose intolerant and drink almond milk instead of dairy. Will I need to make any alterations if I switch out the milk?
Thank you. 🙂
Hello, Christine! I have never had almond milk before, so I'm not an expert. I would think that it would work just fine in this recipe. The only thing to look out for is if the almond milk is sweetened. If it is, you should decrease the sugar a bit. Hope that helps!
Hope you enjoy! Let me know how you liked them. 🙂
Awesome! I'll give it a try and let you know how I made out. 🙂
Yes! Let me know how it goes. 🙂
Hi Erica,
Do you use unsweetened cocoa powder in this recipe?
Thanks, Sarah
Yes, I do! 🙂
I just came across this post and was wondering what you mean by sweetener of your choice, could I use sugar or does it have to be a liquid?
Love this beautiful post. Had to share it! https://www.facebook.com/photo.php?fbid=682169001833122&set=a.415727888477236.106941.161470543902973&type=1&stream_ref=10
Yes, you can use sugar (that's what the original recipe called for). Hope you enjoy - this is one of my all-time favorite desserts. Make sure you try it warm on top of ice cream! 😀