Today I’m going to share my easy recipe for a soft sourdough sandwich bread with as little fuss as possible, so this is a totally doable recipe for an advancing beginner sourdough baker.
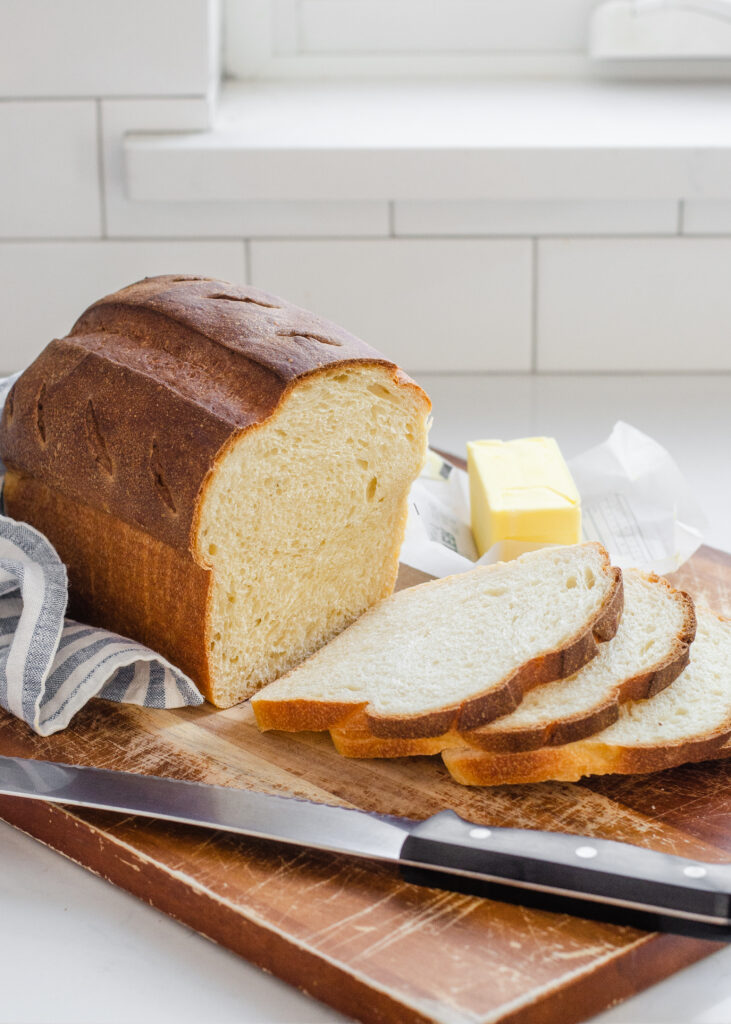
If you’re looking for a soft crust sourdough sandwich bread that doesn’t require a baking degree to pull off, this is the recipe for you.
I’m all about reliable, scrumptious recipes without any unnecessarily complicated steps. So if that’s the type of baking that resonates with you, stick around.
I know the iconic Sourdough Bread is those beautiful, crusty, artisan loaves. But sometimes you just want a soft bread that’s perfect for sandwich-making.
Don’t get me wrong, I love a chewy, crusty loaf. But it’s not necessarily the best when it comes to sandwiches.
I’m giving you two options for this sandwich bread: one that’s super simple and happens to be vegan friendly, and one that requires a couple more ingredients, but results in a really soft and delicious bread.
If this is your first time making sourdough bread, make sure to read through all of the instructions first!! This is made without commercial yeast, so you need to follow the instructions carefully!
Let’s get started.
Here’s a video demonstration in case you learn better that way. The written tutorial is below!
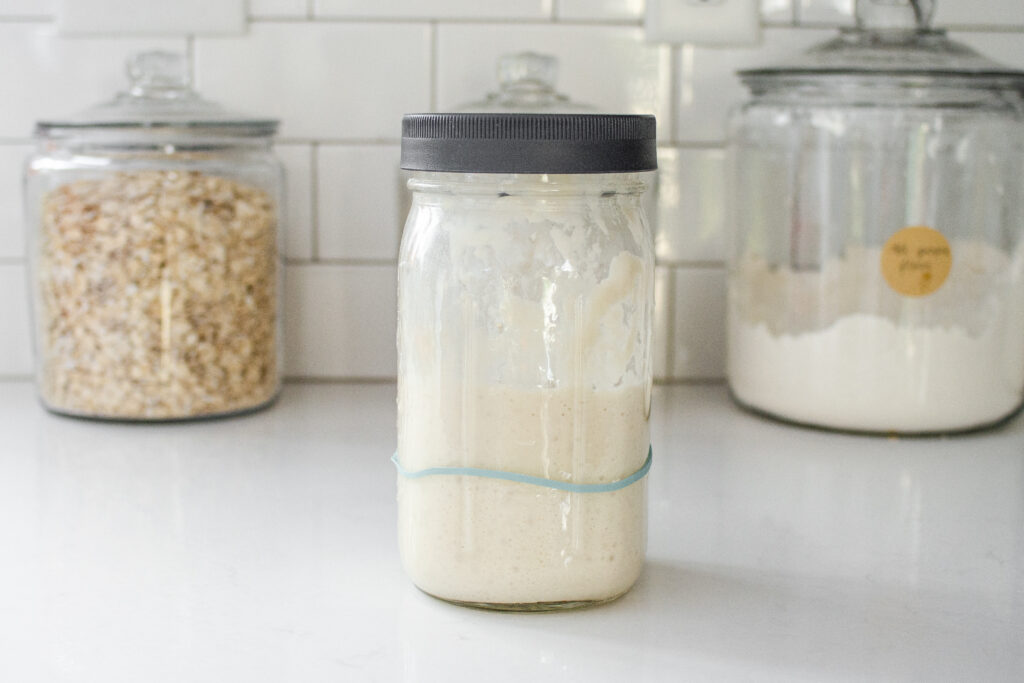
Sourdough Starter:
First things first, let’s talk about the sourdough starter.
You want to use an active sourdough starter that’s been fed 4-12 hours previously, has doubled in volume, is active and bubbly, and passes the float test.
Now the reason that I give such a large range in the amount of time it will take for your starter to mature is because sourdough is so dependent on environmental factors.
If your house is really warm, you may find that your starter doubles within 4 hours. Or a really chilly house could make your starter more sluggish.
Also, if you haven’t been caring for your starter and feeding it regularly, it might not be as strong and active. If you’ve been storing your starter in the refrigerator, you may want to feed it a few times to reactivate it before using it in this recipe.
Basically, you want a starter that’s happy and active, not one that’s feeling poorly.
If you like a more sour taste, make sure to check out my Sourdough Starter Troubleshooting post.
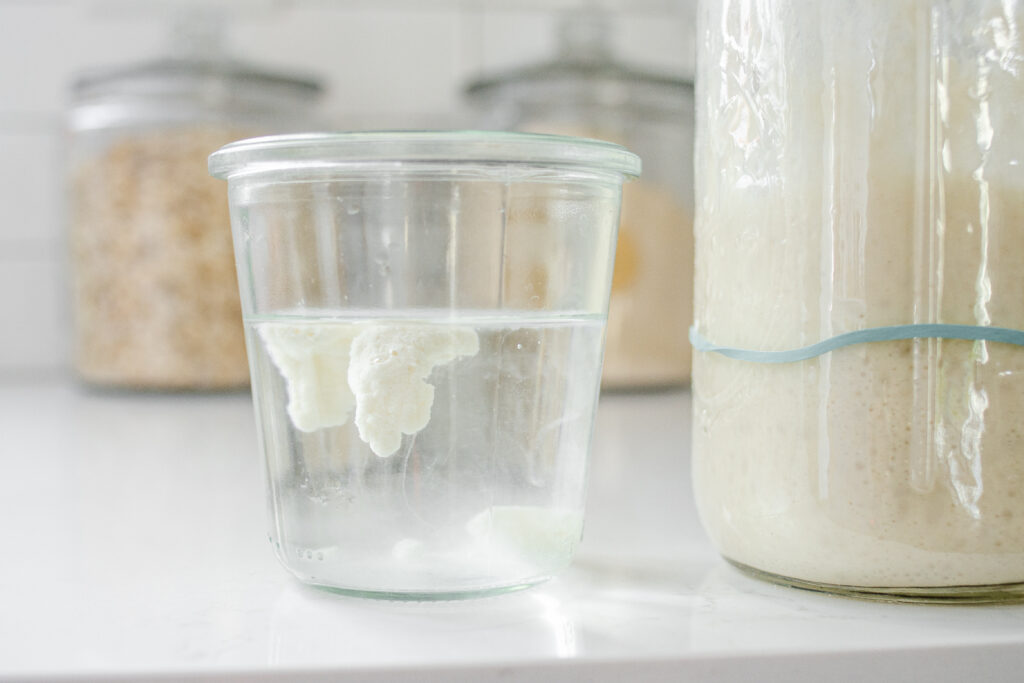
The Float Test:
As I mentioned, one way to test if your starter is ready to be baked with is by performing the float test.
Simply drop a little bit of starter into a glass of room-temperature water. If it floats, the starter is ready to be used! If it sinks, it either needed more time to mature, or it over-fermented and deflated, losing its air bubbles.
As you bake with sourdough starter more, you’ll probably be able to tell when it’s ready without the float test. But it’s a great way for beginner sourdough starters to get a feel for an active, bubbly starter.
Also of note, I keep my starter at 100% hydration, which means I feed equal weights, not volumes, of flour and water.
A kitchen scale is invaluable here. If you plan on doing a lot of sourdough baking, I highly recommend investing in one. Here’s the scale that I use.
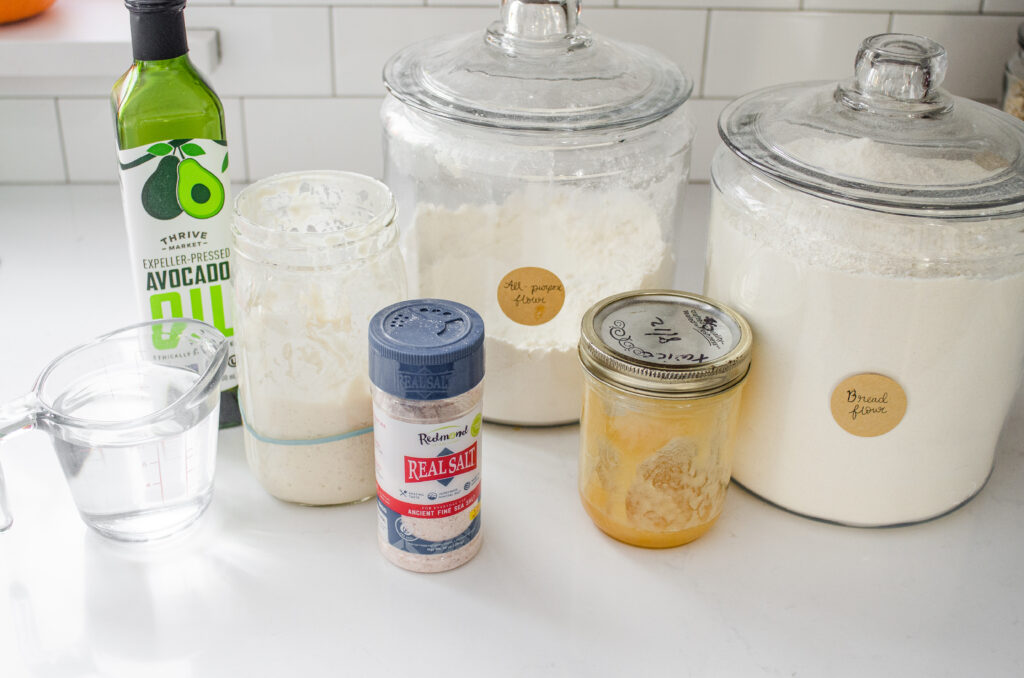
Ingredients:
NOTE: Some links are affiliate. All opinions are 100% my own, of course! If you click a link and make a purchase, I will earn a small commission. This has zero impact on the price you pay, and it helps Buttered Side Up out! Thank you!
Let’s quickly go over the ingredients you’ll need for this recipe:
- 1 cup or 220 grams of sourdough starter: I highly recommend measuring your starter by weight instead of volume. It’s so much easier, more precise, and creates less of a mess!
- 200 grams or 1 ½ cups of all-purpose flour: I use Great Value organic all-purpose flour most of the time. This loaf is a white bread. If you want a sourdough loaf made with whole wheat flour, make sure to check out my Whole Grain Sourdough Sandwich Bread recipe.
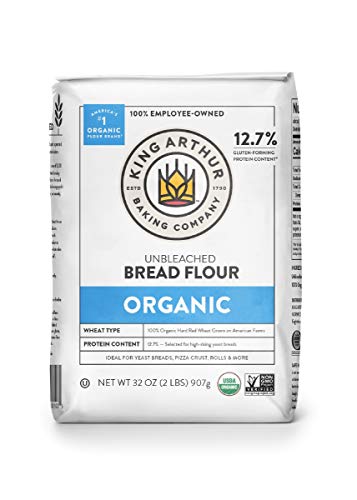
- 200 grams or 1 ¼ cups + 1 tablespoon of bread flour: I use King Arthur Flour organic bread flour.
- 1 ½ teaspoons of unrefined sea salt: I use Redmond Real Salt (you can purchase it on Amazon here). If you opt for refined salt, you may want to decrease the salt by a bit since it tends to be saltier than unrefined salt.
- 3 tablespoons of honey or sugar: If you’d like to make a completely vegan loaf, opt for the sugar. You could also use maple syrup or coconut sugar if you prefer.
- 240 grams or 1 cup of water: Please use filtered water if your water is treated with chlorine.
- 39 grams or 3 tablespoons of avocado oil: You can substitute olive oil or coconut oil if you prefer.
Ingredient Temperature:
Let me pause for a minute to talk about ingredient temperatures. If you start with warm ingredients, the sourdough starter will obviously get a head start, and it will take less time for your dough to ferment.
So if you use warm water instead of cold water, you can knock off some rise time. The same goes for the milk. If you take the chill off of it, the fermentation process will be jump-started.
But as with all bread-baking that involves yeast, including wild yeast, you want to make sure that you don’t heat any ingredient over around 100-115 degrees F, or 43-46 degrees C. If you go much over that, the temperature will start to kill off the yeast, and your bread won’t rise.
Back to the recipe.
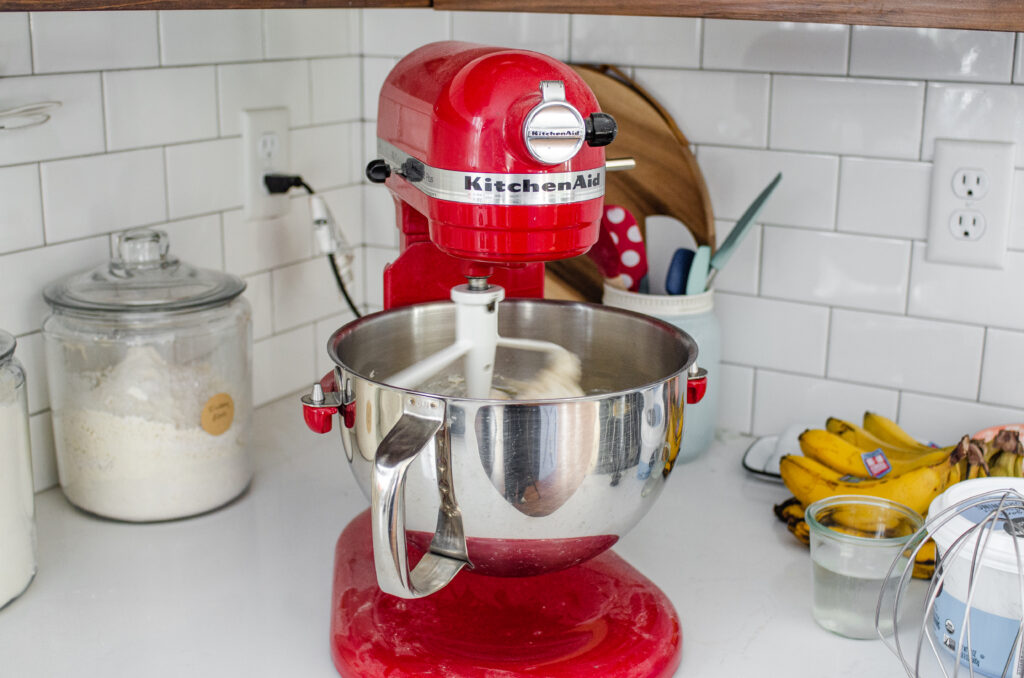
How to Make Sourdough Sandwich Bread:
Place all of the ingredients into the bowl of a stand mixer and knead for 15 minutes on medium-low speed.
Now my dough hook attachment bit the dust, and I haven’t figured out where to purchase a replacement for it yet, so I use the paddle attachment. I don’t recommend this, but it’s what I’ve been doing out of necessity.
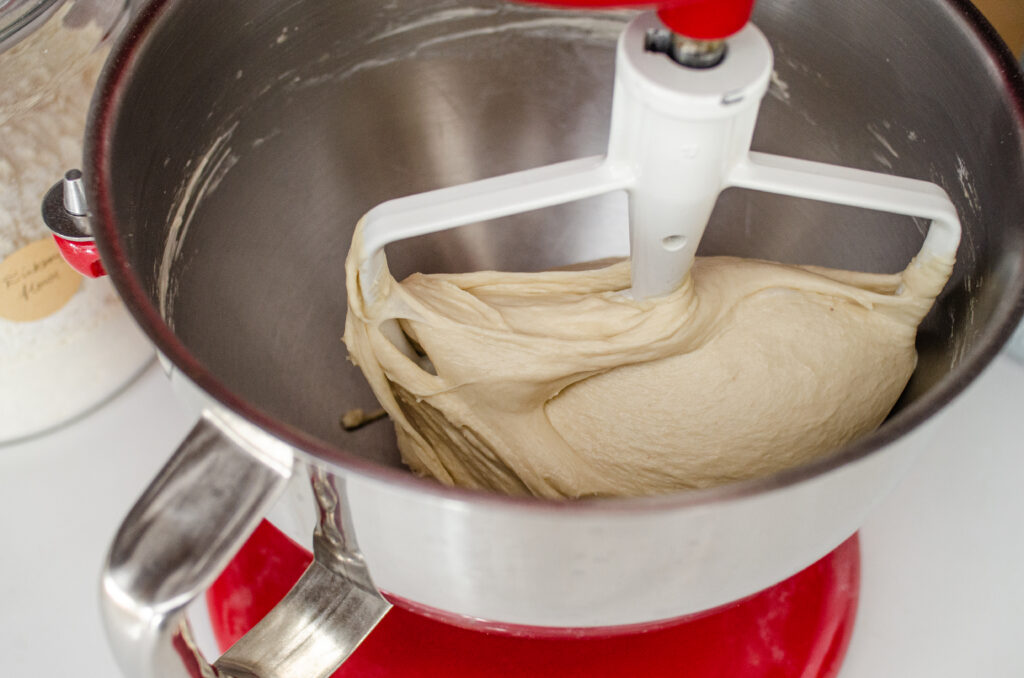
Anyway, the dough will start out shaggy, and eventually it will turn into this lovely, smooth, elastic dough. Transfer it to a greased large bowl.
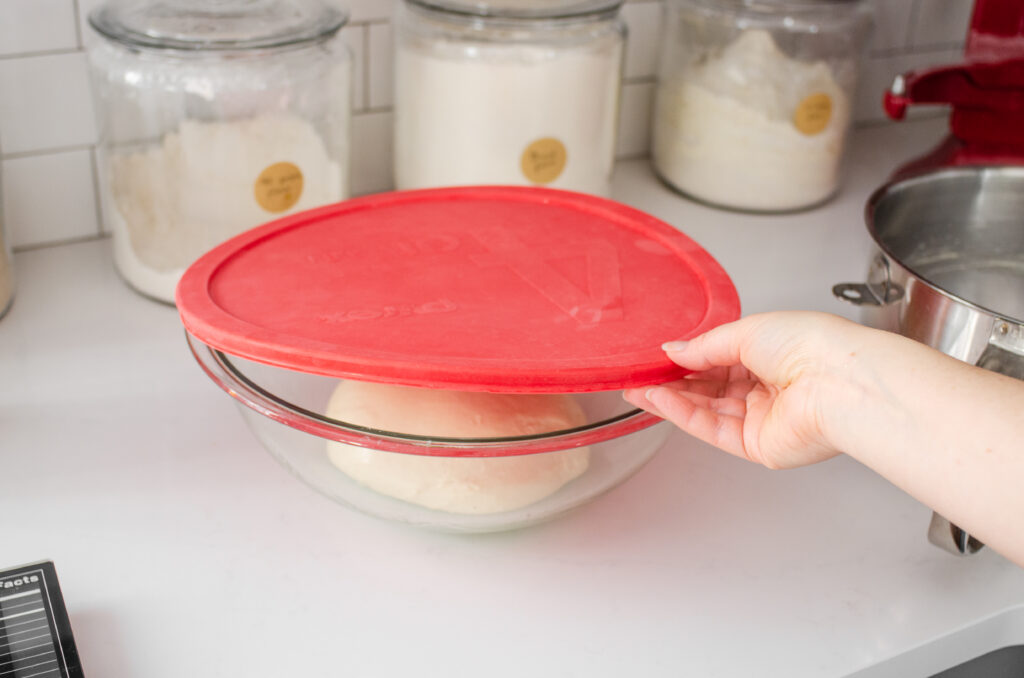
Cover with a lid, damp tea towel, or plastic wrap.
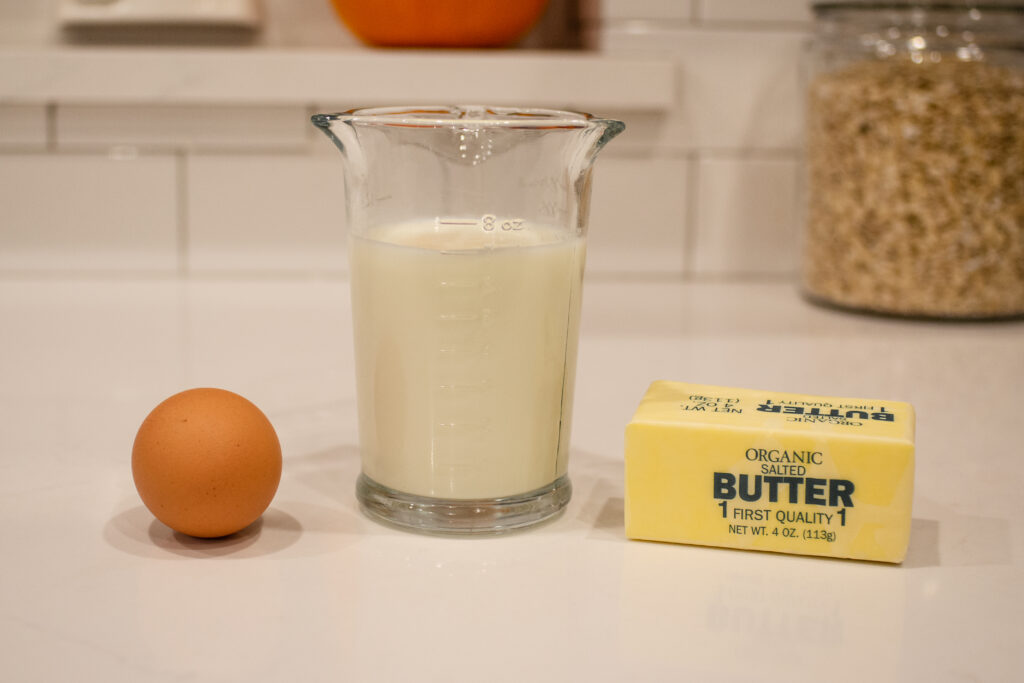
Softer Version:
Okay, that was for the simple version. If you’d like a softer bread, you can add an egg, replace the water with ¾ cup plus 2 tablespoons of whole milk, and use 4 tablespoons of melted butter instead of the avocado oil.
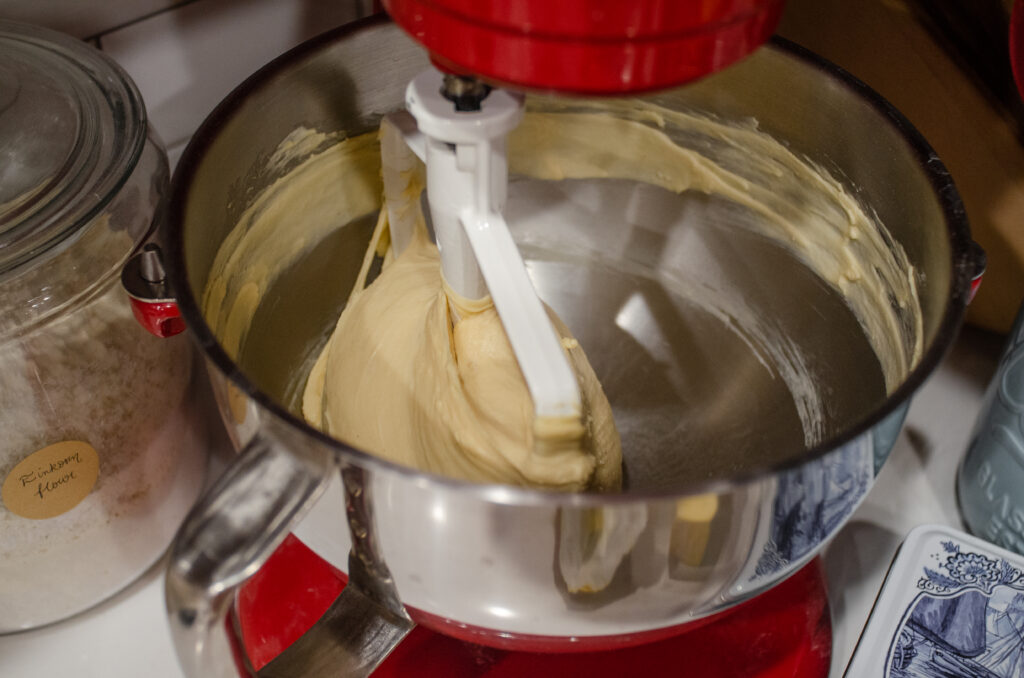
The process for kneading the soft dough is the same. You want to go until it’s nice and smooth and elastic.
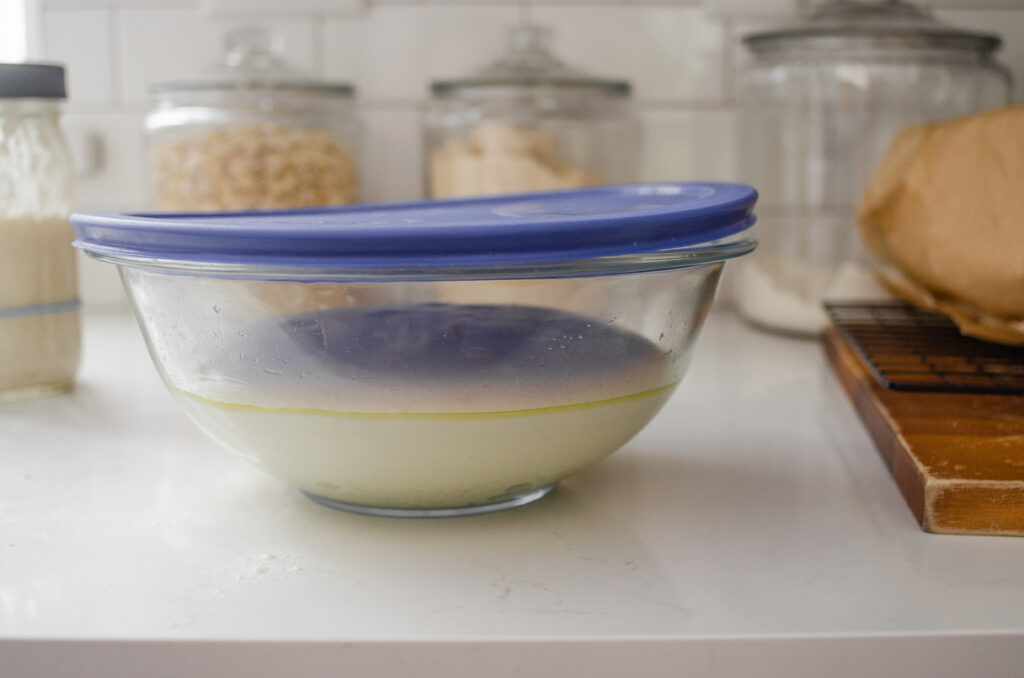
Transfer the kneaded dough to a buttered large mixing bowl. Cover with a lid, damp tea towel, or plastic wrap.
Bulk Fermentation:
Now for both doughs, you have a choice to make. You can either do the first rise completely at room temperature, or you can let the dough rise at room temperature for about 4 hours, and then place it in the refrigerator for 12-24 hours.
If you opt for a completely room temperature rise, you’re looking for the dough to double and pass the poke test, which will take anywhere from around 6-12 hours.
To perform the poke test: gently poke your finger into the dough. If it slowly springs back and doesn’t quite fill in, it’s done fermenting.
But, if it springs back really quickly, and completely fills in, it’s not done proofing yet.
And if it doesn’t spring back at all, it’s most likely over proofed and you need to move to the next step ASAP.
Shaping the Loaf:
So when your dough is done with the first rise (AKA Bulk Rise), it’s time to shape it into a loaf.
Preparing the Pan:
First, you’ll want to select your loaf pan. I use this one from USA pan (find it on Amazon here). It’s 8.5 x 4.5 x 2.75 inches.
I’ve also used a Pyrex glass bread pan, which is a little bit bigger. You could even opt for a Pullman Pan (here’s one on Amazon), but keep in mind that I haven’t personally tested that pan.
Keep in mind that if you use one of the smaller bread pans your loaf will be taller, and if you use a larger pan, it may not look as dramatic.
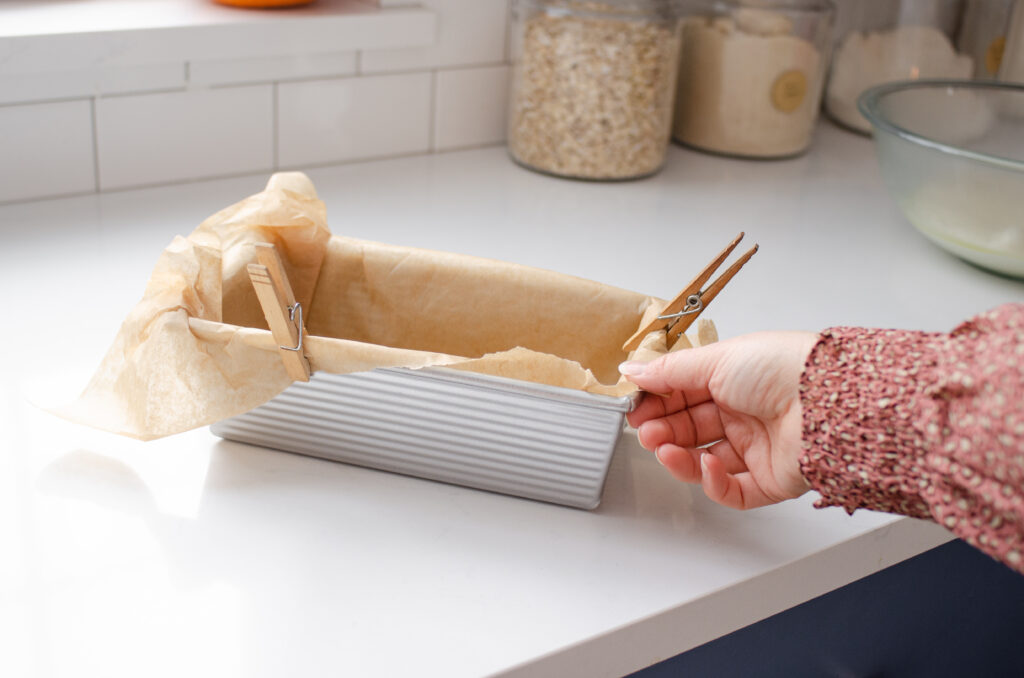
Whatever loaf tin you use, you’ll want to line it with parchment paper. Sourdough tends to be fairly sticky, so it’s best to use parchment paper to line the pan to ensure it will release easily.
Forming the Dough:
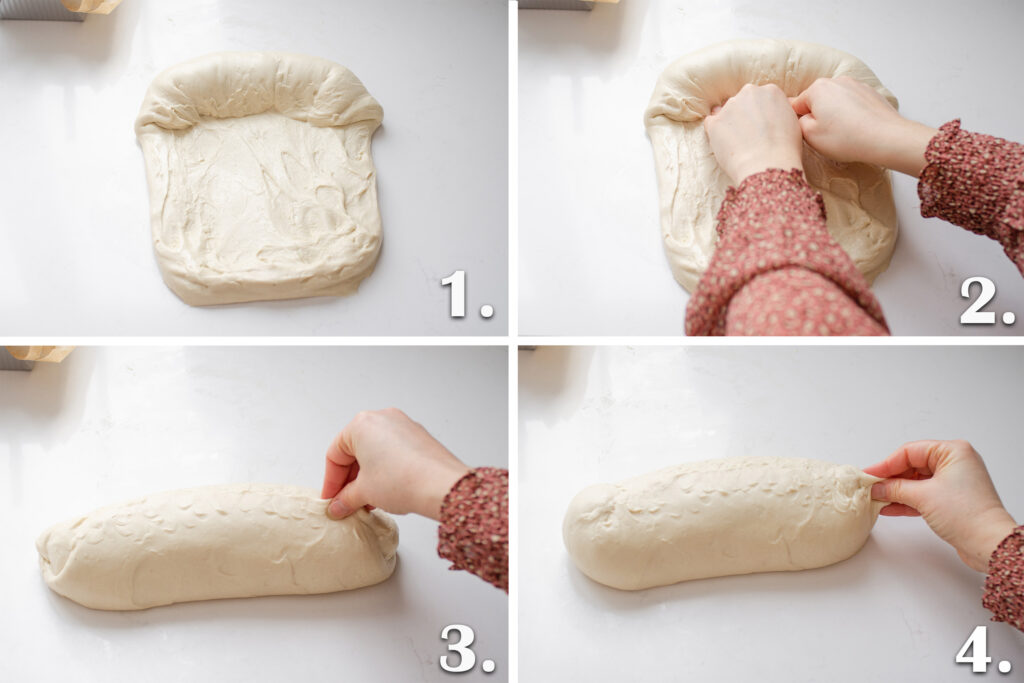
This is how I form my loaf, which is pretty much the same method my Mom used to make bread when I was growing up.
Scrape the dough out onto a lightly greased work surface.
Using wet hands, pat the dough into a rectangle whose width is about the same as the length of the loaf pan. Start rolling up the dough, pressing down to seal the seam as you go.
When the dough is all rolled up, pinch the seam really well, as well as the ends.
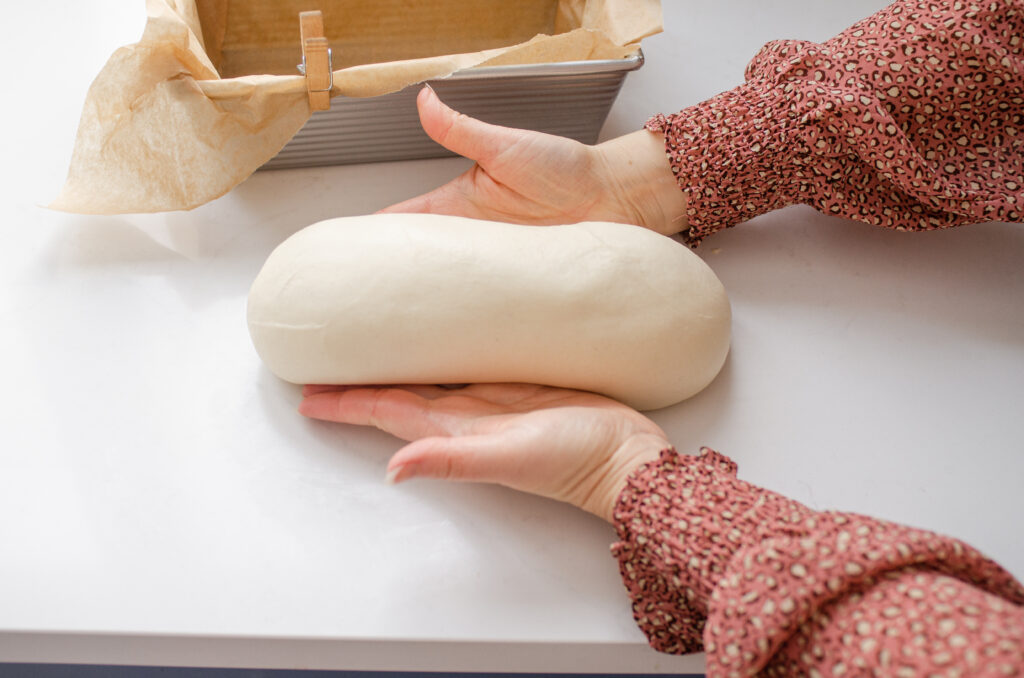
Turn the dough over, and cup your hands around it and pull the edges of the dough under itself to create more surface tension.
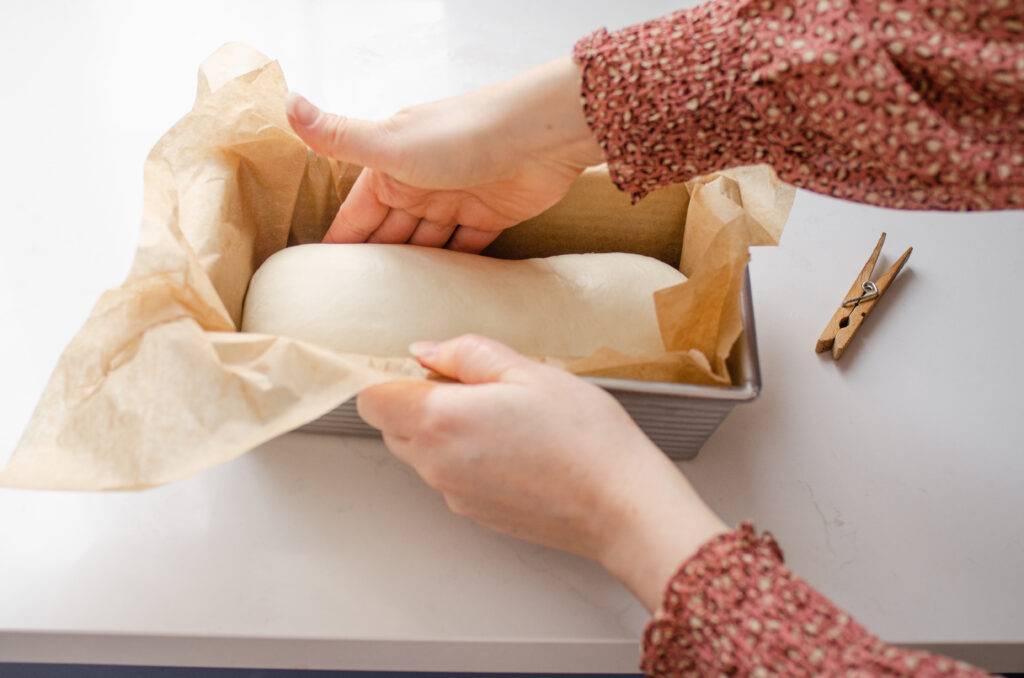
Transfer the dough to the prepared pan, seam side down. You can kind of rearrange the dough once it’s in the pan.
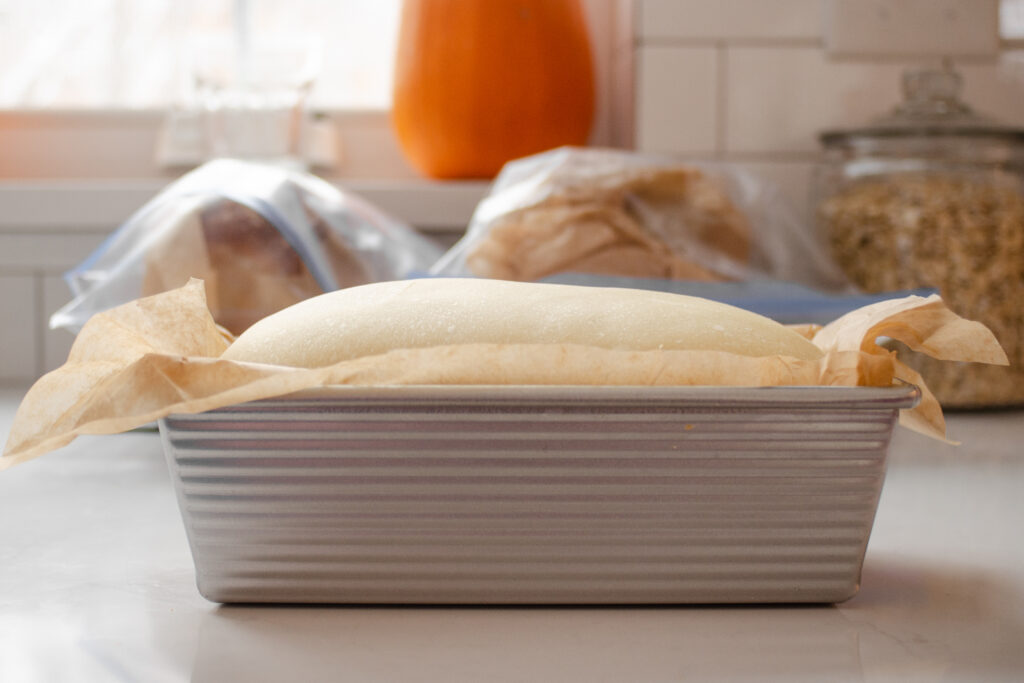
Second Rise:
Cover with a tea towel and allow to ferment in a warm place until it rises over the rim of the pan, about 4-12 hours.
Again, this depends on the temperature of your kitchen and how strong your starter is.
If your kitchen is particularly cold, you can turn your oven on to preheat to the lowest temperature, turn it off, and then put your loaf in. Just make sure the oven is only warm, not hot!
Baking Time:
About half an hour before the loaf is done rising, preheat your oven to 400 degrees F or 204 degrees C.
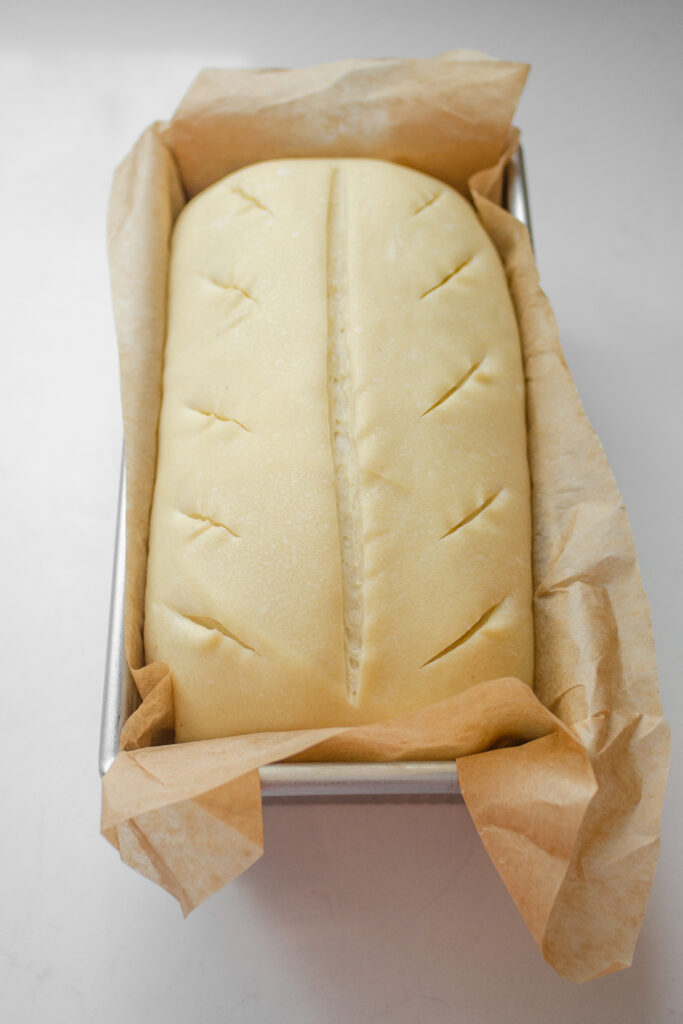
Once the dough is properly risen, score the top of the dough with a razor blade or a really sharp kitchen knife. This isn’t strictly necessary, but it does help to control how the bread rises in the oven.
I don’t find an egg wash necessary since the top of the loaf tends to get nicely browned.
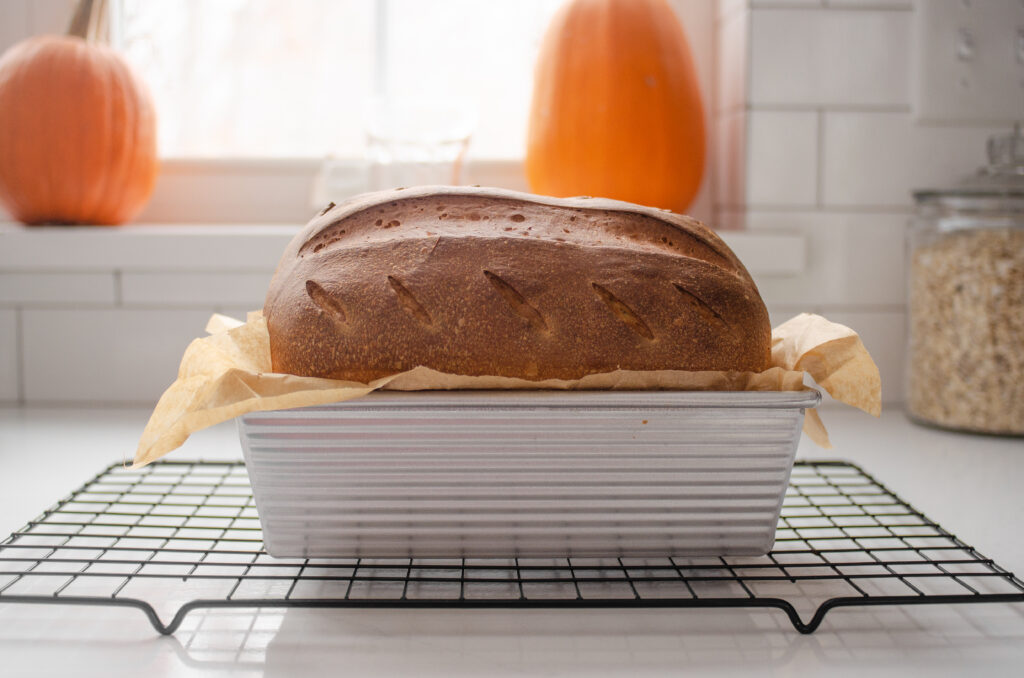
Place the risen loaf in the preheated oven. Set the timer for 10 minutes, and when the time is up, lower the oven temperature to 350 degree F or 177 degrees C, and set the timer for 30 minutes.
Do not open the oven at all during this time unless it begins to brown too quickly. If that happens, you can tent the loaf with aluminum foil to prevent over-browning.
The bread is done baking when it’s deep brown, reaches an internal temperature of 200 degrees F or 93 degrees C, and sounds hollow when tapped on the bottom.
This usually takes around 35 minutes once the temperature is turned down to 350, but it could be different for you depending on how hot your oven runs.
Cooling:
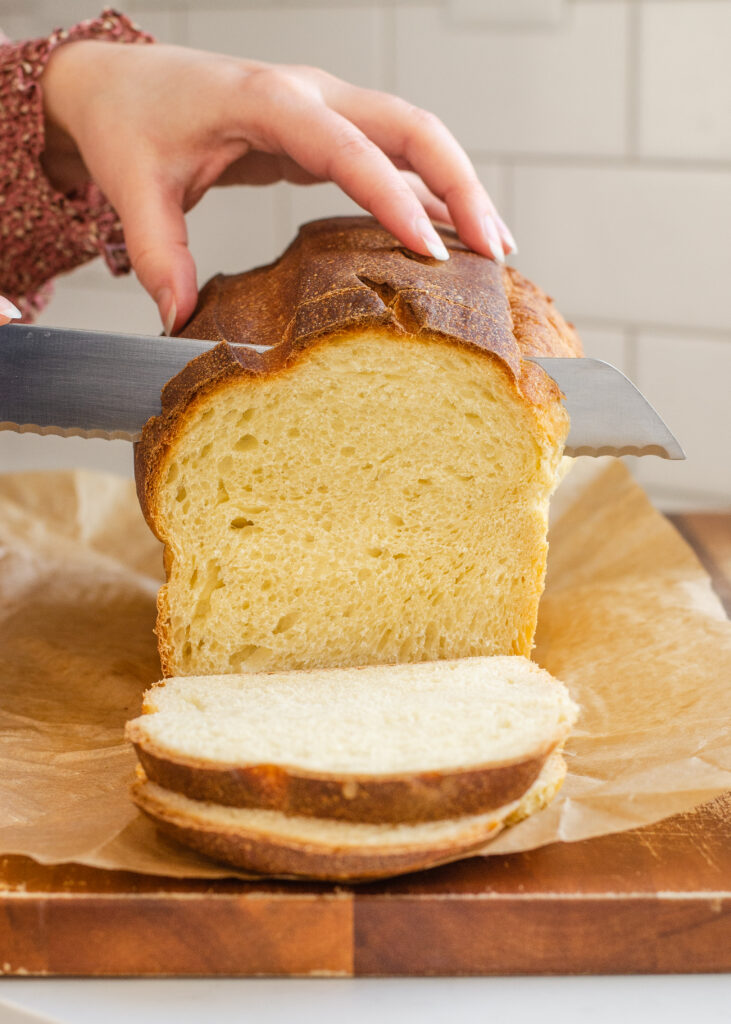
When your loaf is done baking, transfer it to a wire cooling rack. Allow to cool for at least 1 hour before slicing into it.
I know this is difficult when you’re smelling your amazing homemade bread, but if you slice into it right away you’ll let more of the steam escape, and you could end up with a dry loaf. So, patience really is a virtue here.
After that, you can tear into it and devour to your heart’s content.
Method Comparison:
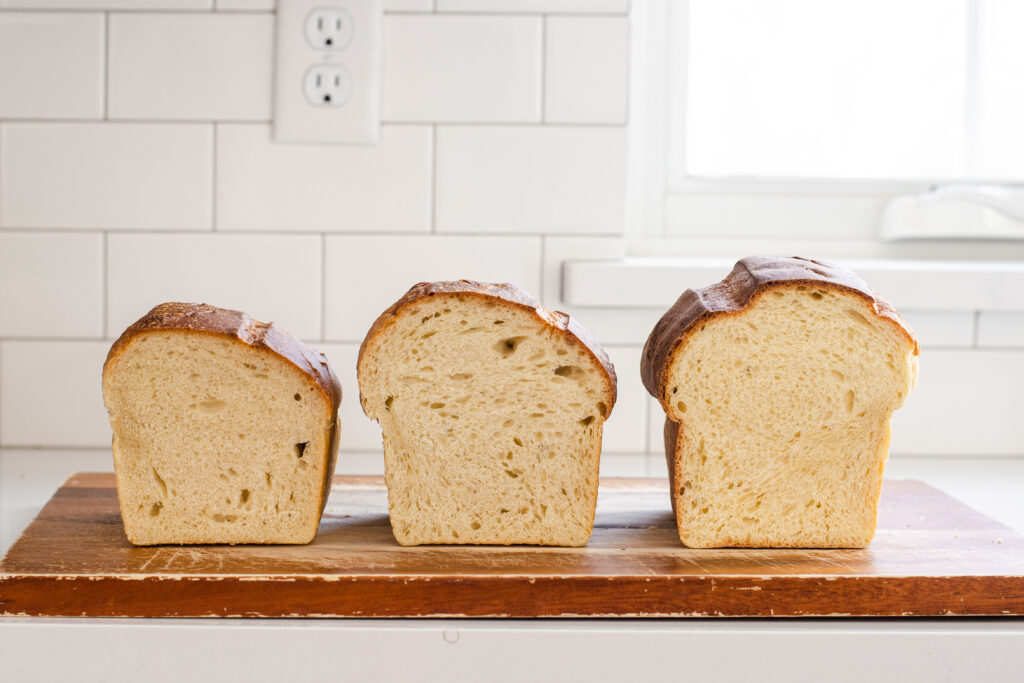
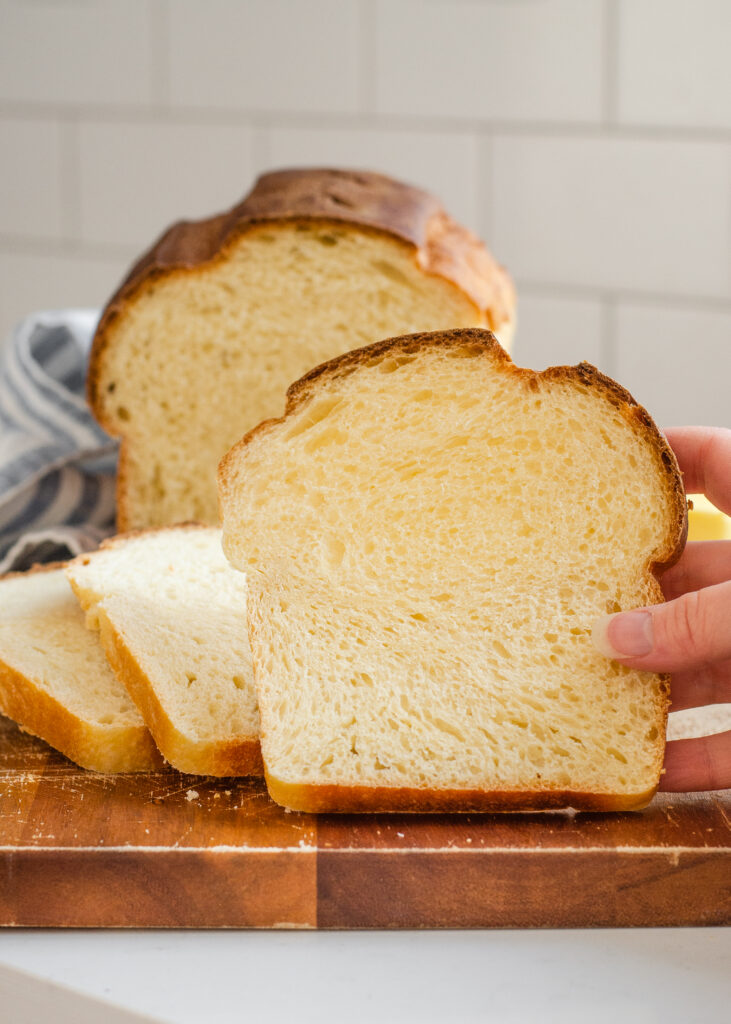
Now I thought it would be interesting to show you the different loaves made with the different methods side by side.
First we have the simple loaf with the partial cold proof on the left, the simple loaf risen at room temperature in the middle, and the soft, enriched loaf risen at room temperature on the right.
These all have different heights and texture, but I honestly think that came down to different environmental factors, not the ingredients or methods.
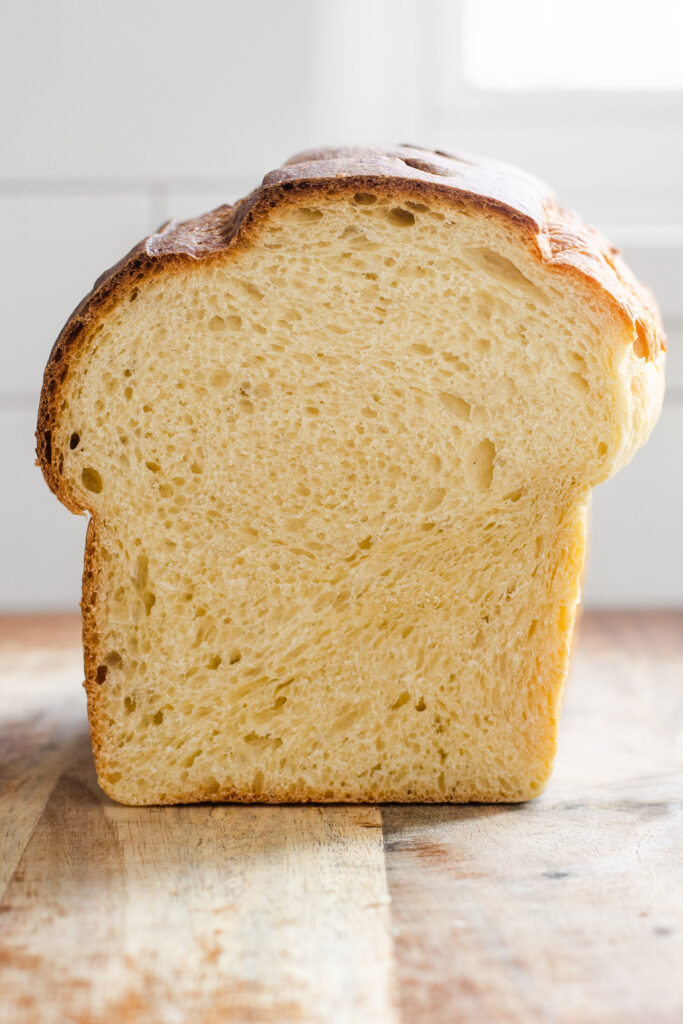
All of these loaves are good, but I personally prefer a really light, soft loaf. So the enriched loaf is my personal favorite.
But you can choose which ingredients and methods to use based on the ingredients you have on hand and the amount of time you have to bake.
Baking Schedule:
Let me quickly go over a sample baking schedule so you can get a feel for how to plan out your sourdough baking.
On the day before you bake, feed your starter about 9 hours before you plan to go to bed. So if you’re going to bed at 11:00, feed your starter at 2:00 in the afternoon. Once your starter is ready to use, at around 10:00, mix together your dough. Leave it to ferment overnight.
The next day (about 8 hours later), at 7:00 in the morning, form the dough into a loaf. Then it should be ready to bake around 4-8 hours later, at around 1:00 in the afternoon.
Again, all of these times will be different based on your personal starter and the temperature of your kitchen.
If you do the cold ferment, you’ll want to start a bit earlier in the day. So feed your starter about 12-13 hours before you plan on going to bed.
So if you go to bed at 11:00, feed your starter at 10-11 in the morning. Then, when your starter is ready to be used, at around 6 in the evening, mix together your dough. Let it ferment at room temperature for about 3-4 hours, then place it in the refrigerator.
At around 11:00 the next morning, form the chilled dough into a loaf and allow to rise. Since the dough is cold, it will take longer to rise.
So plan on baking it at around 5-6 in the evening. It may be ready earlier if you put the loaf in a warm spot, or if your kitchen is toasty.

Serving:
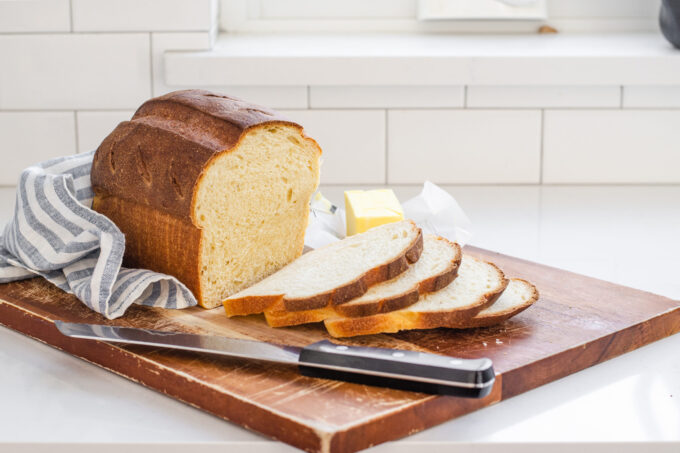
Of course the obvious way to use this amazing sourdough sandwich loaf is to make sandwiches with it.
Here are some other ideas:
- Toast it up and spread it with lots of butter and a bit of jam or honey.
- Make some truly amazing peanut butter and jelly sandwiches.
- Try your hand at grown-up grilled cheese.
- Slice it thick and make French toast.
- If you have any leftover stale bread, turn it into croutons.
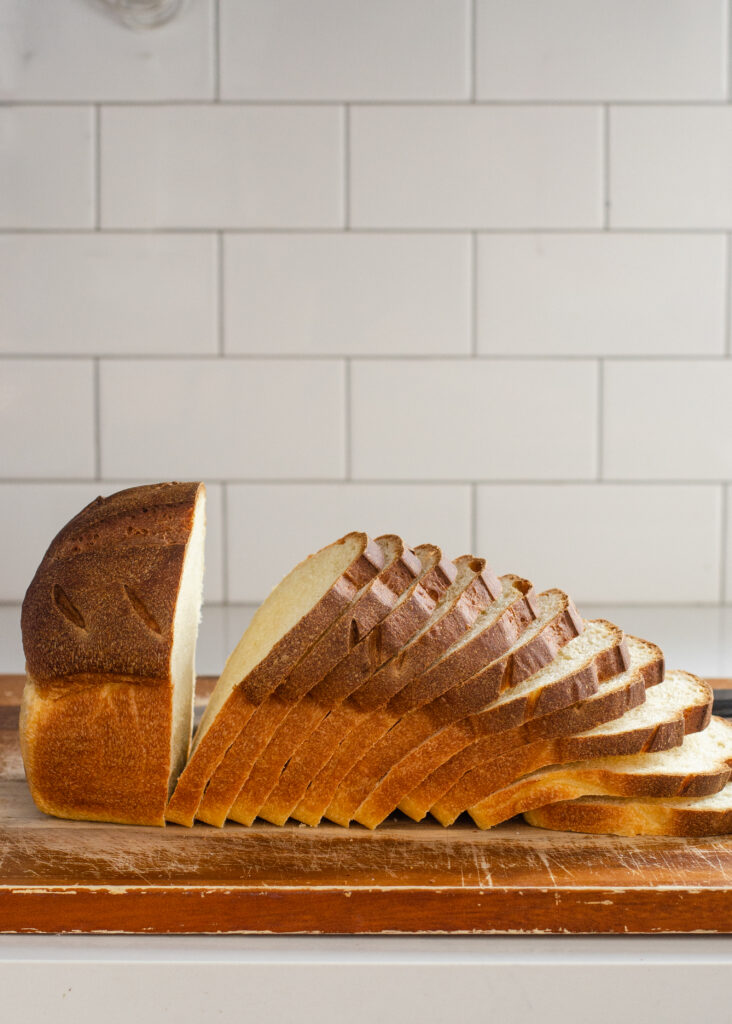
So there you have the perfect sandwich bread for all your sourdough recipes!
Make sure to check out my other sourdough bread recipes below:
Sourdough Bread Recipes:
- Whole Wheat Sourdough Sandwich Bread
- Sourdough Milk Bread
- Sourdough Brioche
- Soft Sourdough French Bread
- Sourdough Focaccia
- Sourdough Dinner Rolls
- Artisan Sourdough Bread
- Sourdough Pumpkin Dinner Rolls
- Sourdough Hamburger Buns
Make sure to check out my Sourdough section for even more sourdough recipes!
Sourdough Sandwich Bread Recipe
Ingredients
For the Simple Dough:
- 1 cup (240 grams) room temperature water
- 1 cup (220 grams) active sourdough starter (see note)
- 200 grams (1 1/2 cups) organic all-purpose flour
- 200 grams (1 1/4 cups + 1 tablespoon) organic bread flour
- 3 tablespoons (60 grams) honey
- 3 tablespoons (39 grams) avocado oil
- 1 1/2 teaspoons unrefined sea salt
For the Enriched Dough:
- 4 tablespoons butter, melted and cooled
- 3/4 cup + 2 tablespoons whole milk (warmed to no more than 110 degrees F)
- 1 cup (220 grams) active sourdough starter (see note)
- 200 grams (1 1/2 cups) organic all-purpose flour
- 200 grams (1 1/4 cups + 1 tablespoon) organic bread flour
- 1 large egg
- 3 tablespoons (60 grams) honey
- 1 1/2 teaspoons unrefined sea salt
Instructions
For Either Dough:
- Place all ingredients in the bowl of a stand mixer. Knead using the dough hook on medium-low speed for 15-20 minutes, or until the dough is smooth and elastic. You can add more flour or water/milk as needed to get the proper consistency. You want a soft dough, but not overly wet.
- Transfer the dough to a greased large bowl. Cover and allow to ferment at room temperature until doubled, about 4-12 hours, depending on the strength of your starter and the temperature of your kitchen.
- Line a loaf pan with parchment paper.
- On a lightly greased work surface, pat the dough into a large rectangle. Beginning at the narrower end, roll the dough up, making sure to press down on the dough to seal with each roll. Seal the seam and ends. Flip the dough over and cup your hands around it, pulling the dough under itself to create surface tension.
- Transfer to the prepared loaf pan. Cover and allow to ferment at room temperature until the dough rises above the edge of the pan, about 2-8 hours.
- About half an hour before the loaf is done rising, preheat your oven to 400 degrees F. Place the oven rack to the lower third position. Score the top of the loaf.
- Bake risen loaf in preheated oven for 10 minutes. Then lower the temperature to 350 degrees F and bake for an additional 30-40 minutes, or until the loaf is nicely browned and sounds hollow when tapped on the bottom.
- Transfer to a wire cooling rack and allow to cool completely before slicing.
Notes
Active Starter: An active starter is one that's been fed 6-12 hours previously, has doubled in volume, is active and bubbly, and passes the float test.
Partial Cold Ferment: After the dough is kneaded, you can allow it rise at room temperature for about 3-4 hours, then transfer it to the refrigerator for 12-20 hours. Continue with the rest of the instructions.
Recommended Products
As an Amazon Associate and member of other affiliate programs, I earn from qualifying purchases.



Mallory
Monday 11th of March 2024
I’ve tested a few recipes from other bloggers and this is hands down my favourite!!! Instructions are easy to follow and my bread turned out perfect! Officially my new go to recipe 👍
Ellie
Friday 8th of March 2024
The ads make your site unreadable which is a shame because your recipes seem like my cup of tea. But the pop up videos and distracting marketing animations are relentless. Three going at the same time on my little phone screen. No es bueno.
Pluto
Tuesday 12th of December 2023
Hey! I prefer to eat wholemeal or rye bread - how much white flour would you suggest I sub out for another type of flour? And could I add some seeds to it as well?
Erica Kastner
Tuesday 12th of December 2023
I actually have a whole wheat sourdough sandwich bread recipe: https://www.butteredsideupblog.com/healthy-whole-wheat-sourdough-sandwich-bread/ You should be able to add some seeds.
Amands
Monday 6th of November 2023
This is my new go to white sandwich bread. It’s seriously the best white bread I’ve ever made. I think if you’re making it for about two months now. It comes out perfect every time. It also works beautifully for rolls, hamburger and hot dog buns, cinnamon rolls… it’s so versatile. Absolutely love it and make it once a week for my daughter.
Natasha
Monday 9th of October 2023
Can you proof the dough in the fridge overnight?