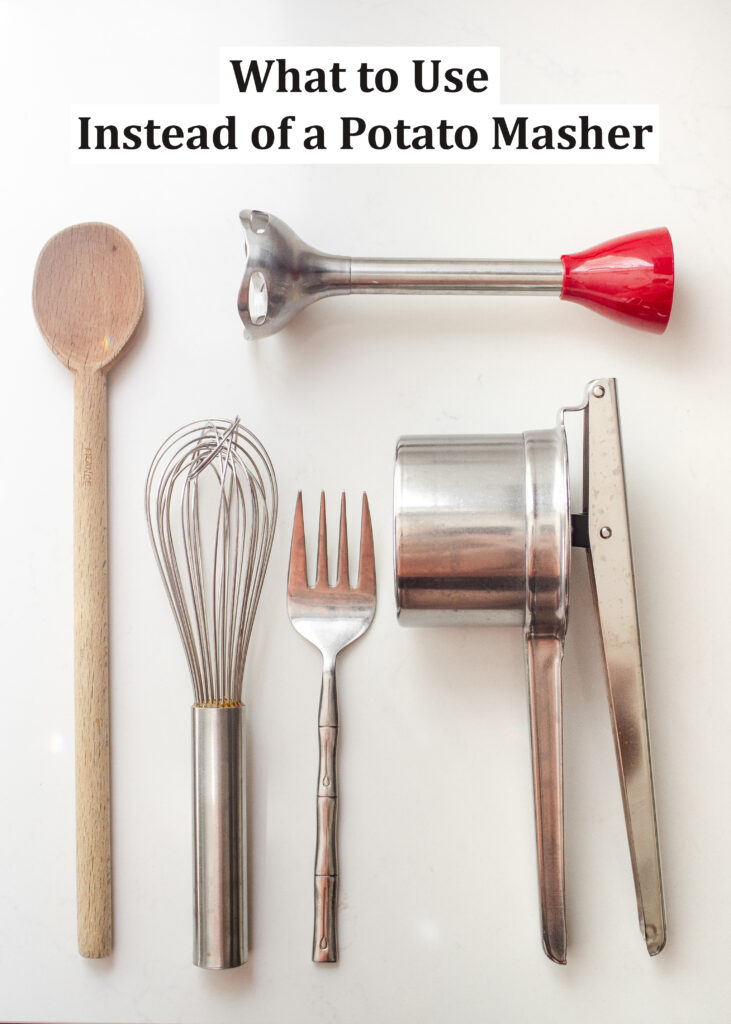
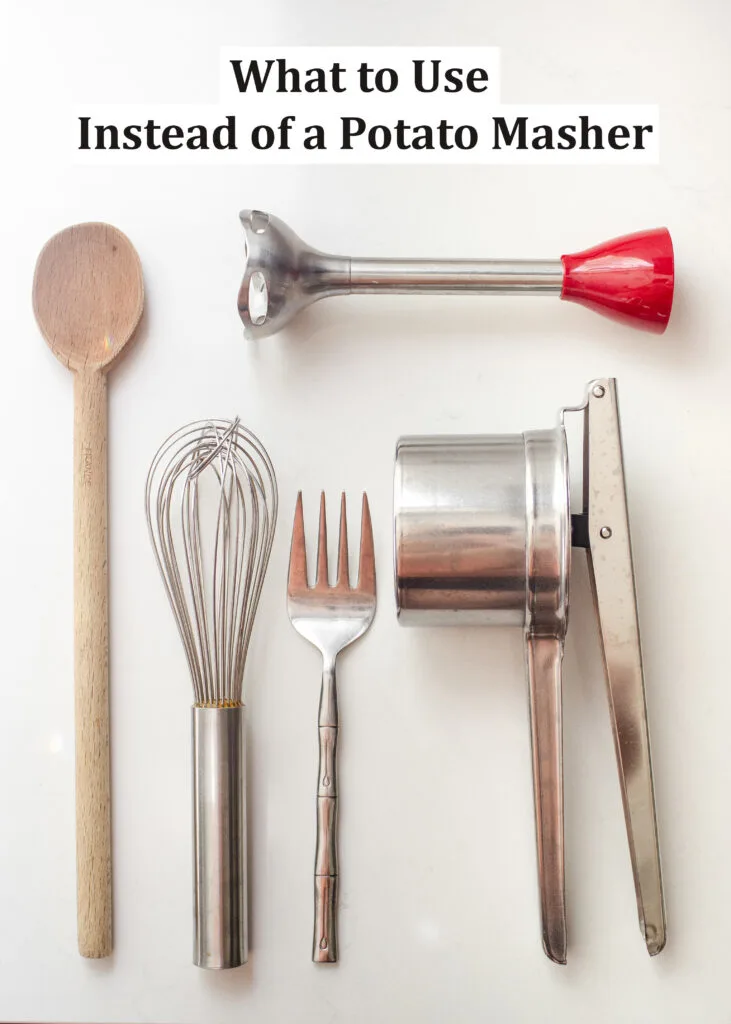
Have you ever wondered what to use instead of a potato masher? In this post I go over 7 different ways, including the pros and cons of each method.
Whether you’re trapped somewhere without a potato masher, or you’re simply nonplussed with a traditional hand masher and want an alternative, I’ve got you covered.
In this post I’ll go over 7 different tools you can use instead of a potato masher., including a few that don’t require any special equipment.
First I’ll demonstrate how to use each one. Then I’ll go over the pros and cons so you can make an informed choice about which to use.
Okay, let’s dive in!
Table of contents
Video Tutorial
If you prefer to learn by watching, make sure to hit play on the video above (you may have to disable ad blocker to view).
Types of Potatoes
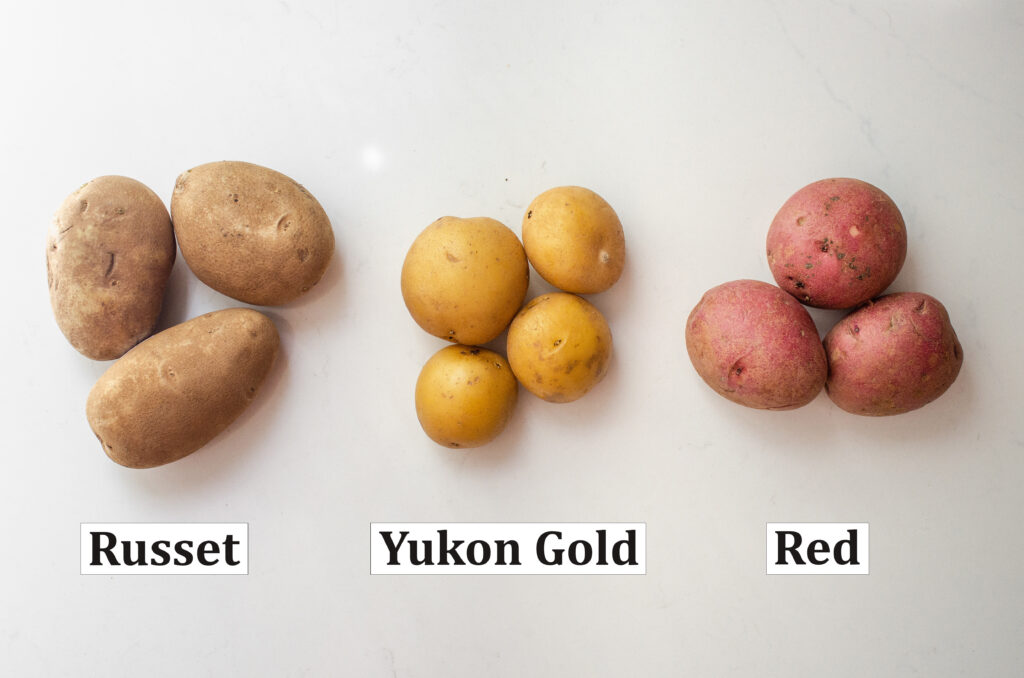
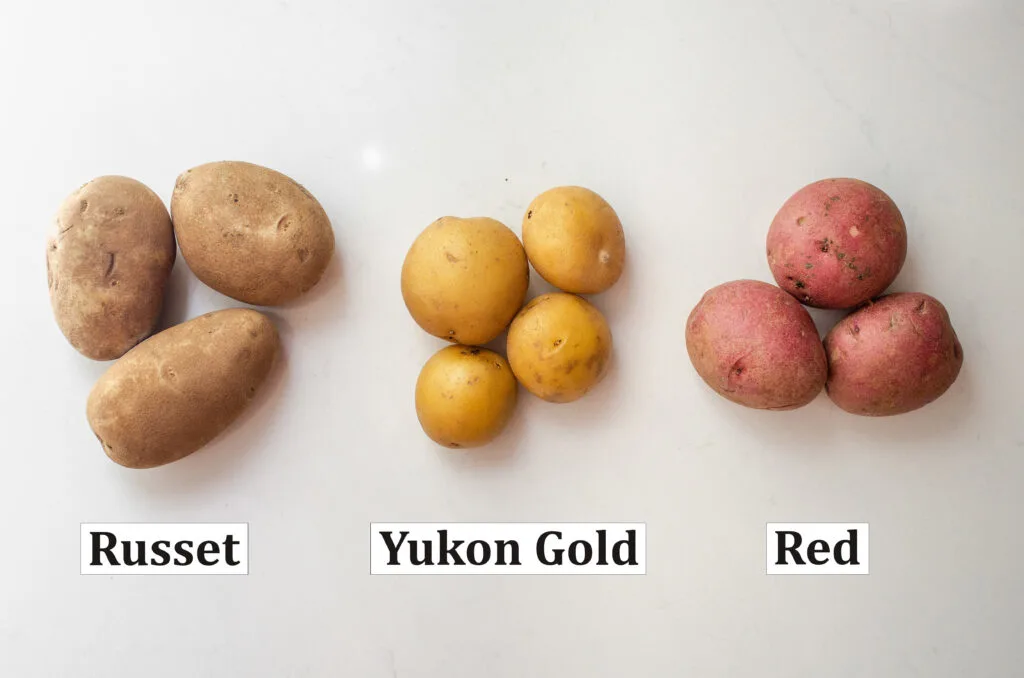
First, let’s discuss the three most common types of potatoes and how well they work for making mashed potatoes:
- Russet Potatoes: These are the most common type of potato you’ll see at the grocery store, and they’re perfect for mashed potatoes! I used Russets to test all of the mashing methods.
- Yukon Gold Potatoes: These are also an excellent choice for mashed potatoes, with some people preferring them. They are less common in grocery stores, but still pretty easy to find. If you’re passionate about dialing the texture of your potatoes, you can even do a mix of russet and Yukon golds.
- Red Potatoes: This is another easy-to-find potato variety, but they aren’t the best for mashed potatoes. While you totally can mash them, and some might actually prefer their texture over Russets or Golds, it’s important to realize that they have a more waxy texture. This can result in more lumpy or even gluey mashes.
With that out of the way, let’s get to the tests I performed!
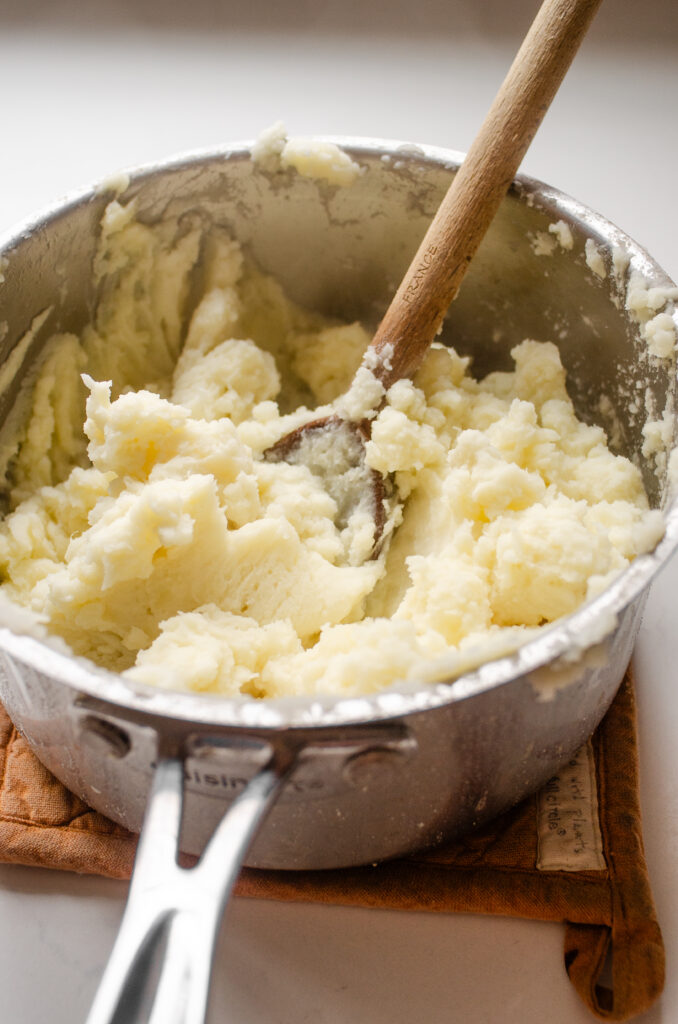
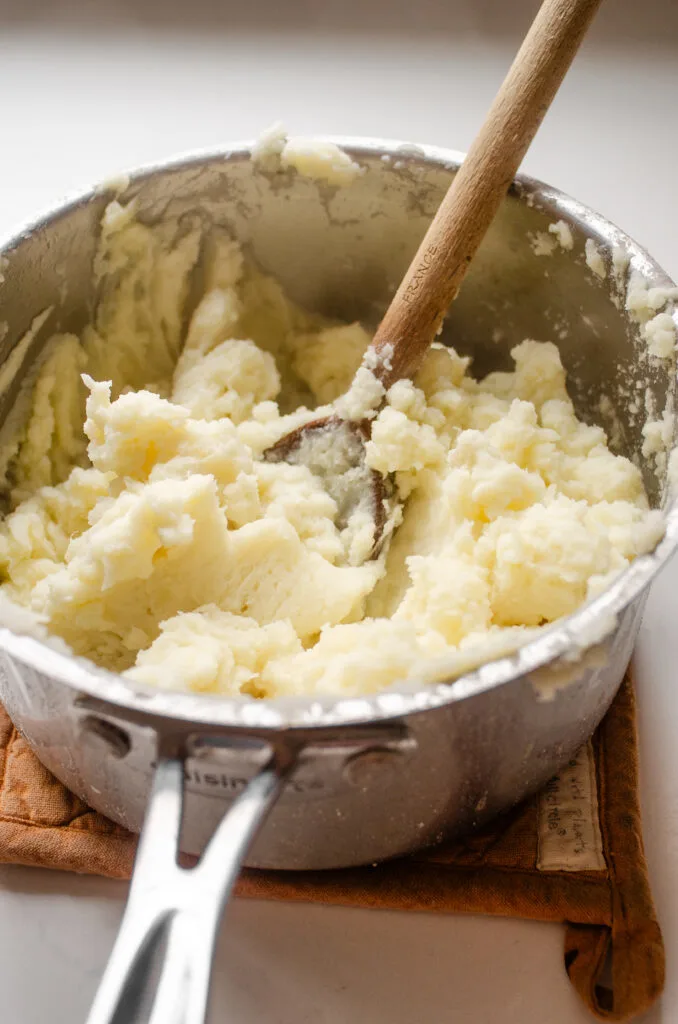
Method 1: Wooden Spoon

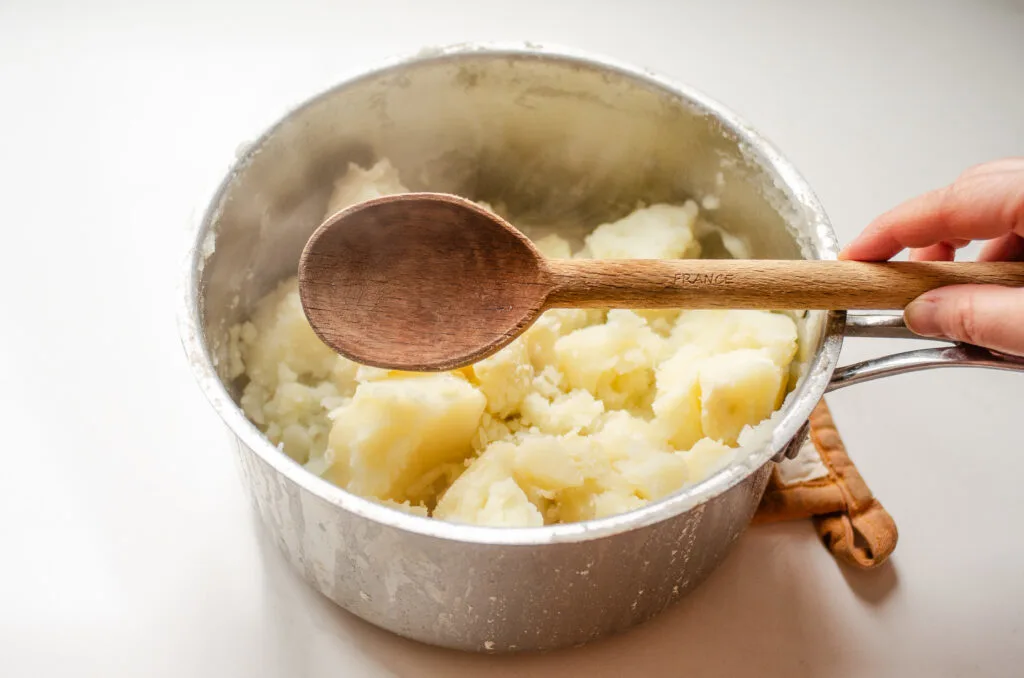
Let’s start with a kitchen tool that almost everyone owns: a wooden spoon!
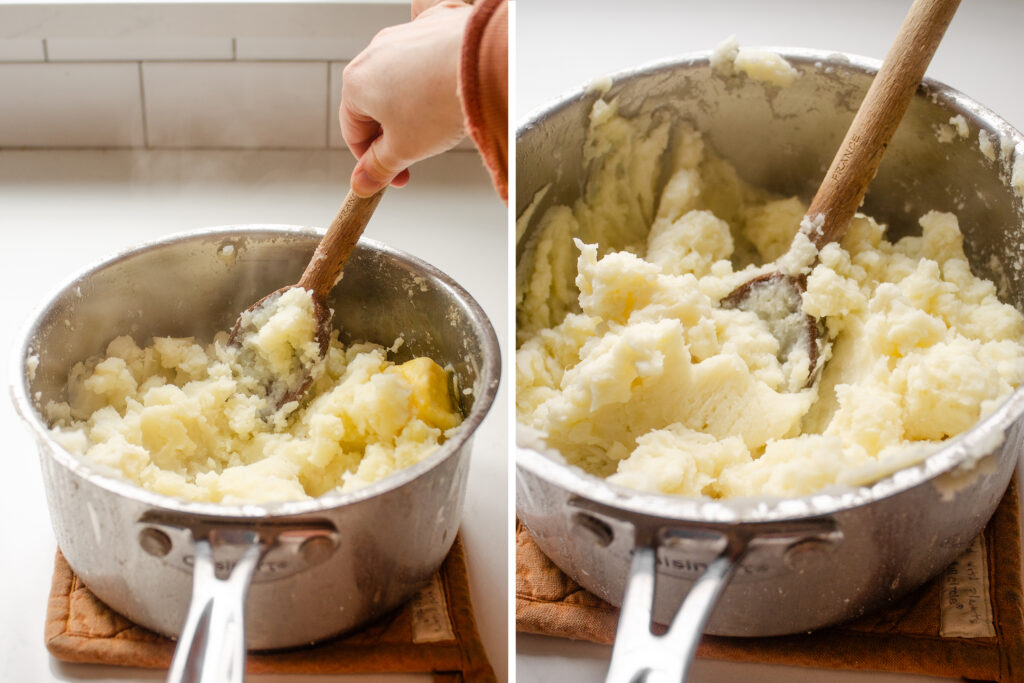
I boiled my potatoes, drained the water, and added butter and milk.
Quick tip: you can reserve some of the salted water you used for cooking, and use that for all or part of the mashing liquid. Your potatoes won’t be as rich if you use water instead of milk or heavy cream, of course.
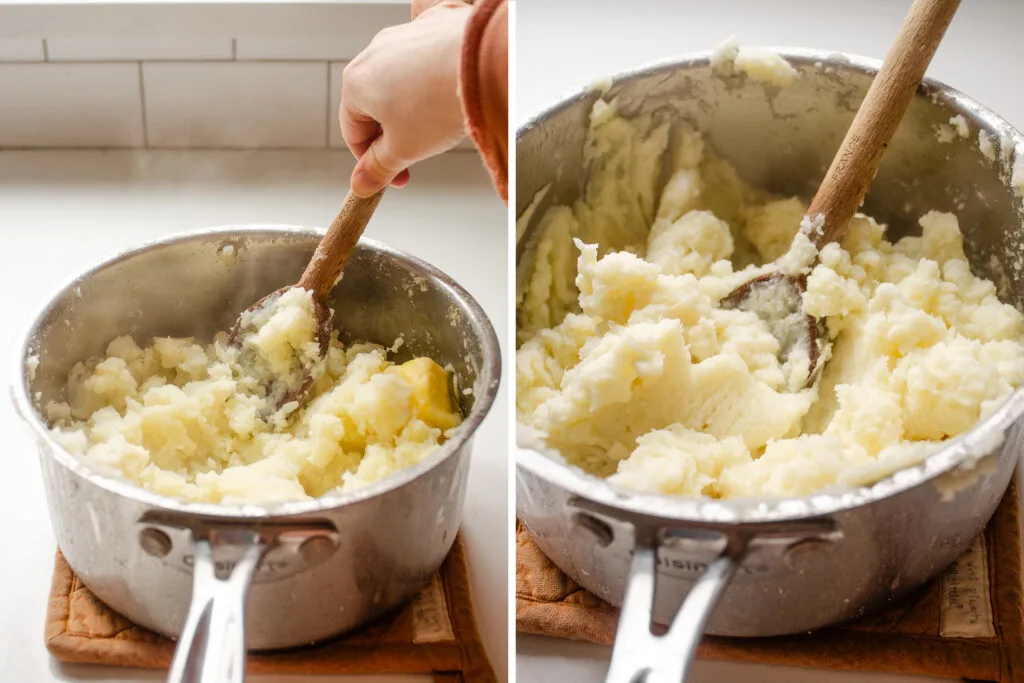
Then I smashed the potatoes against the sides and bottom of the pot with the back of the spoon to mash them. While this isn’t necessarily the most efficient way of mashing potatoes, it definitely worked!

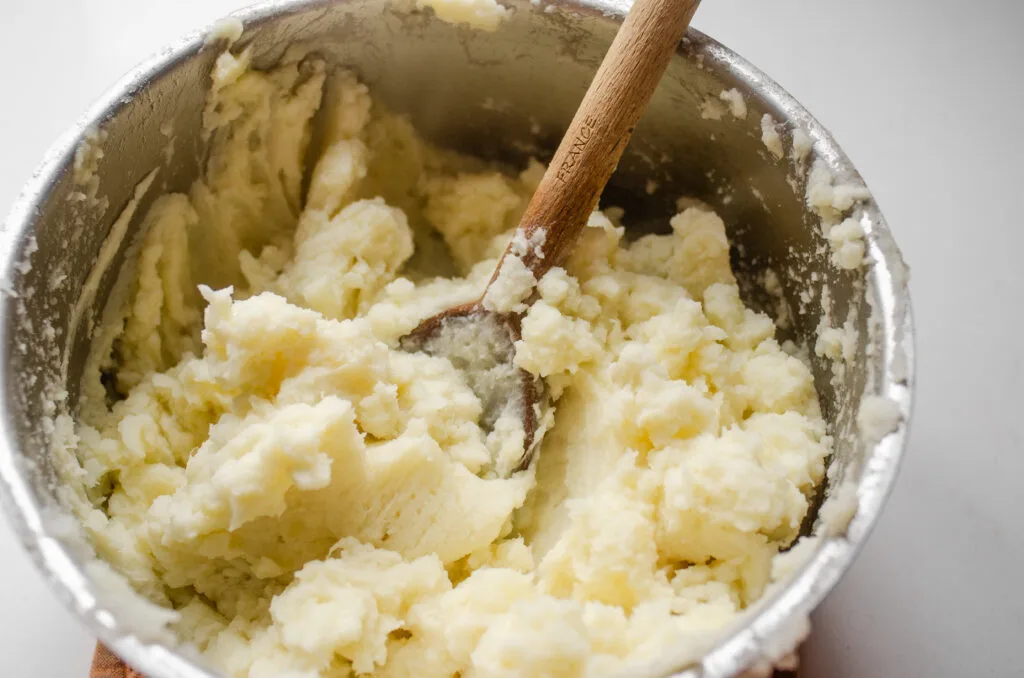
It wasn’t really possible to get all of the lumps out of the potatoes without standing there for eternity, so the result was mashed potatoes with a good overall texture, but some lumps here and there.
I personally do not mind a few lumps in my mashed potatoes, so I would opt for this method in a pinch.
Method 2: A Large Fork
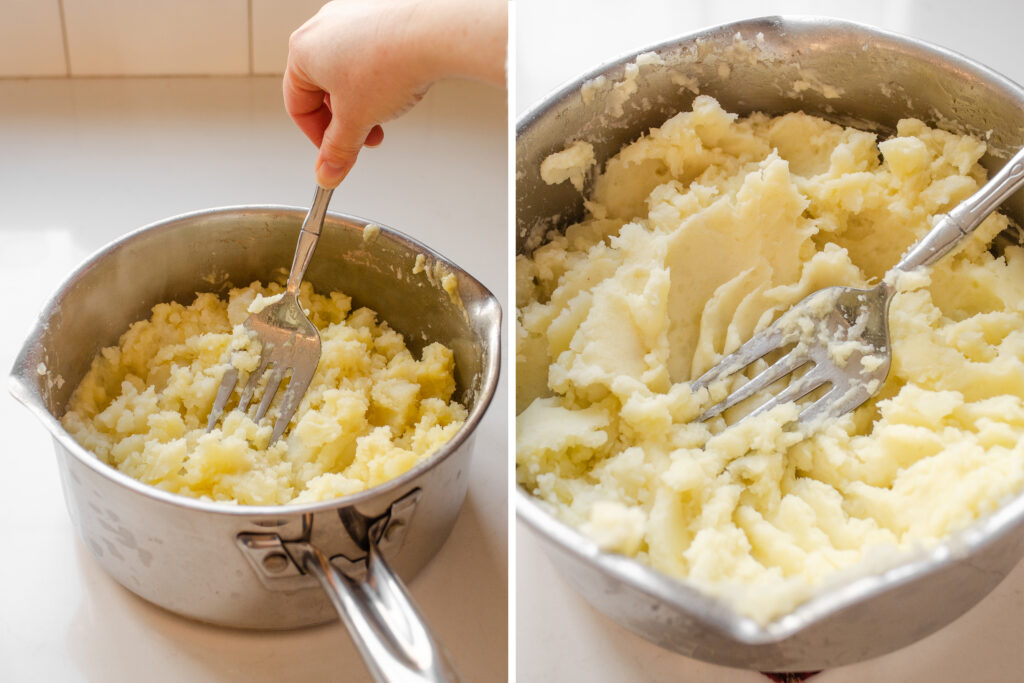

The next tool I tried out was a large fork. This is a serving fork, but I’m sure a large dinner fork would work similarly.
A small fork should technically work (and my get your potatoes smoother), but the mashing process ma
As before, I boiled my potatoes, drained, and added butter and milk. Then I smooshed the potatoes against the sides and bottom of the pot.
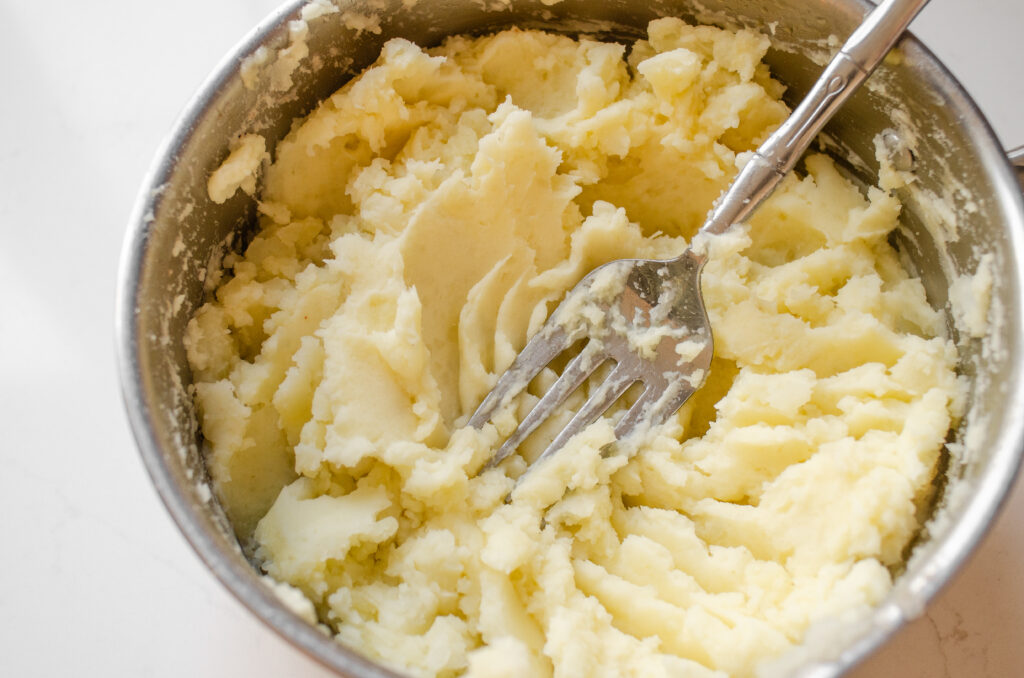

I think this method works a little better than the spoon because the fork has an angle which makes mashing easier. Also, the tines allow you to more easily smash any small pieces of potato, and get rid of lumps.
This is not a 100% lump-free method, but it gets the job done pretty well! It’s a great option if you’re passionate about not owning a single-use device.
Method 3: Whisk
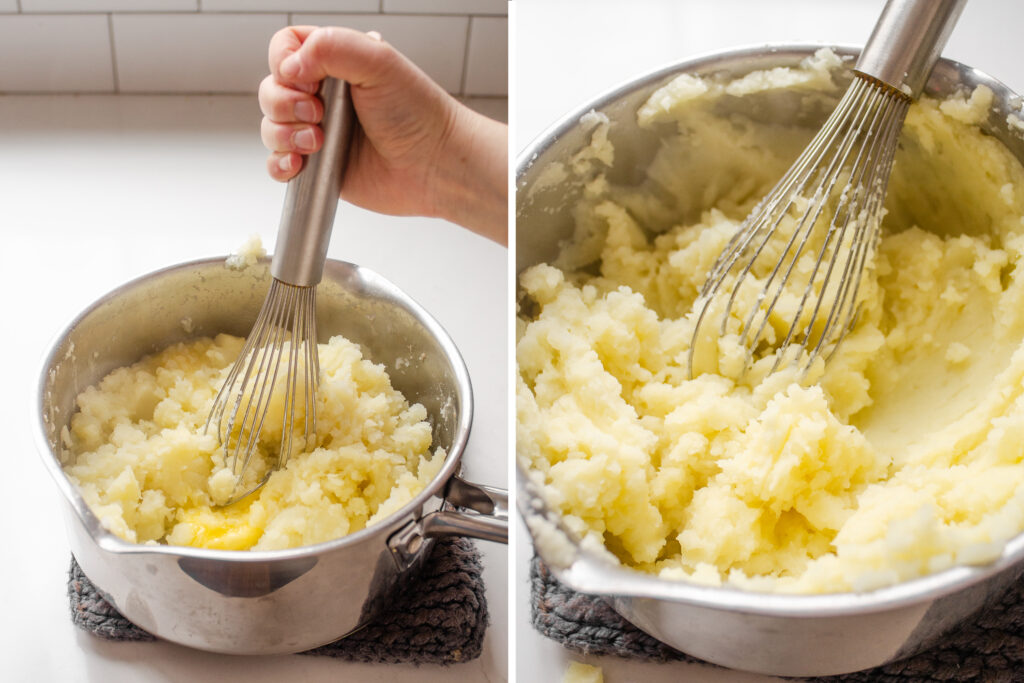

For the next method, I tried out using a sturdy whisk.
I prepped the potatoes the same as the previous two methods. Then I simply smashed the whisk up and down to mash the potatoes.
I was actually surprised by how well this method worked. There were some downsides: the potatoes tended to get stuck in the middle of the whisk, and I had to knock them out to effectively mash all of the potatoes. And the potatoes weren’t completely lump free.
But again, this is a feasible option in a pinch.
Method 4: Hand Mixer
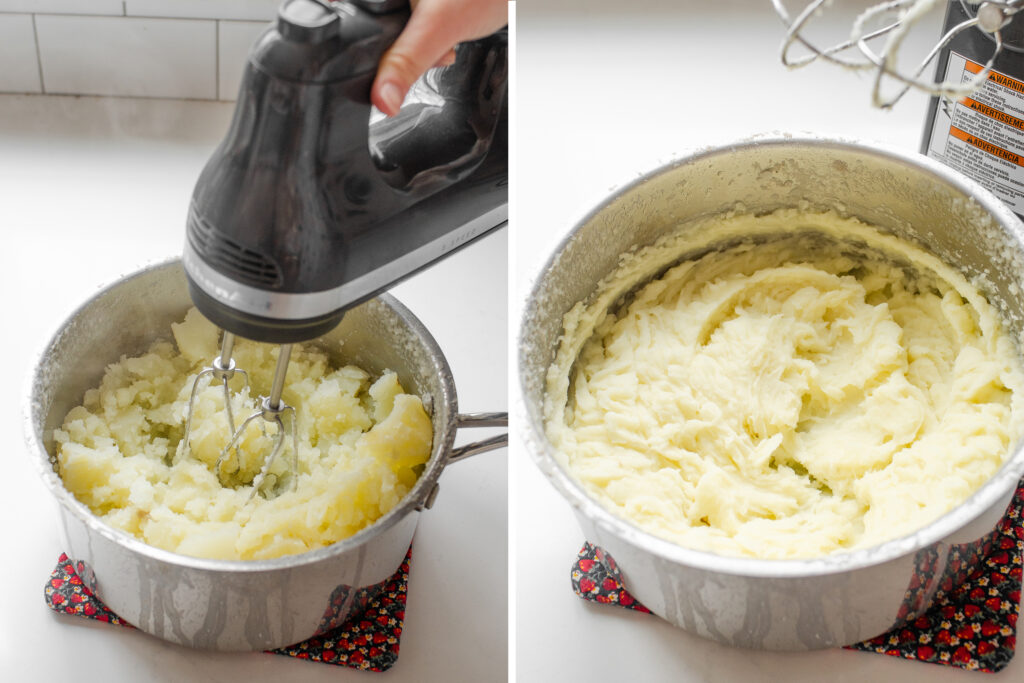

The first electric option I want to mention is a hand mixer.
I assembled the potatoes, butter, and milk as before, and simply beat the mixture with the electric mixer until smooth.
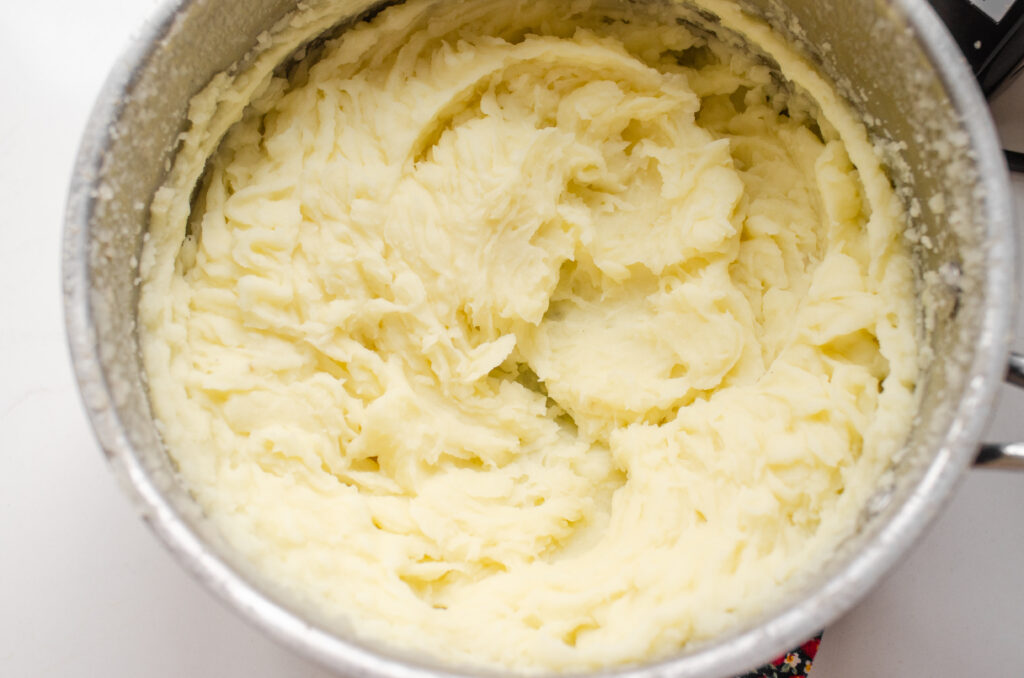

This is a great option if you lack the hand and arm strength to mash potatoes by hand. And of course it’s easier to get smooth potatoes when you use a machine.
But you do need to be careful to not over-mix them, or the potatoes may start to become gluey.
I have also used a stand mixer in the past, but I turned the potatoes into glue. So go really slow and watch the potatoes carefully if you decide to try that method!
Method 5: Immersion Blender

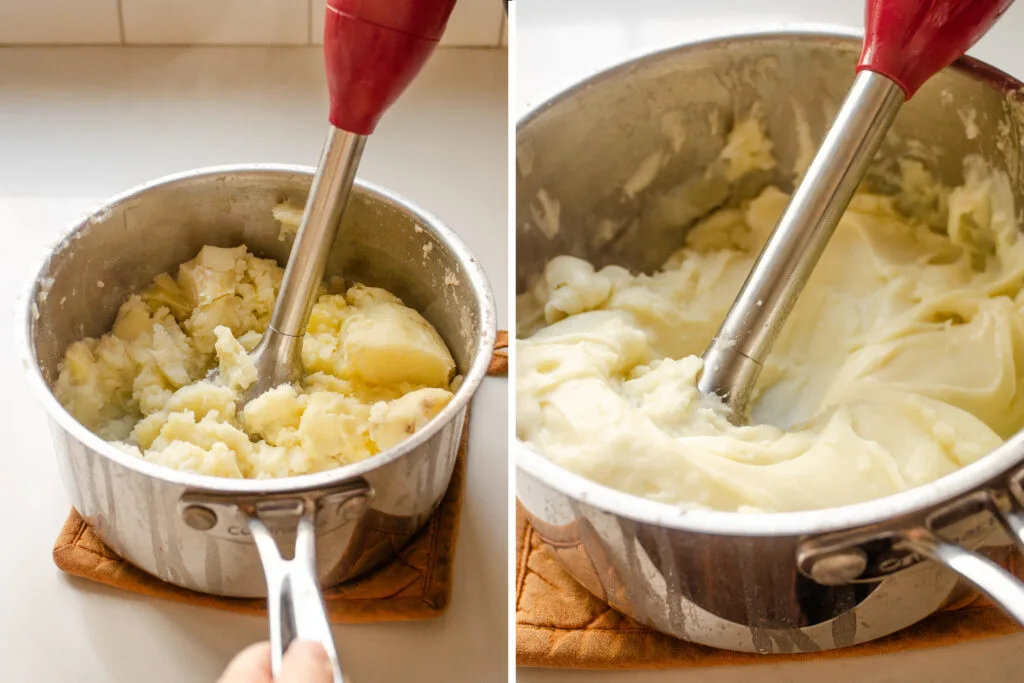
Another electric option I tried was an immersion blender, also known as a stick blender or hand blender.

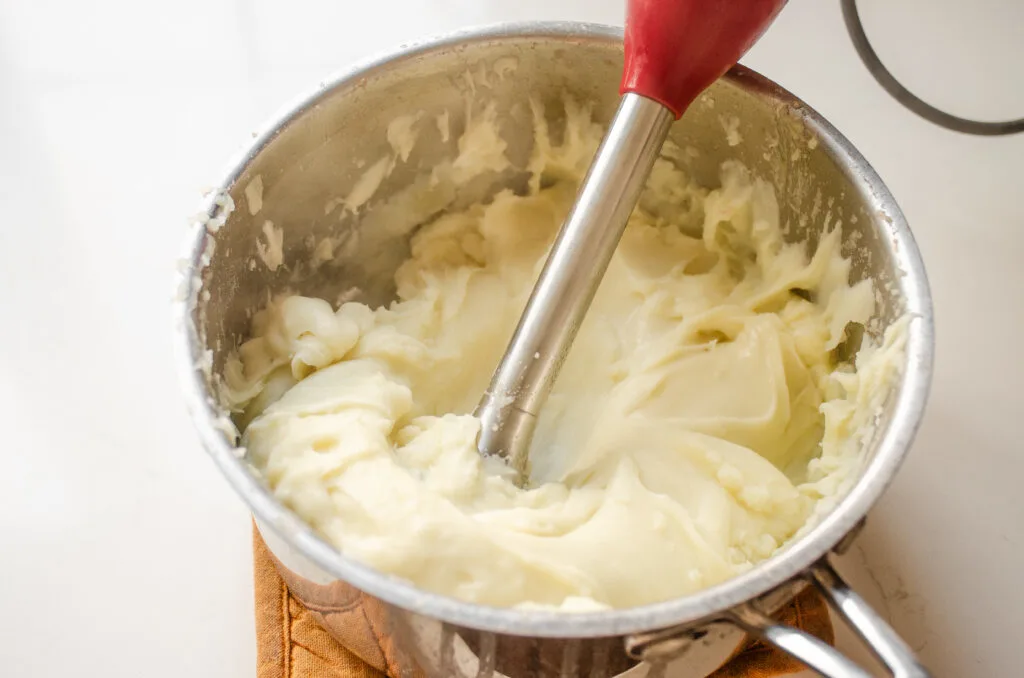
It was amazing to see how quickly the blender got the potatoes smooth.
However, they quickly were on the verge of turning gluey.
So if you use this method, beware! For best results, go slow and really pay attention to the texture. You want smooth potatoes, but not baby food level of smooth.
Method 6: Potato Ricer

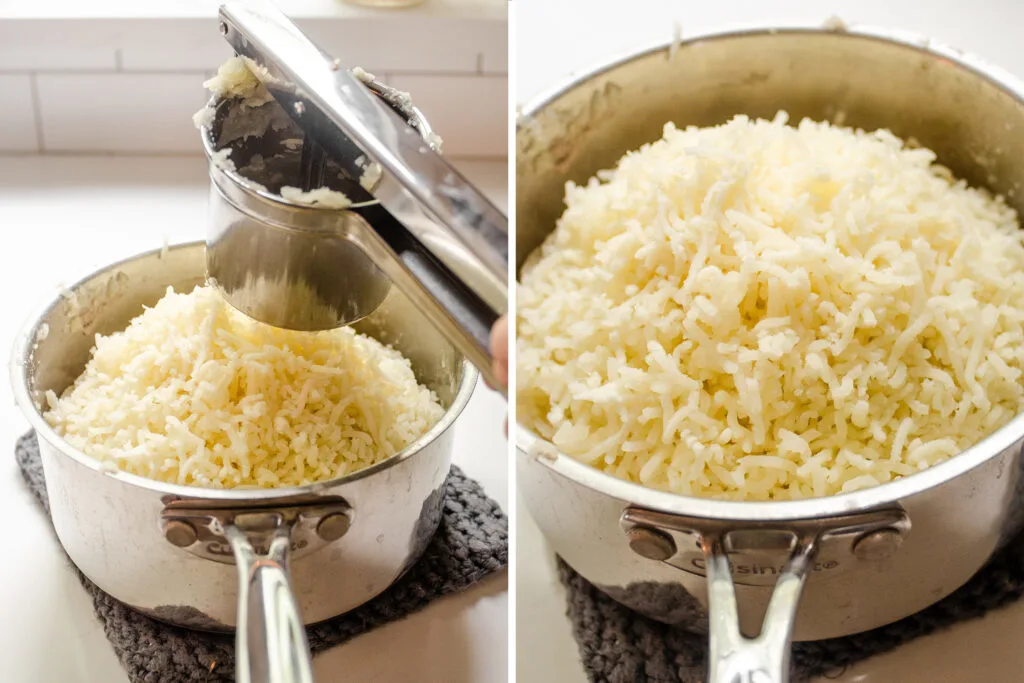
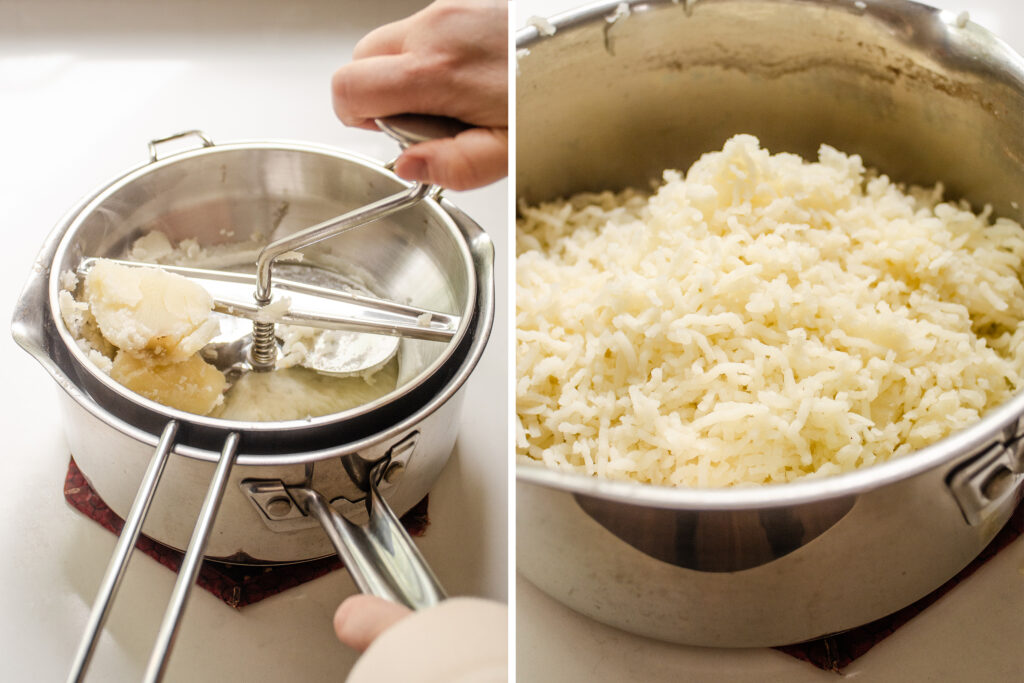
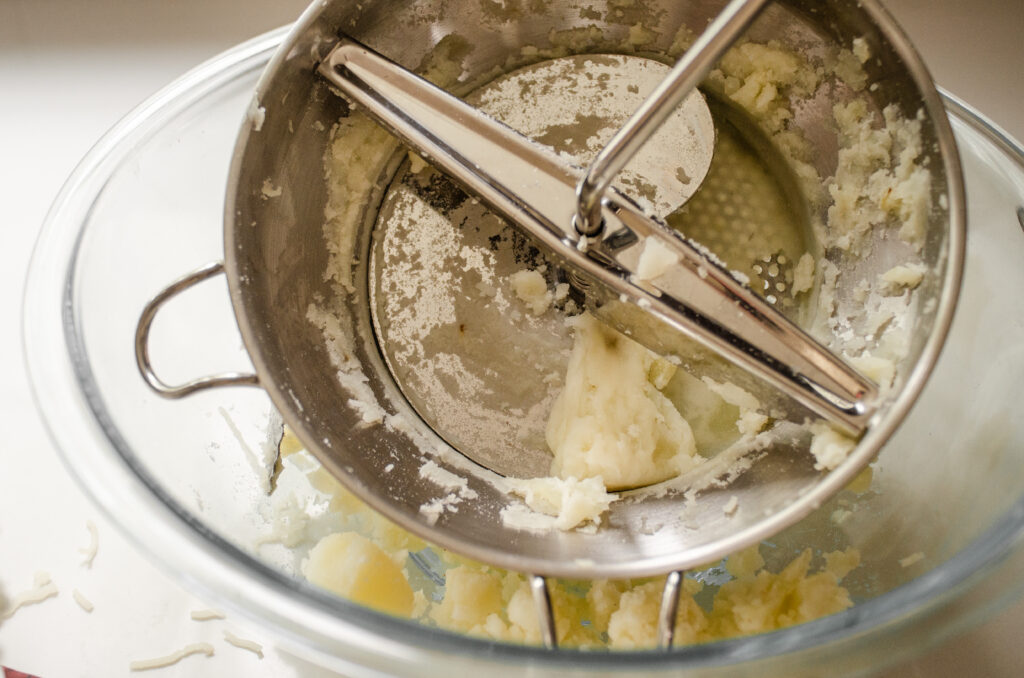
The potato ricer is a legendary tool for making smooth, fluffy mashed potatoes, so of course I had to give it a try!
I simply boiled the potatoes until tender, then ran them through the potato ricer with the smaller grater attachment into the still-hot pot.
It took more strength to work the ricer than I anticipated! If you also find it difficult to force the potatoes through the tiny holes, you could try switching to the larger grater size if your ricer comes with one.


I made sure to heat my milk and butter over the stove so they wouldn’t cool the potatoes down too much.


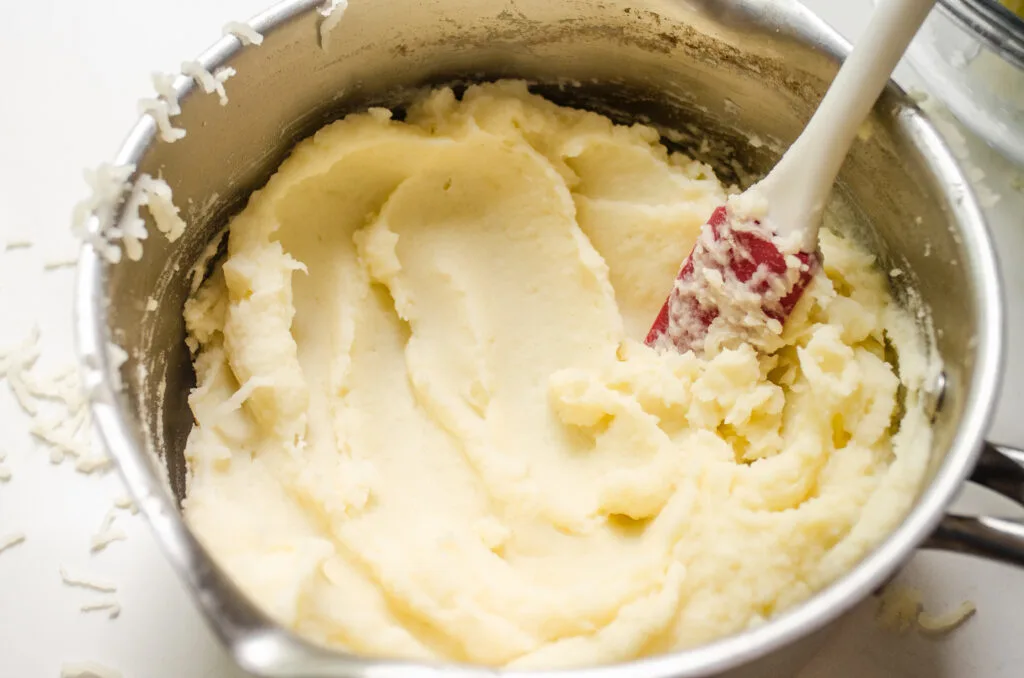
Then I poured the hot butter/milk mixture over the riced potatoes, and gently folded everything together with a spatula.
The potatoes will have a loose, fluffy texture after ricing, then they’ll come together and smooth out as you fold them with the spatula.

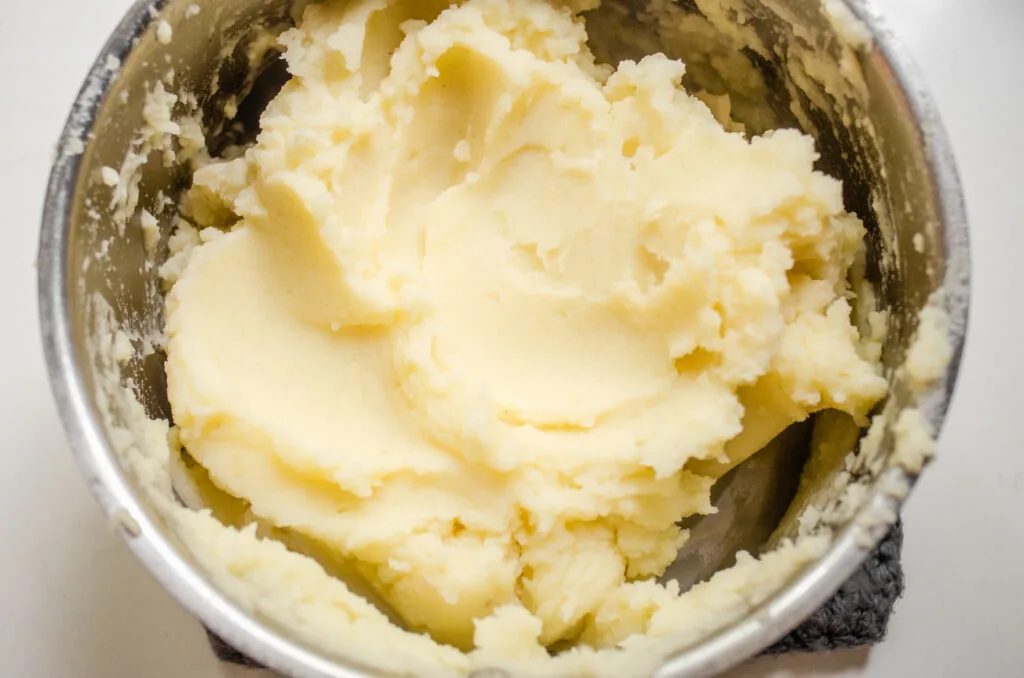
This method did result in some great, creamy mashed potatoes.
However, for me personally they weren’t so out-of-this-world amazing that I would want to regularly go through the trouble of using the ricer.
Also, you have significantly more dirty dishes with this method, and the ricer isn’t super easy to clean.
I would maybe pull it out if I was expected to bring the potatoes for Thanksgiving dinner.
Method 7: Food Mill
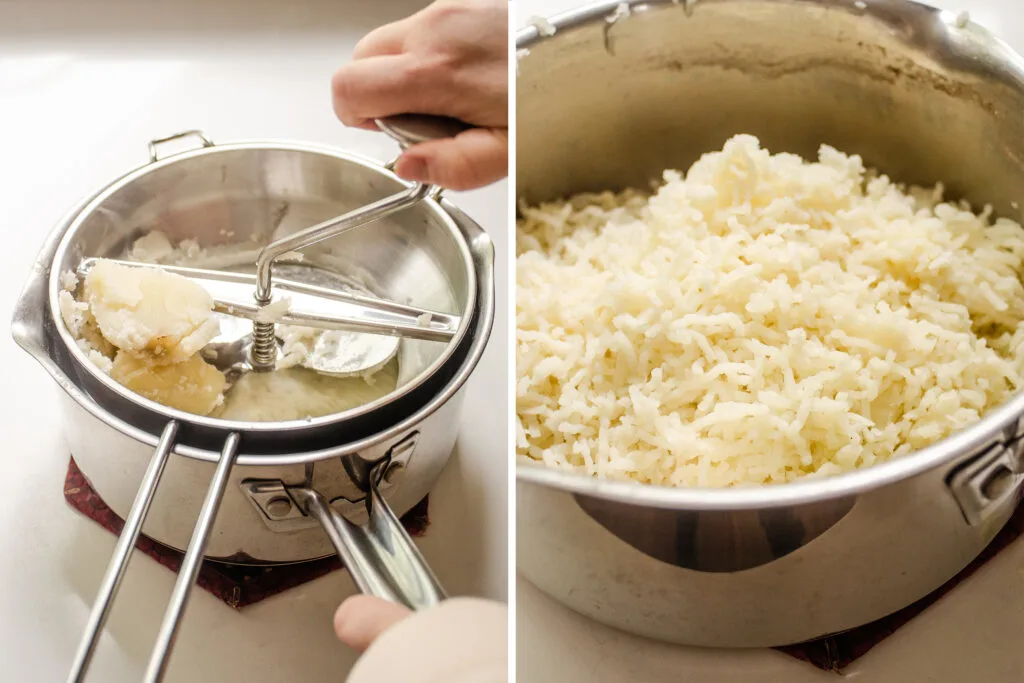
The last method of mashing potatoes I tried was using a stainless steel hand crank food mill.
As with the potato ricer method, you boil the potatoes until tender.
Then you want to transfer the potatoes to a heat proof bowl, and place the food mill over the empty pot.


I used tongs to transfer the hot potatoes to the food mill to avoid burning my hands.
Then I ran the potatoes through the mill. This actually required more effort than I anticipated!
I started with the smallest grater size, but I switched to the middle size after a while to hopefully make it easier to crank the mill. It didn’t help much.
So this also wouldn’t be the best tool if you have arm/hand strength challenges.
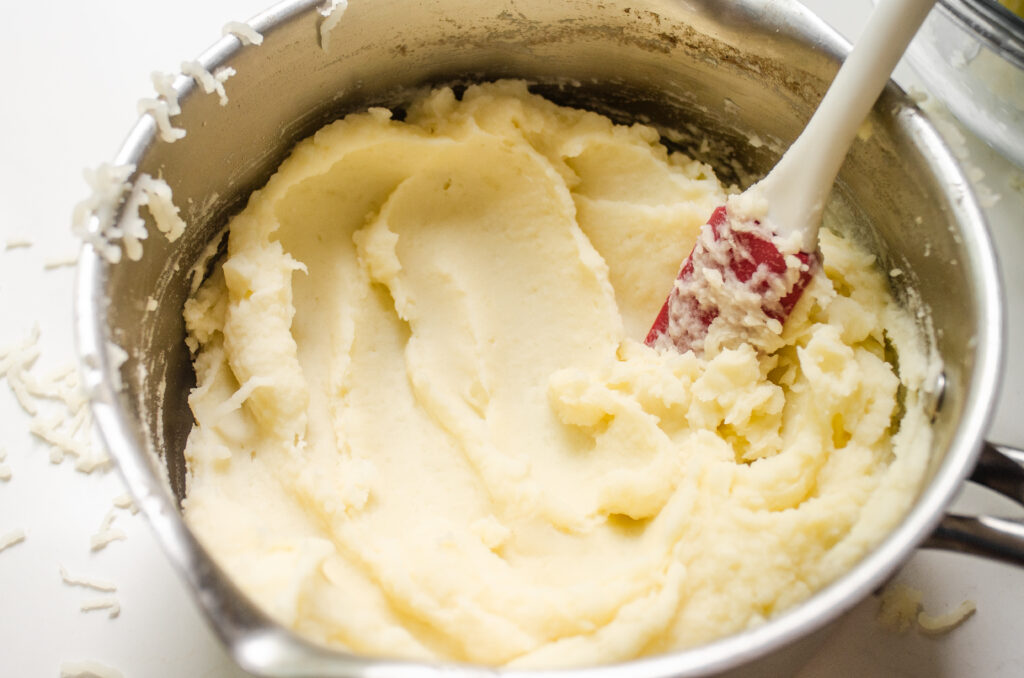
As with the potato ricer method, I added hot milk and butter to the “riced” potatoes, and folded them in until everything was smooth and creamy.

Again, this made some fluffy potatoes, but it also made a big mess. The food mill was even more difficult to clean than the potato ricer.
So since it was kind of difficult to actually mill the potatoes and it created a largish mess, I wouldn’t recommend this method.
Final Thoughts
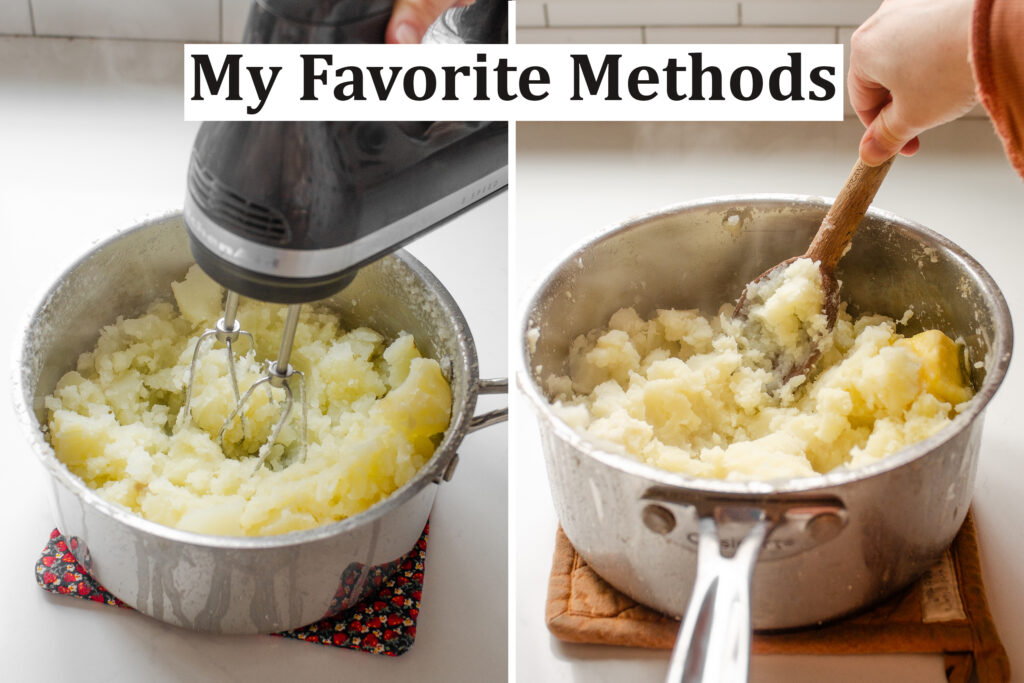

In my personal opinion, the best substitutes for a potato masher (that I tried) are a large fork and a hand mixer. They’re both easy to clean, less work than some of the other options, and fairly ubiquitous.
I personally would not reach for the immersion blender, whisk, ricer, or food mill unless I didn’t have the other tools available. That’s not to say they’re bad tools for the job, just not the best or easiest way to mash potatoes.