These gluten-free jalapeño poppers are the perfect appetizer for get-togethers, game day, New Years Eve, etc.! This easy appetizer recipe features a cheesy, creamy filling and bacon!
*Spoiler Alert*
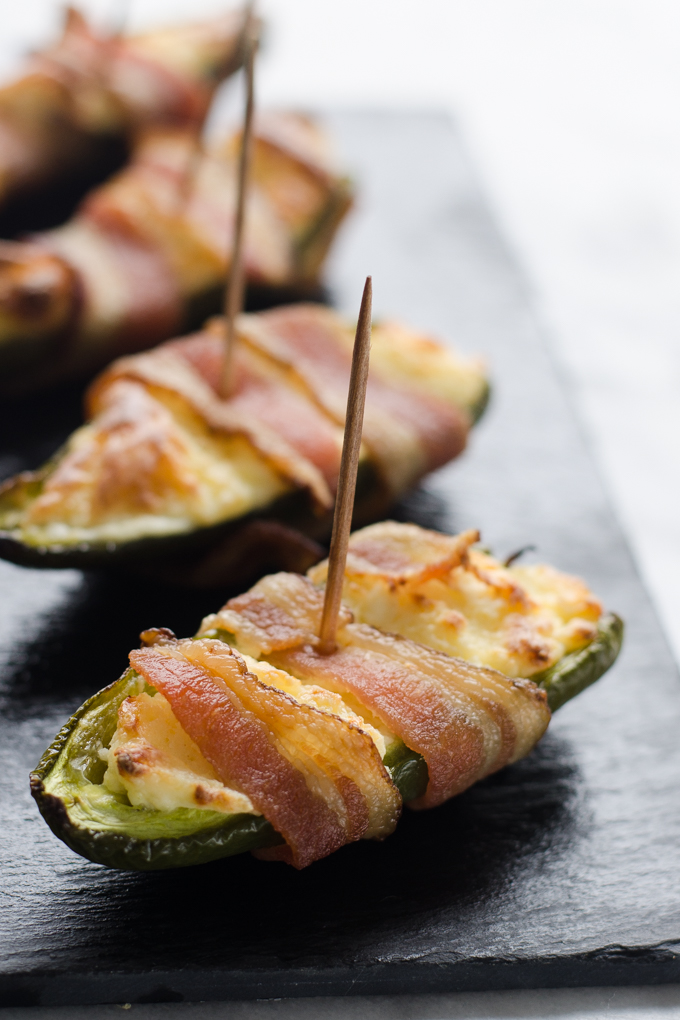
These Gluten-Free Jalapeno Poppers taste AMAZING.
Let’s back up a bit.
When I was kid, my dad flipped for jalapeno poppers. Every once in a while he would drive to the grocery store in the podunk town close to us buy them.
I wasn’t a fan. Even though they were fried (and every kid is supposed to love fried food, right?!), the texture of the pepper threw me off. I basically hated peppers of any sort at that point.
Plus they were a tad spicy, and, being a good northern Minnesotan, I couldn’t handle anything spicy.
Fast forward to my young adult years.
After trying bacon jalapeno poppers at several restaurants, I discovered that I really enjoyed them. By that time I had gotten over my disgust for peppers and spicy food. And: bacon, HELLO!
I talked about recreating them at home but, to be honest, they sounded like A LOT of work. Deep frying food can be a major pain.
Don’t get me wrong: I still do it now and then. But the thought of greasing up my kitchen for just an appetizer was not appealing.
Then I saw a recipe for bacon wrapped jalapeno poppers. Bacon + no frying required = sold.
Okay, let me walk you through the steps of this easy recipe!
Video Tutorial:
Here’s a video tutorial in case you learn better by watching! The written tutorial and printable recipe are below!
Ingredients:
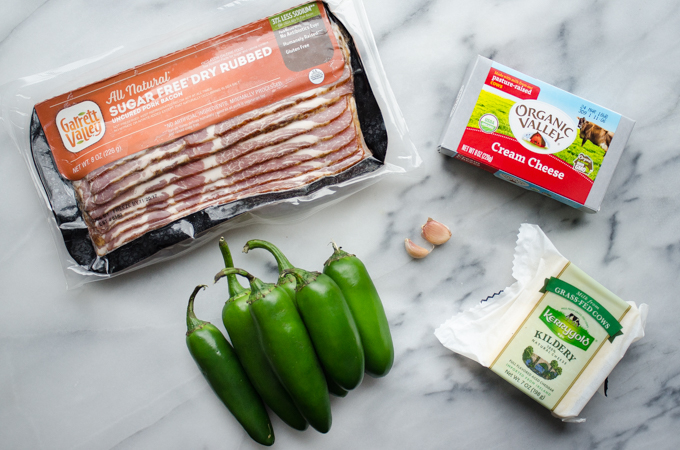
You only need 5 simple ingredients to make these jalapeno poppers (6 if you count salt).
- 12 Slices Bacon: I used a sugar free bacon, but you can use whatever is available at your local grocery store. Make sure to purchase thin sliced if you like crispy bacon!
- 1 Cup Shredded Cheddar Cheese: I really like the sharpness of Kerrygold Kildery cheese, but any sharp cheddar cheese should do the trick.
- 12 Whole Jalapeno Peppers: You may need a couple more or less jalapeños depending on their size.
- 8 ounces Cream Cheese: For best results, please use full fat cream cheese, NOT Neufchâtel! Unless you truly prefer the flavor and texter of reduced fat cream cheese! BTW, the cream cheese will be easier to mix with the rest of the ingredients if it’s at room temperature.
- 1 Clove Garlic: I think the flavors of fresh garlic are the best, but you can substitute 1/4 teaspoon of garlic powder in a pinch (ha!).
- 1 Pinch Salt: Since the cheese and cream cheese are already salty (and the bacon!), you only need a little pinch here. You could also add a few grinds of black pepper if you like!
You could also experiment with adding some sliced green onion if you like!
How to Make Gluten Free Jalapeno Poppers:
Line 2 rimmed baking sheets with parchment paper or a silicon baking mat (AKA Silpat mat). Place a metal baking rack on each baking sheet. Set those aside.
Prepping the Jalapeños:
Slice the top off of the jalapenos, cut them in half lengthwise, and scrape out the membrane with a small spoon and remove the seeds.
If you don’t like spicy peppers…
One thing to note: jalapeños vary in spiciness. The key to controlling it is how well you clean them.
If you are meticulous in scraping out ALL of the white membrane and removing every last seed, there should be very little spice. If you like that kick, leave a little more of the membrane in the jalapeño pepper and don’t fuss about the seeds.
Also, please wear gloves if you’re sensitive to the heat of the peppers! And DON’T rub your eyes if you forego the gloves (ask me how I know!).
Making the Cream Cheese Filling:
Mix together the cream cheese, cheese, garlic, and a pinch of salt in a medium to small bowl. This can be done by hand, with a hand mixer, or a food processor.
Squish the cream cheese mixture into the jalapeno halves with a spoon or knife.
Wrapping with Bacon:
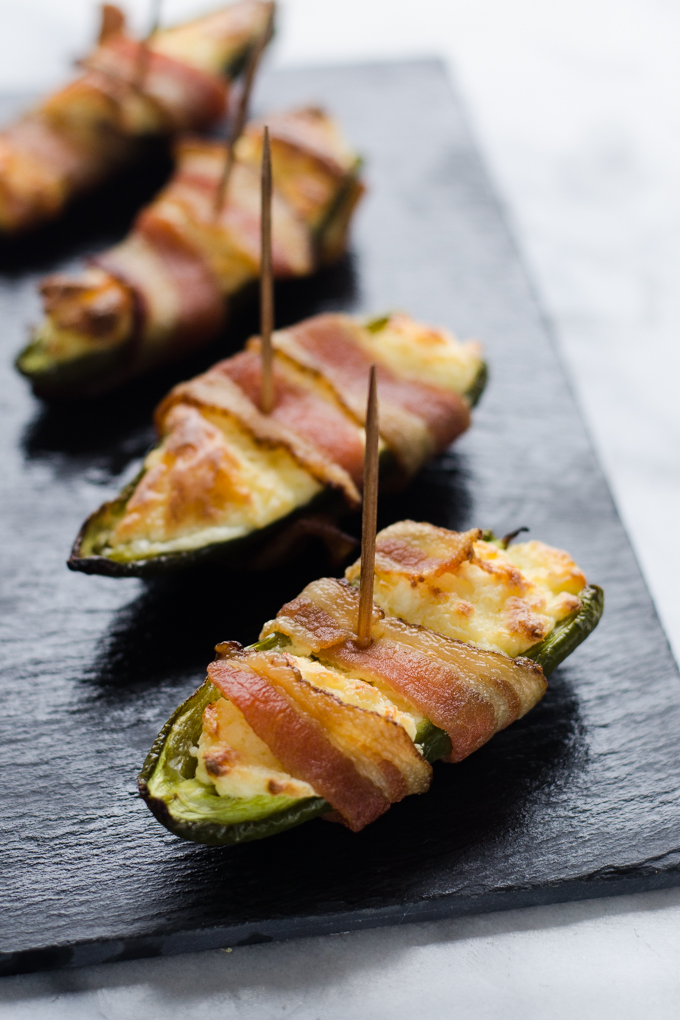
Cut the bacon pieces in half lengthwise. Wrap the stuffed peppers with the bacon. Stick a toothpick in it to keep the bacon in place.
This doubles as a great fork-free way to serve them!
Now, don’t be stupid like me. Learn from my mistakes! The first time I made these I cut the pieces of bacon in half cross-wise.
They were too fat, so I had to cut them in half lengthwise. Because I cut them in half cross-wise, they didn’t wrap around the stuffed jalapenos completely, and some of them fell off of the poppers while they baked.
In other words: when I say cut the bacon in half, I mean lengthwise so the bacon is skinnier, not shorter. Anyway.
Baking the Poppers:
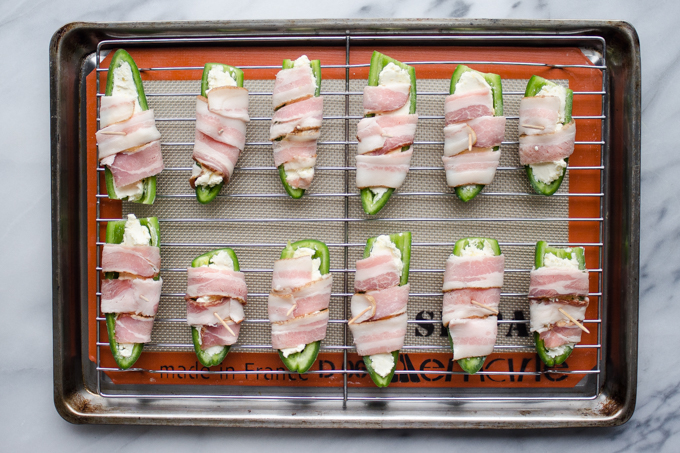
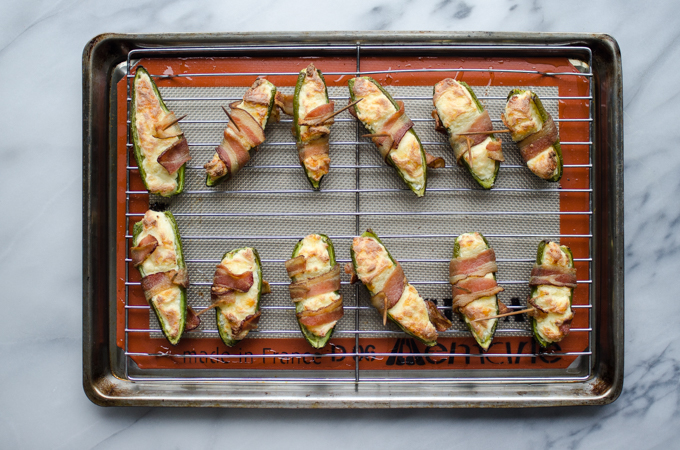
Put the poppers on the prepared baking-rack-lined baking sheets. Make sure they don’t touch each other!
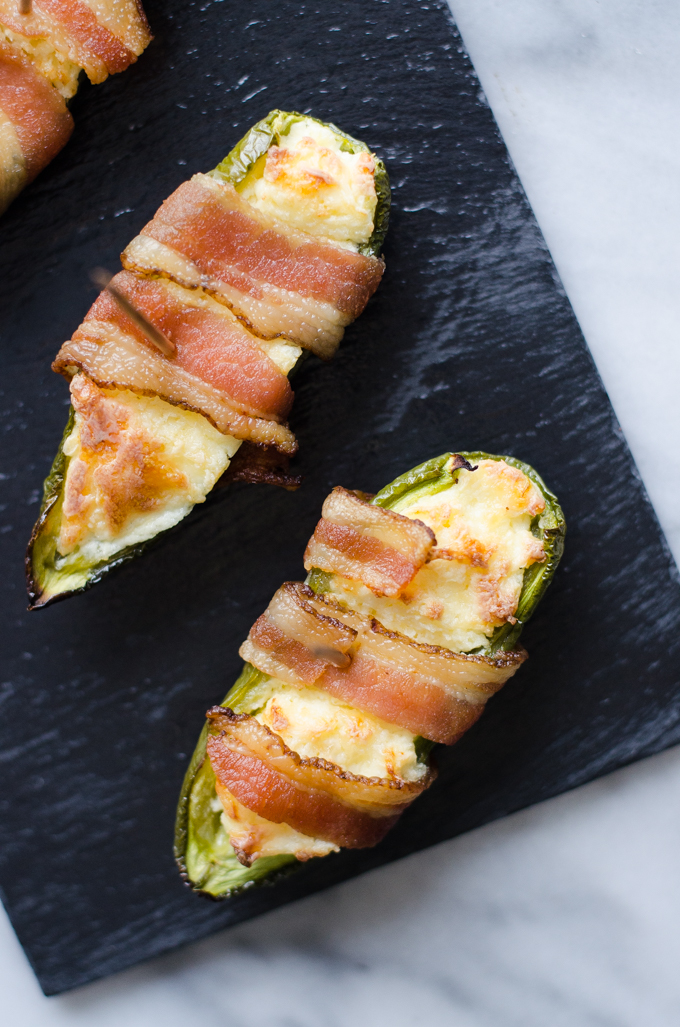
Bake in preheated oven for 25-30 minutes, or until the bacon is nice and crispy.
Allow to cool a bit before serving.
Serving:
As I mentioned above, you can serve these with the toothpicks still intact for a silverware-free option!
These bacon-wrapped jalapeño poppers would be a great appetizer to bring to the next party you’re invited to, or one you’re hosting yourself. But make sure to make a double batch: they’re delicious and addicting. You might find yourself eating half a pan before you can restrain yourself…
Storing:
Store any leftovers in an airtight container in the refrigerator for up to 3 days.
P.S. If you’re making them for someone that avoids gluten, make sure all of your ingredients are gluten free! Some foods that should naturally be gluten free have gluten-containing additives, so read the label!
So that’s my easy baked jalapeno poppers recipe! Make sure to check out these other delicious appetizers below!
More Gluten-Free Appetizer Recipes:
- Cranberry Pecan Cheeseball
- Maple Candied Pecans
- Pizza Stuffed Mushrooms
- Guacamole
- Sour Cream French Onion Dip
- Gluten-Free Artichoke Dip
- Gluten-Free Mozzarella Sticks
Recipe Card:
Bacon Jalapeno Poppers
A super easy and naturally gluten free appetizer!
Ingredients
- 12 whole jalapenos
- 8 ounces cream cheese, softened
- 1 cup shredded cheddar cheese
- 1 clove garlic, finely minced
- 1 pinch salt
- 12 slices thin cut bacon, cut in half lengthwise
Instructions
- Line 2 rimmed baking pans with parchment paper or a silpat silicone baking mat. Put a metal baking rack on top of each. Set aside. Preheat oven to 400 degrees F (205 C).
- Slice the top off of the jalapenos, cut them in half lengthwise, and scrape out the membrane (the more you remove, the less spicy the poppers will be) and remove the seeds.
- In a medium bowl, mix together the cream cheese, cheddar cheese, garlic, and salt. This can be done with a fork, a hand mixer, or in a stand mixer (for large batches). Squish the filling equally into the jalapeno halves.
- Wrap each jalapeno tightly with a slice of bacon. Stick a toothpick in the middle to hold everything in place.
- Put the poppers on the prepared baking-rack-lined baking sheets. Make sure they don't touch each other! Bake in preheated oven for 25-30 minutes, or until the bacon is nice and crispy.
- Allow to cool a bit before serving. Store any leftovers in an air-tight container in the refrigerator.
Notes
Recipe adapted from Sally's Baking Addiction
If you're making them for someone that avoids gluten, make sure all of your ingredients are gluten free! Some foods that should naturally be gluten free have gluten-containing additives, so read the label!
Nutrition Information:
Yield:
24Serving Size:
1 gramsAmount Per Serving: Unsaturated Fat: 0g
Teri
Saturday 13th of January 2018
Can you make these ahead of time?
Erica Kastner
Monday 15th of January 2018
Yes! You can assemble them are store in the fridge up to a day in advance and just bake when ready to serve.
Alandra
Thursday 21st of December 2017
Is there cheddar cheese in them? I’m not seeing in actual recipe :) looks so good, going to make over Christmas holidays
Erica Kastner
Friday 22nd of December 2017
Oops! Yes, there is 1 cup of shredded cheddar cheese. I updated the recipe. :)